

Empowering Global Enterprises with Microsoft Expertise
At Penthara Technologies, a Microsoft Solutions Partner, we are dedicated to empowering businesses worldwide. We understand that technology is the backbone of modern enterprises, and our mission is to help organizations thrive by harnessing the full potential of Microsoft solutions. When you work with Penthara, you’re not just getting a service provider, you’re gaining a trusted partner.
Services That Transform Work
Whether it’s transforming digital workspaces, providing SharePoint consulting, automating processes, or integrating services within the Microsoft 365 ecosystem, we’re here to empower your business.


Our Certifications
As a Microsoft Solutions Partner, we’ve earned recognition for our proficiency in delivering high-quality Microsoft 365 services. Here’s a glimpse of our certifications:
Clients Across Industries
Our expertise extends across industries and geographies. From small startups to multinational corporations, we’ve helped businesses of all sizes achieve their digital transformation goals.


Industries We Serve
At Penthara, we have a proven track record of delivering innovative and customized solutions for various industries. We leverage our expertise in cloud services, modern workspace, process automation, and digital transformation to help our clients achieve their business goals and stay ahead of the competition.


I engaged Penthara's services on a mission critical, multi-year, multi-million dollar, domain consolidation project. Jasjit is a Microsoft MVP and so are his entire roster of experts.


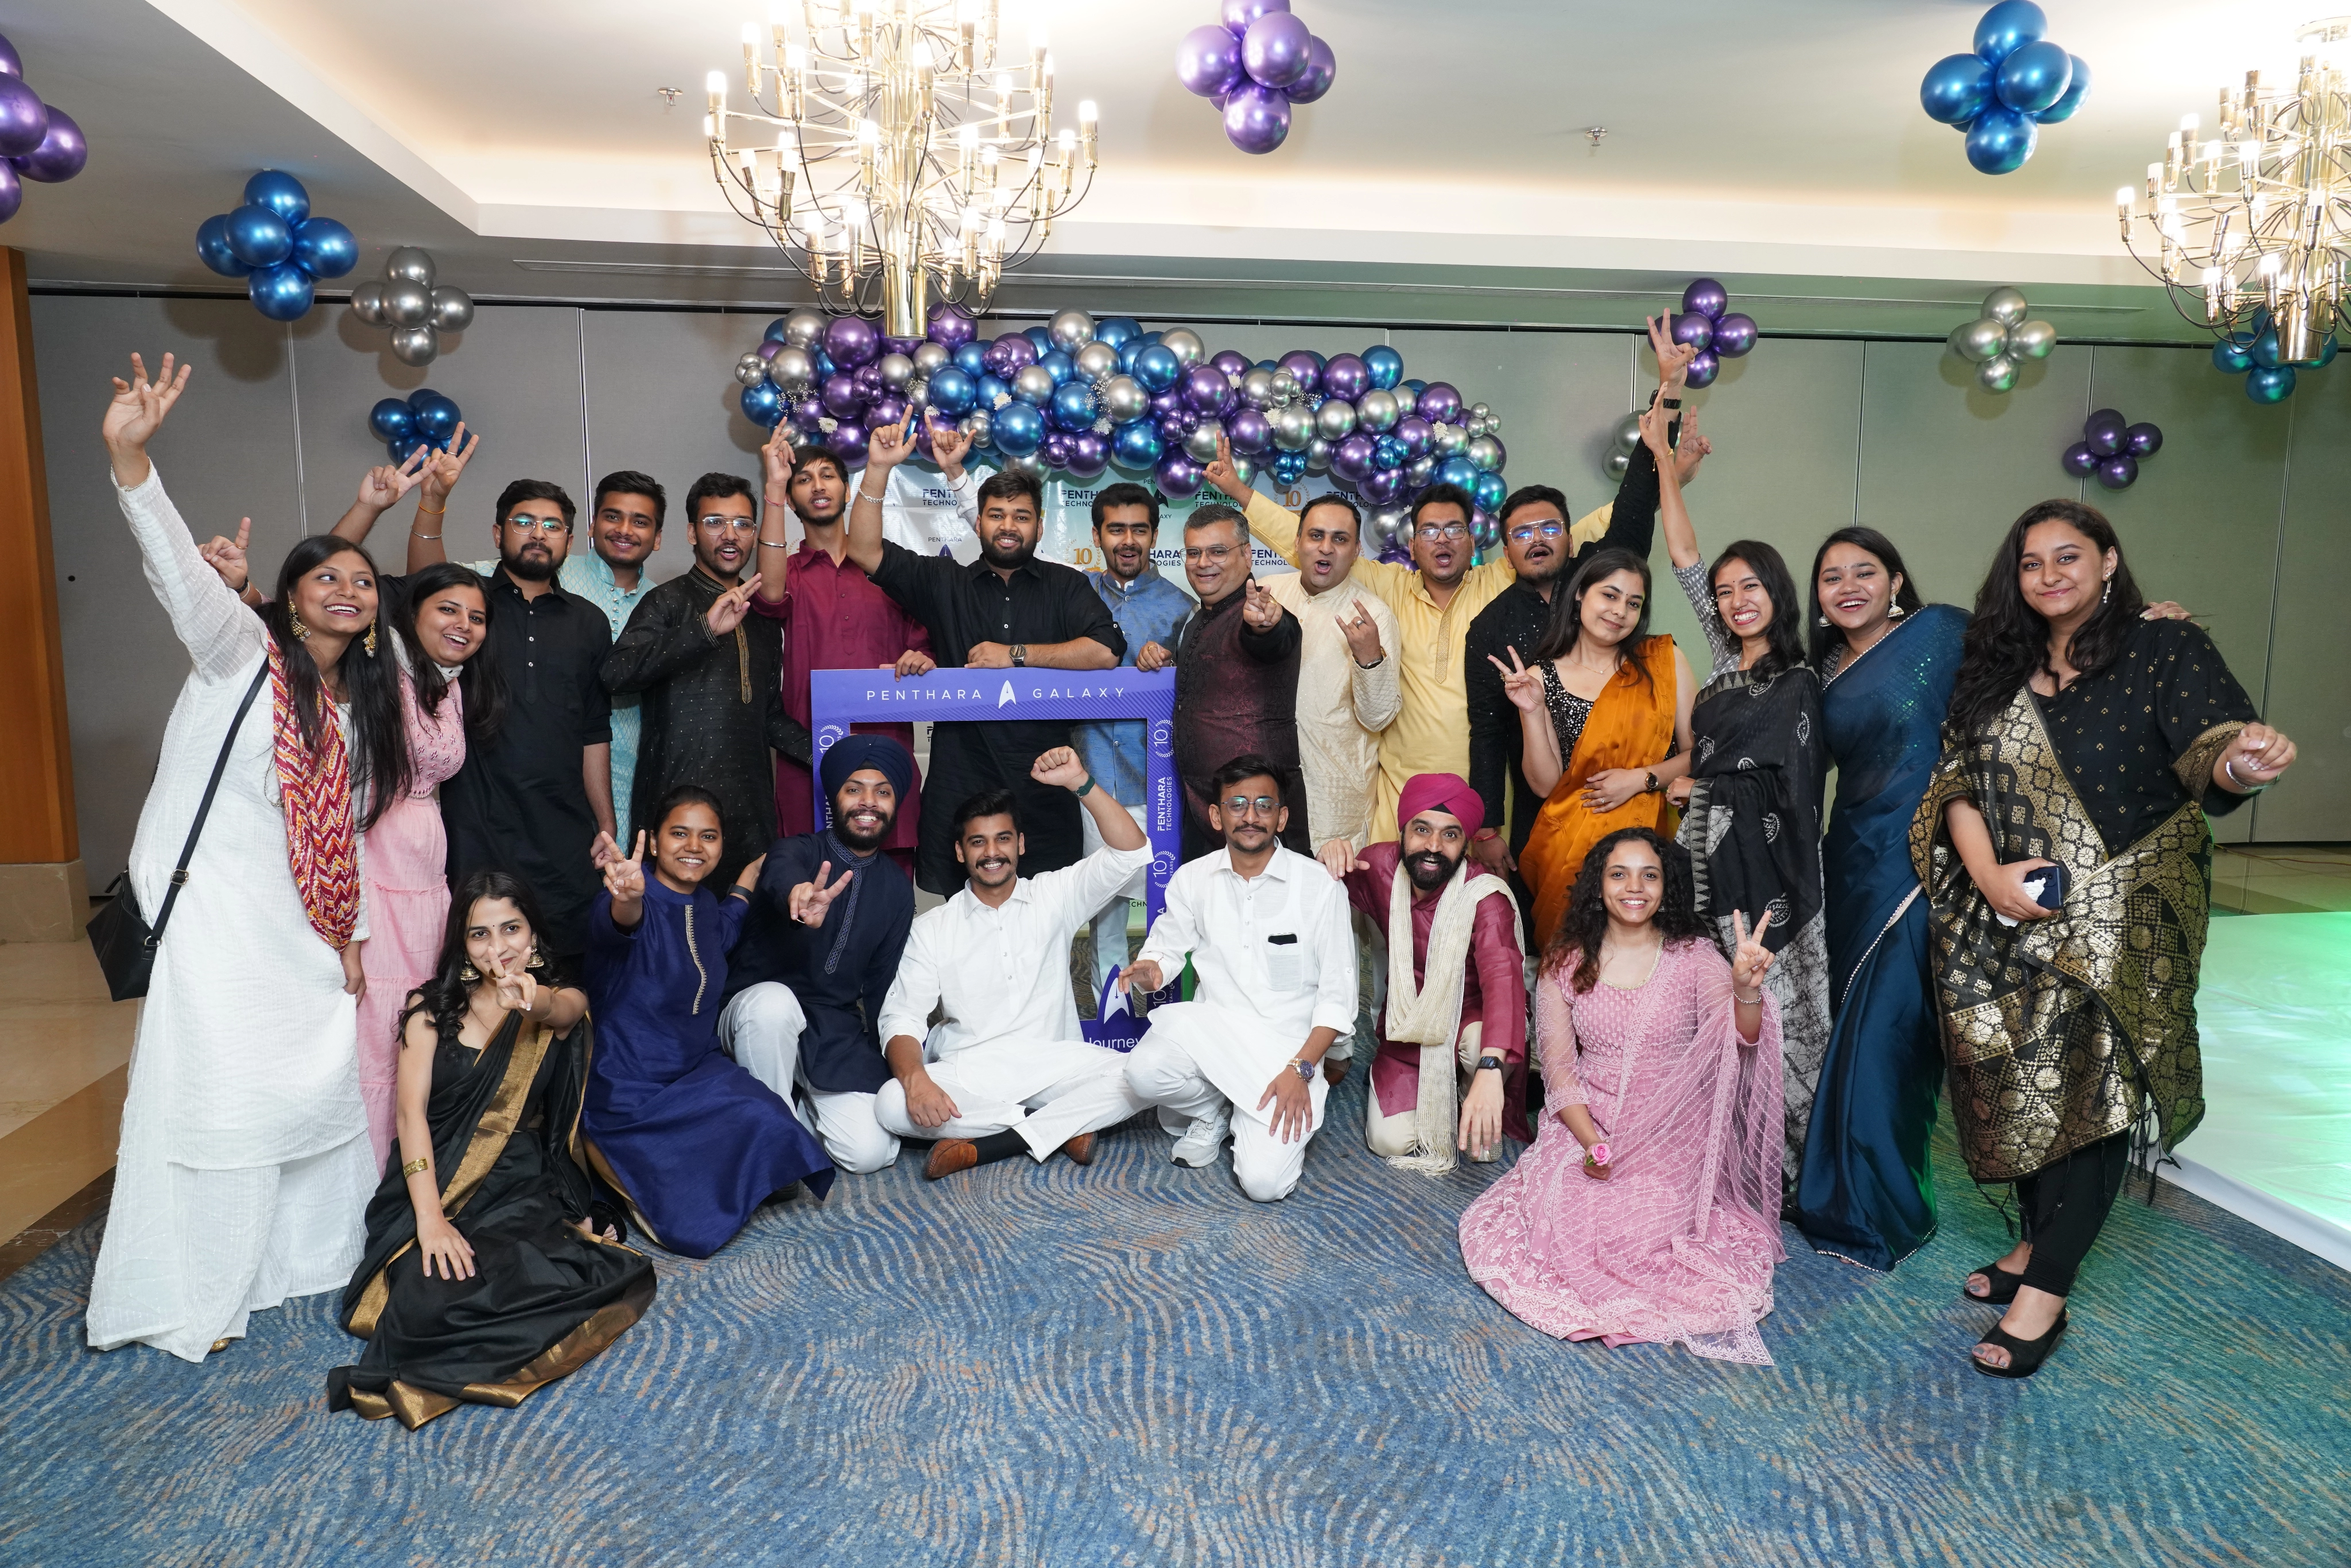
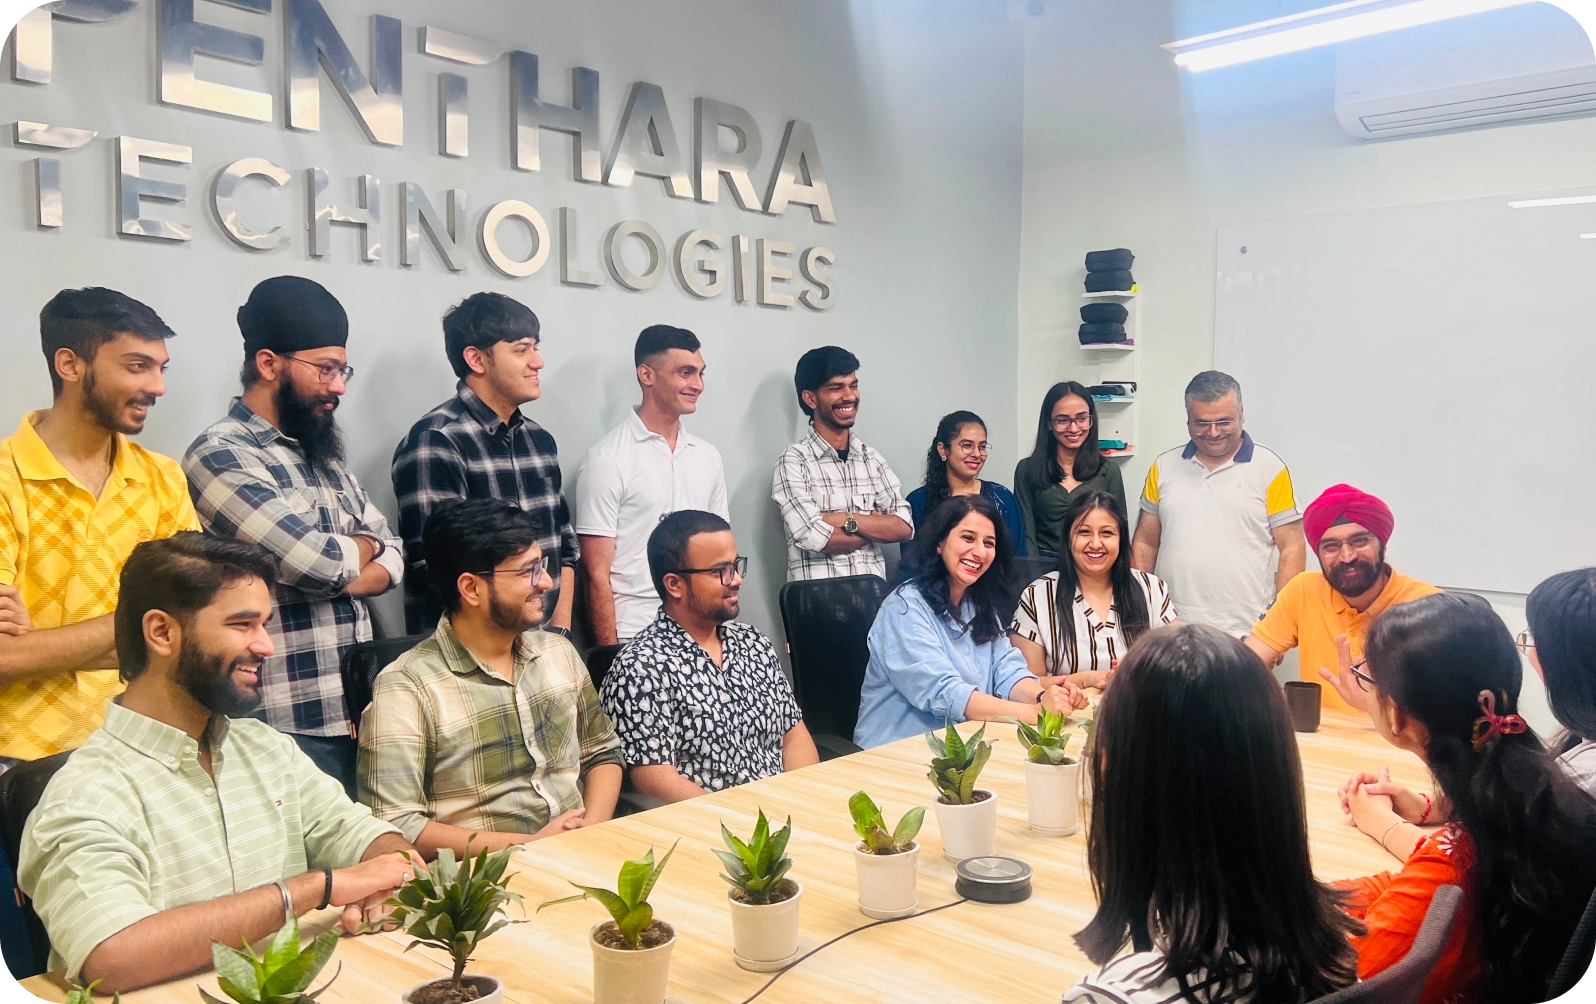
Experience Life at Penthara
Are you passionate about technology, innovation, and making a positive impact? We’re always on the lookout for talented individuals who share our vision. Join us on our ambitious mission!

Copyright 2026 Penthara Technologies, All rights reserved.