


This newsletter covers key Microsoft 365 and Copilot updates for June 2025, including Copilot Chat integration across core apps, smarter email prioritization in Outlook mobile, enhanced Teams features like interactive agents and saved messages, and new ContextIQ capabilities for intelligent, context-aware prompts. It also highlights voice chat and Notebooks in the Copilot mobile app, Copilot Memory for personalized assistance, and productivity boosts in Edge, SharePoint, and Outlook.
Main Menu
Cloud Services
Collaboration and Communication
Security and Compliance
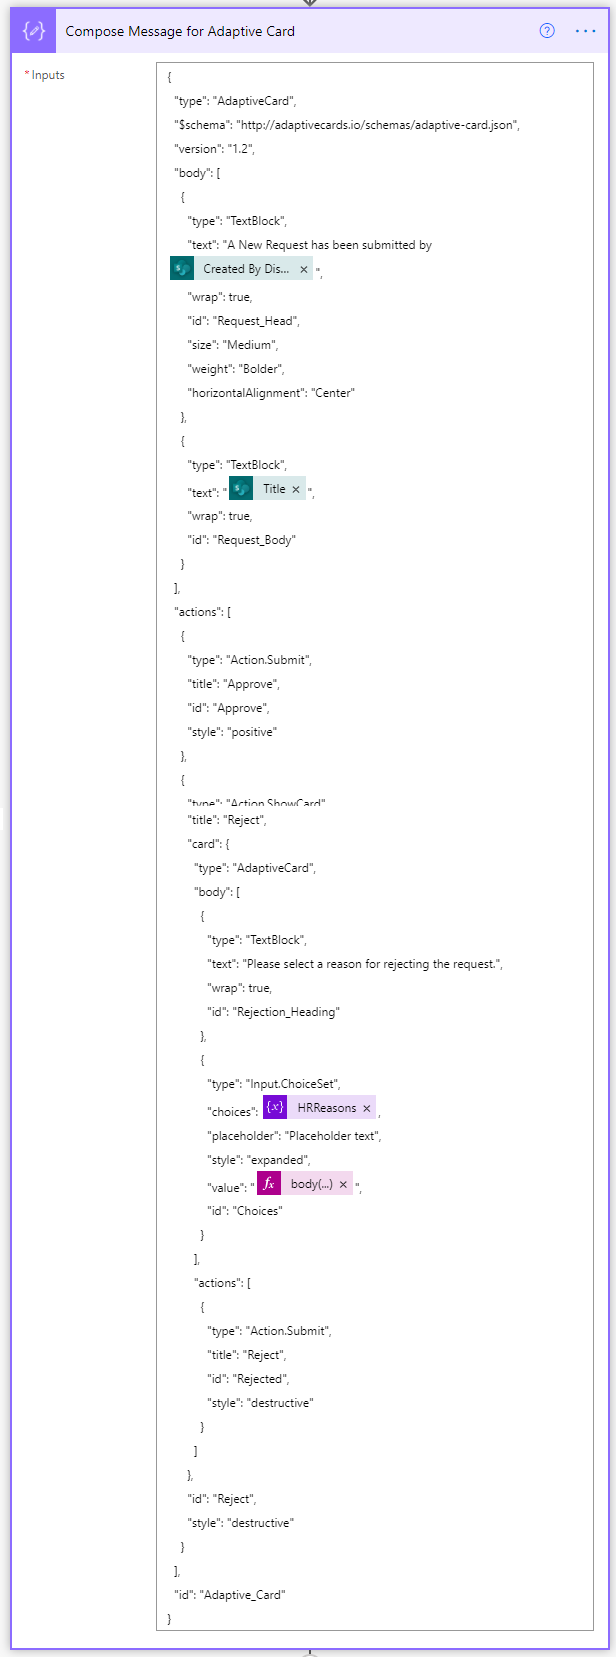
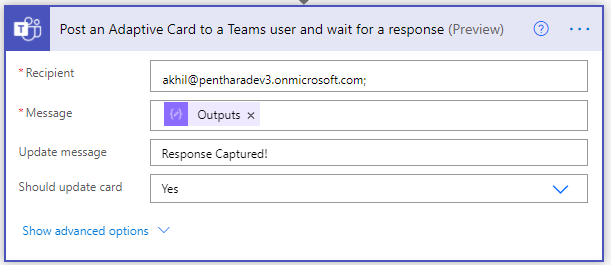
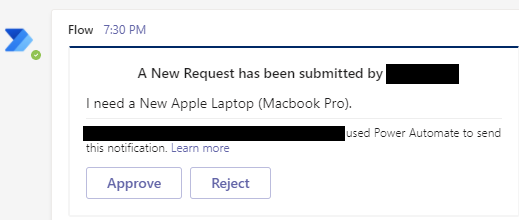
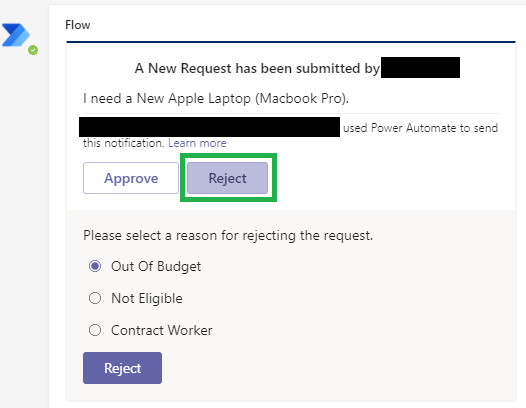
Automation and Development
Digital Workspace
Artificial Intelligence
Overall Microsoft 365 Services
Main Menu
Starfleet Stash App
Asset & Inventory Management App
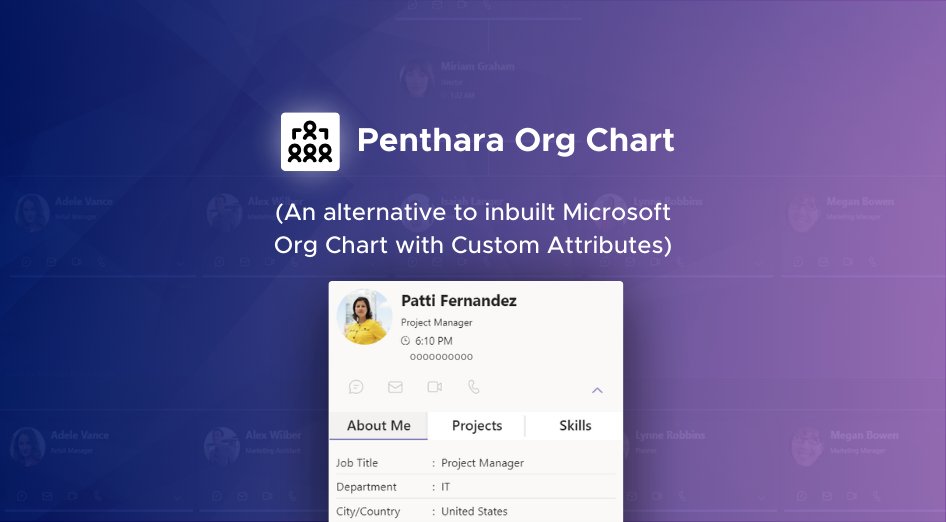
Penthara Org Chart
- Cloud Services
- Collaboration and Communication
- Security and Compliance
- Automation and Development
- Digital Workspace
- Artificial Intelligence
- Overall Microsoft 365 Services
- Starfleet Stash App
- Asset & Inventory Management App
- Penthara Org Chart