


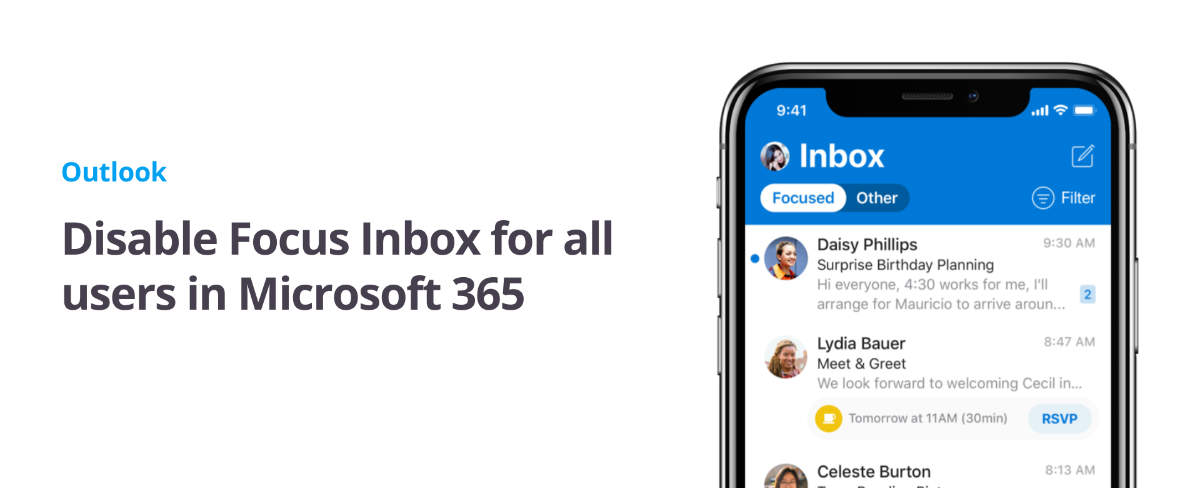
For many, the inbox is the command center for their day. It’s the way to keep track of what is going on and what needs to get done. Outlook’s Focused Inbox makes this process easier by helping you focus on the emails that matter most to you. It separates your inbox into two tabs—Focused and Other. Emails you need to act on right away are in the Focused tab, while the rest wait for you in Other.
Main Menu
Cloud Services
Collaboration and Communication
Security and Compliance
Automation and Development
Digital Workspace
Artificial Intelligence
Overall Microsoft 365 Services
Main Menu
Starfleet Stash App
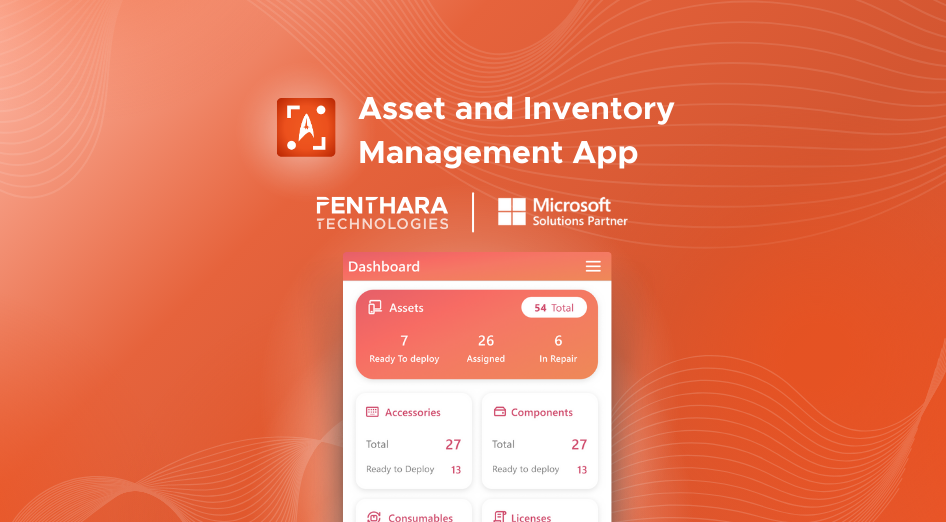
Asset & Inventory Management App
Penthara Org Chart
- Cloud Services
- Collaboration and Communication
- Security and Compliance
- Automation and Development
- Digital Workspace
- Artificial Intelligence
- Overall Microsoft 365 Services
- Starfleet Stash App
- Asset & Inventory Management App
- Penthara Org Chart