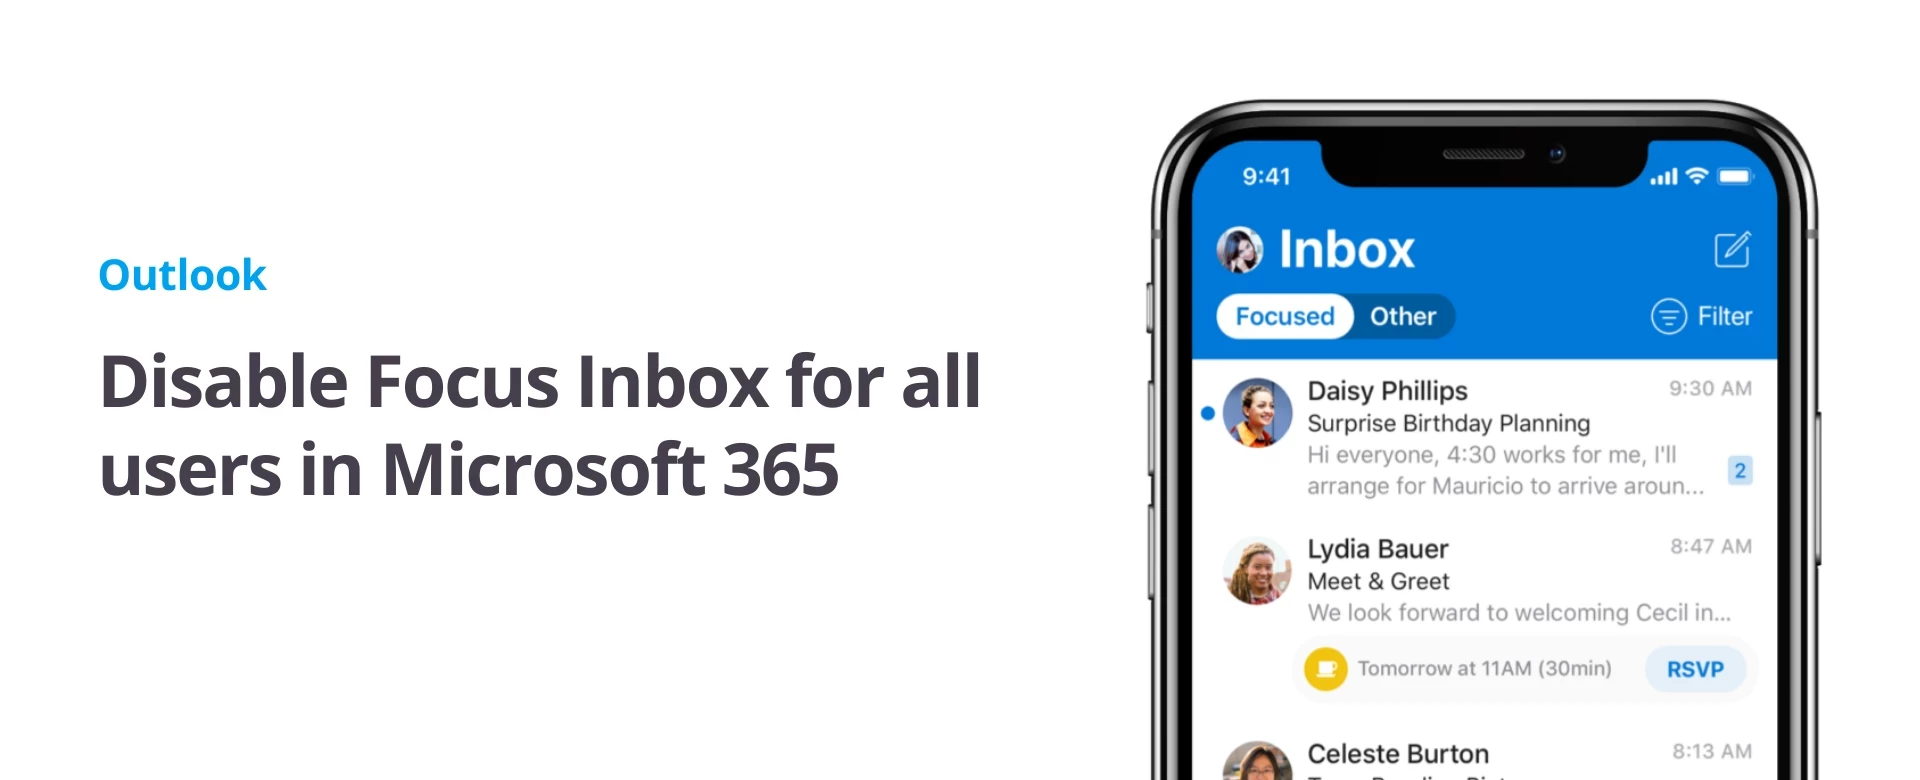
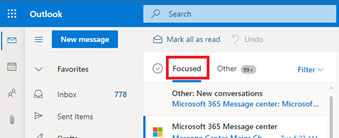
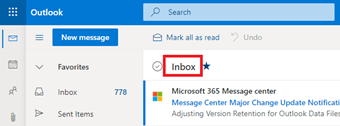


This article will help you configure mail routing during the hybrid migration process from your on-premises mail server to Exchange Online (Microsoft 365). This will ensure zero interruption for your mail flows when some of your user mailboxes will be On-premises while the others have been migrated to Exchange Online.
Main Menu
Cloud Services
Collaboration and Communication
Security and Compliance
Automation and Development
Digital Workspace
Artificial Intelligence
Overall Microsoft 365 Services
Main Menu
Starfleet Stash App
Asset & Inventory Management App
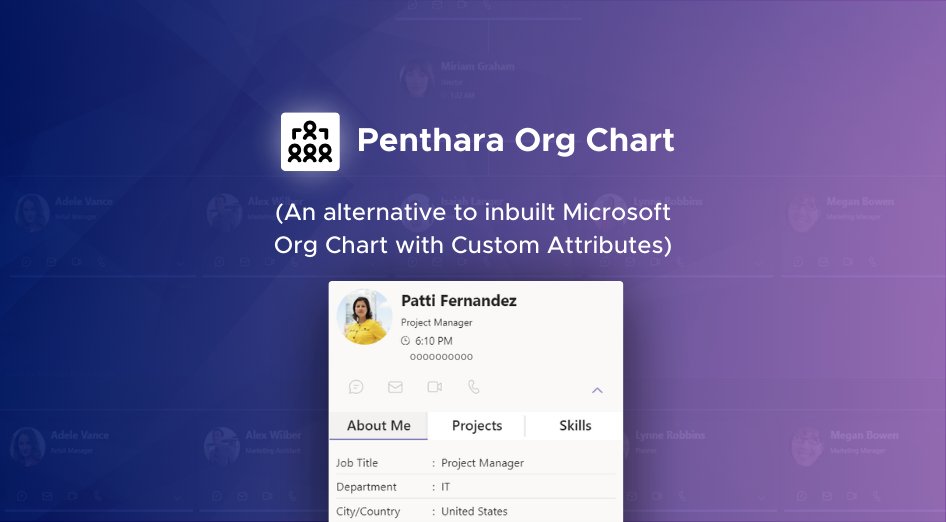
Penthara Org Chart
- Cloud Services
- Collaboration and Communication
- Security and Compliance
- Automation and Development
- Digital Workspace
- Artificial Intelligence
- Overall Microsoft 365 Services
- Starfleet Stash App
- Asset & Inventory Management App
- Penthara Org Chart