


An overview of the latest Microsoft updates for May 2025 covering Microsoft Copilot, Microsoft Teams, SharePoint Online and Microsoft 365 Apps.
Main Menu
Cloud Services
Collaboration and Communication
Security and Compliance
Automation and Development
Digital Workspace
Artificial Intelligence
Overall Microsoft 365 Services
Main Menu
Starfleet Stash App
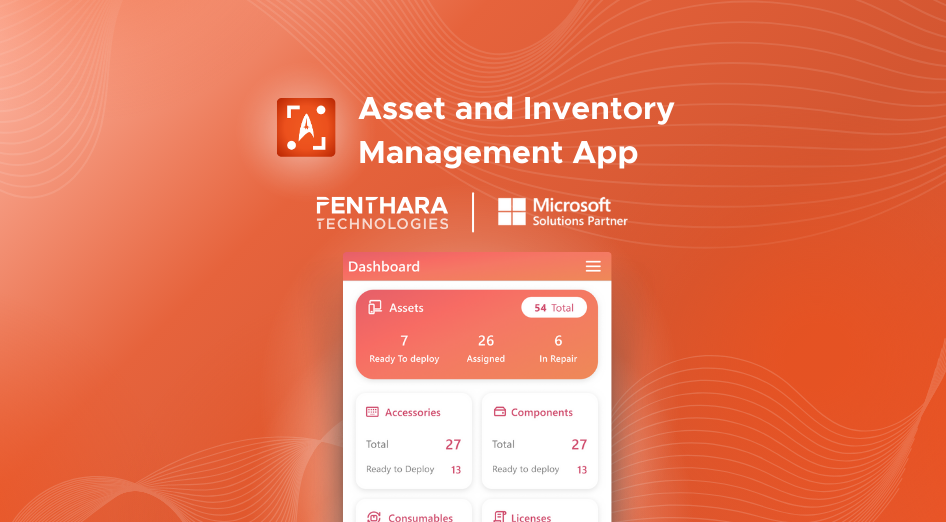
Asset & Inventory Management App
Penthara Org Chart
- Cloud Services
- Collaboration and Communication
- Security and Compliance
- Automation and Development
- Digital Workspace
- Artificial Intelligence
- Overall Microsoft 365 Services
- Starfleet Stash App
- Asset & Inventory Management App
- Penthara Org Chart