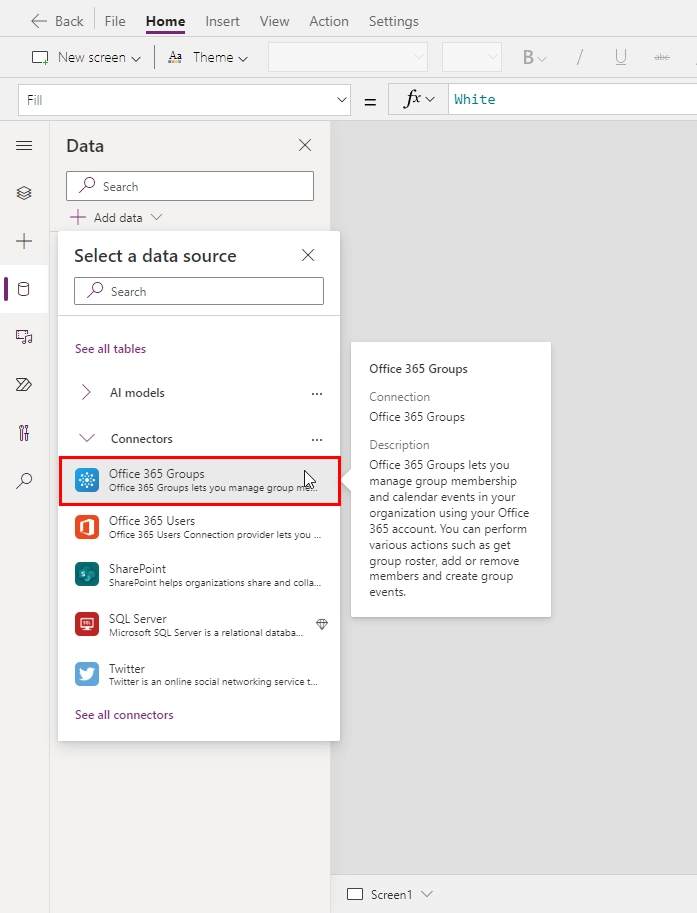
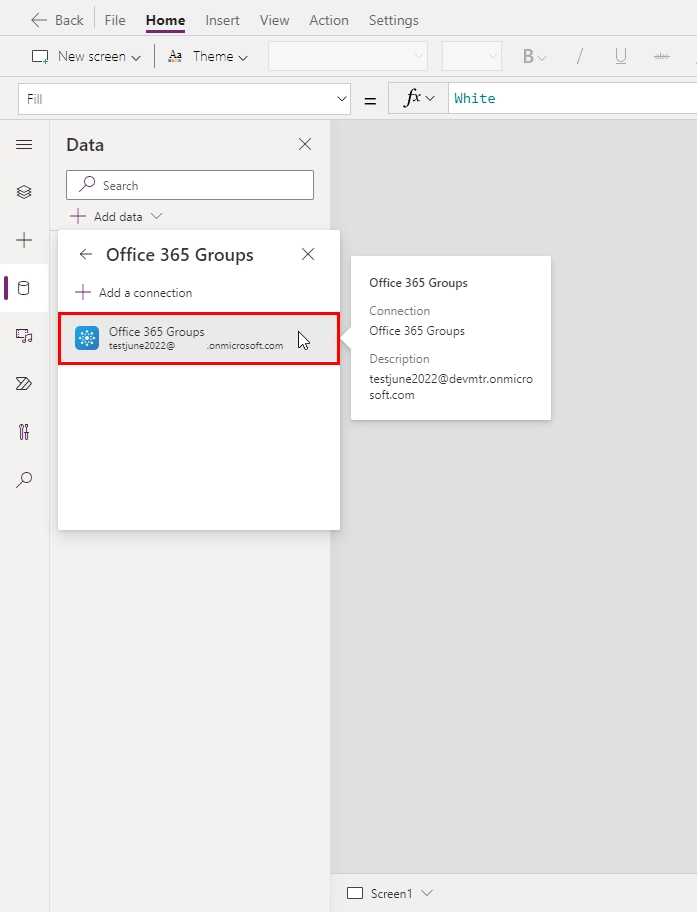
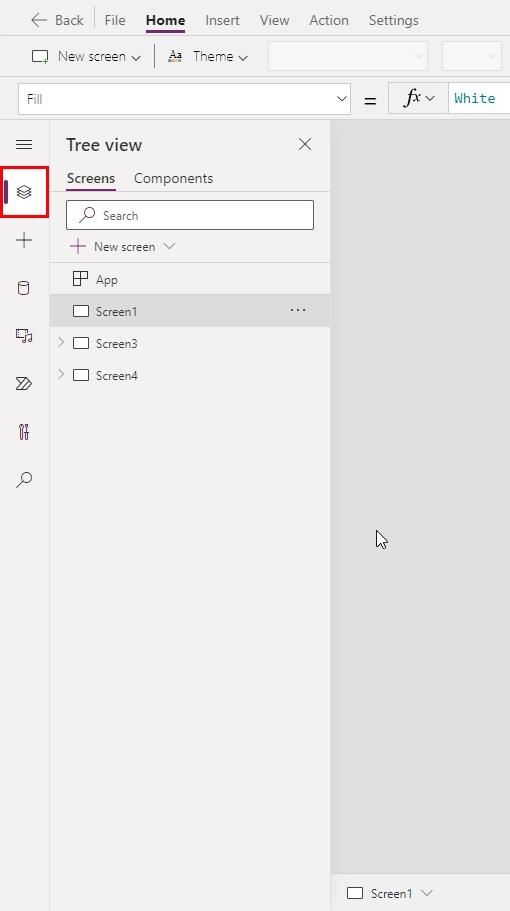
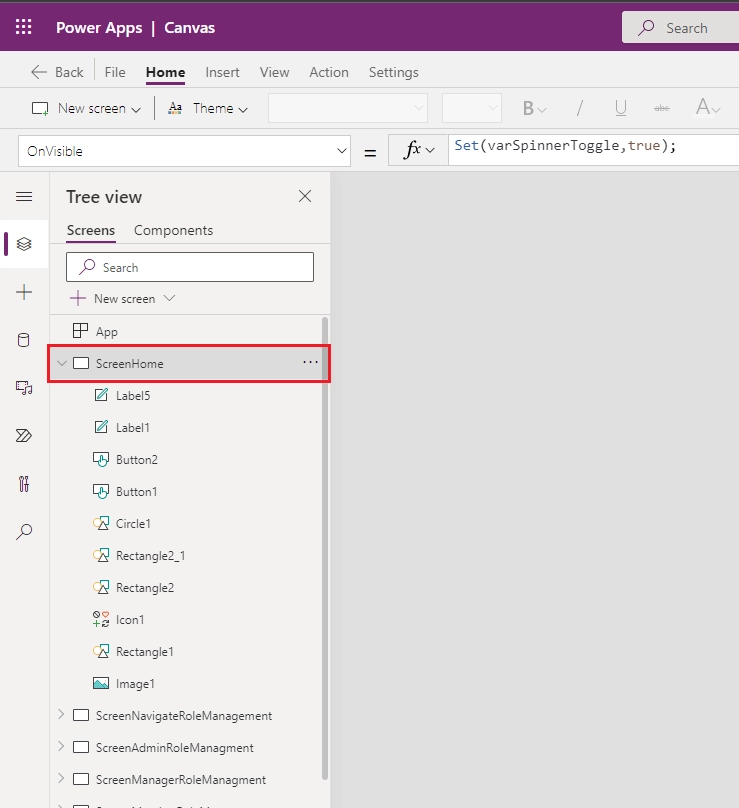
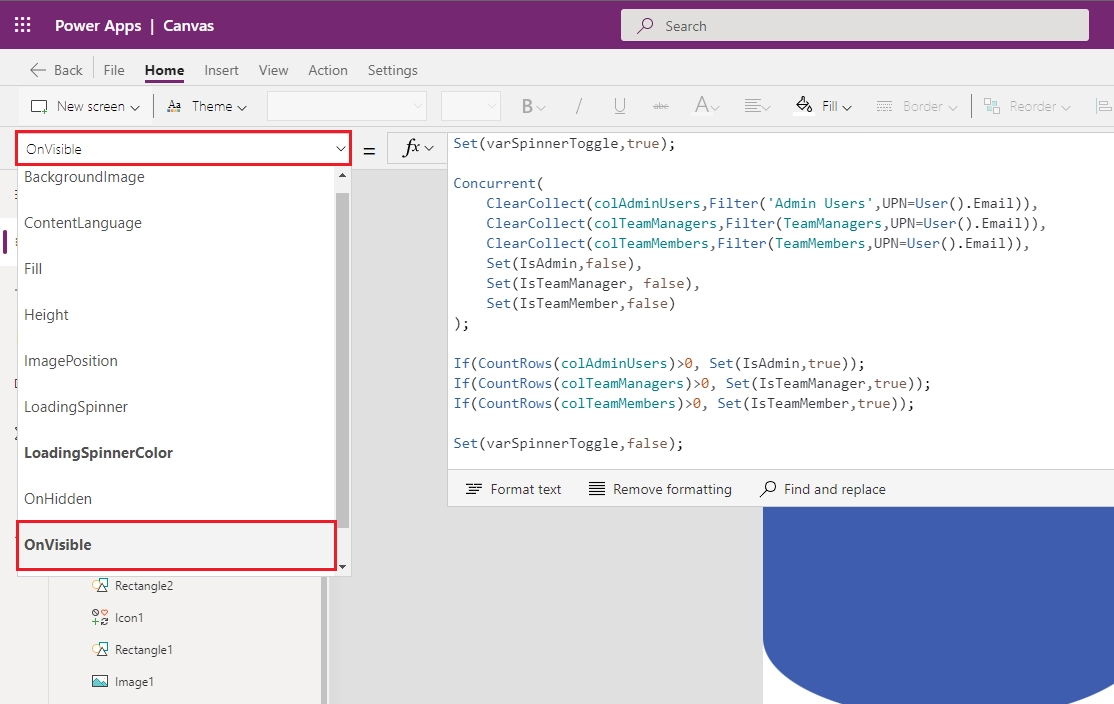
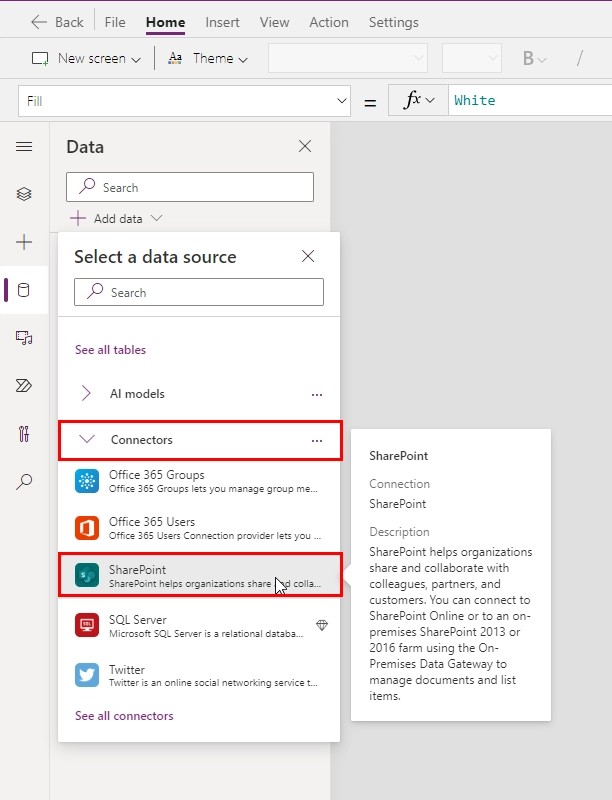
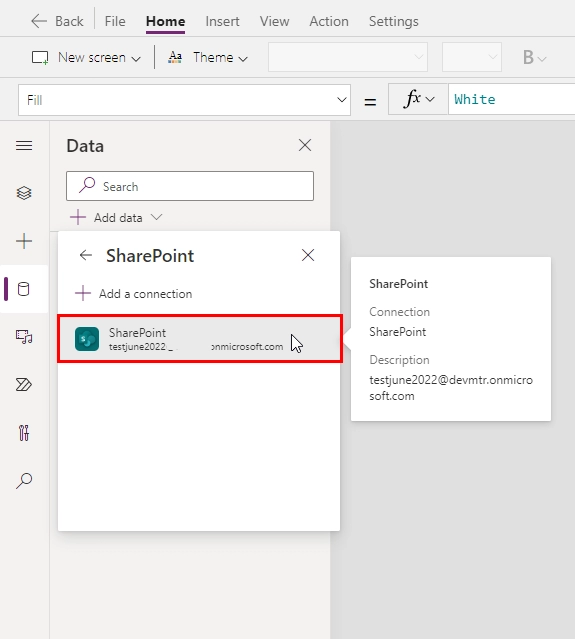
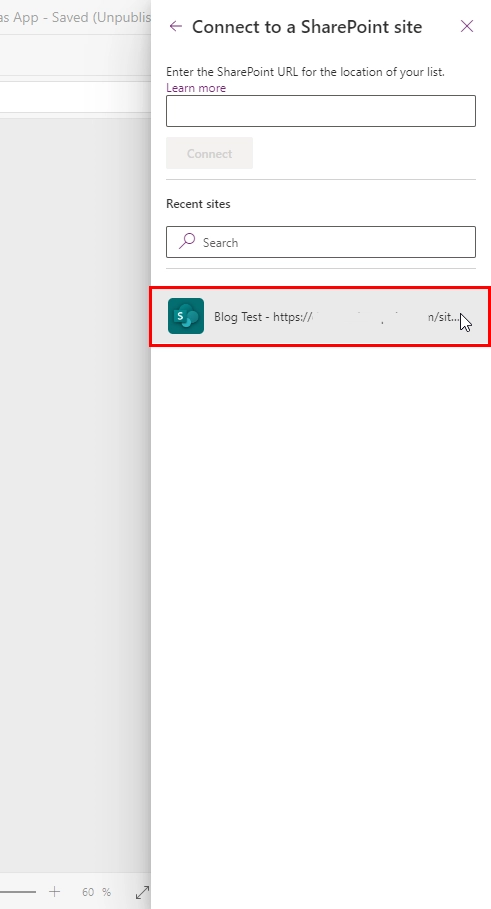
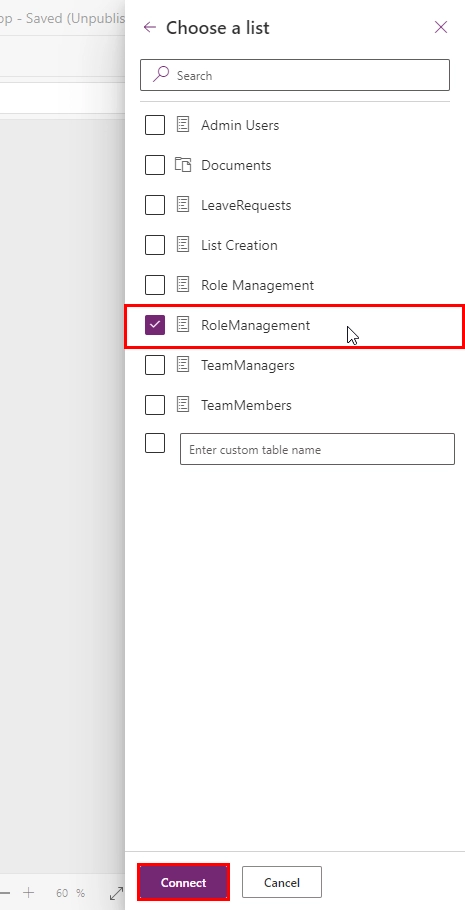
ClearCollect(GroupAdminUsers,Office365Groups.ListGroupMembers("Group ID").value); ClearCollect(GroupManagerUsers,Office365Groups.ListGroupMembers("Group ID ").value); ClearCollect(GroupMemberUsers,Office365Groups.ListGroupMembers("Group ID ").value); Concurrent( ClearCollect(colAdminUsers, Filter(GroupAdminUsers, userPrincipalName = User().Email)), ClearCollect(colTeamManagers, Filter(GroupManagerUsers, userPrincipalName = User().Email)), ClearCollect(colTeamMembers, Filter(GroupMemberUsers, userPrincipalName = User().Email)), Set(IsAdmin, false), Set(IsTeamManager, false), Set(IsTeamMember, false) ); If(CountRows(colAdminUsers)>0, Set(IsAdmin,true)); If(CountRows(colTeamManagers)>0, Set(IsTeamManager,true)); If(CountRows(colTeamMembers)>0, Set(IsTeamMember,true));
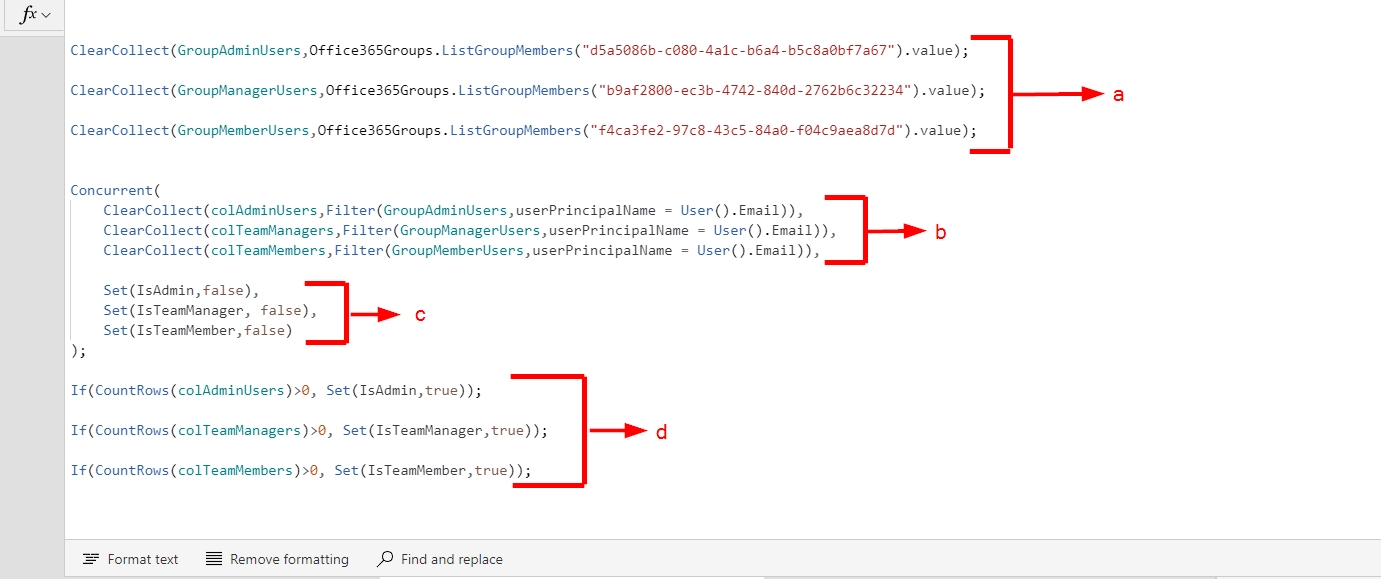
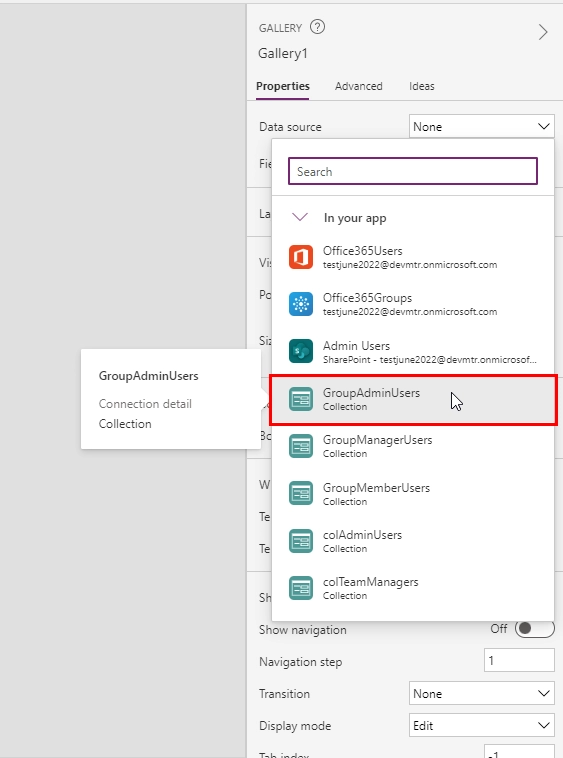
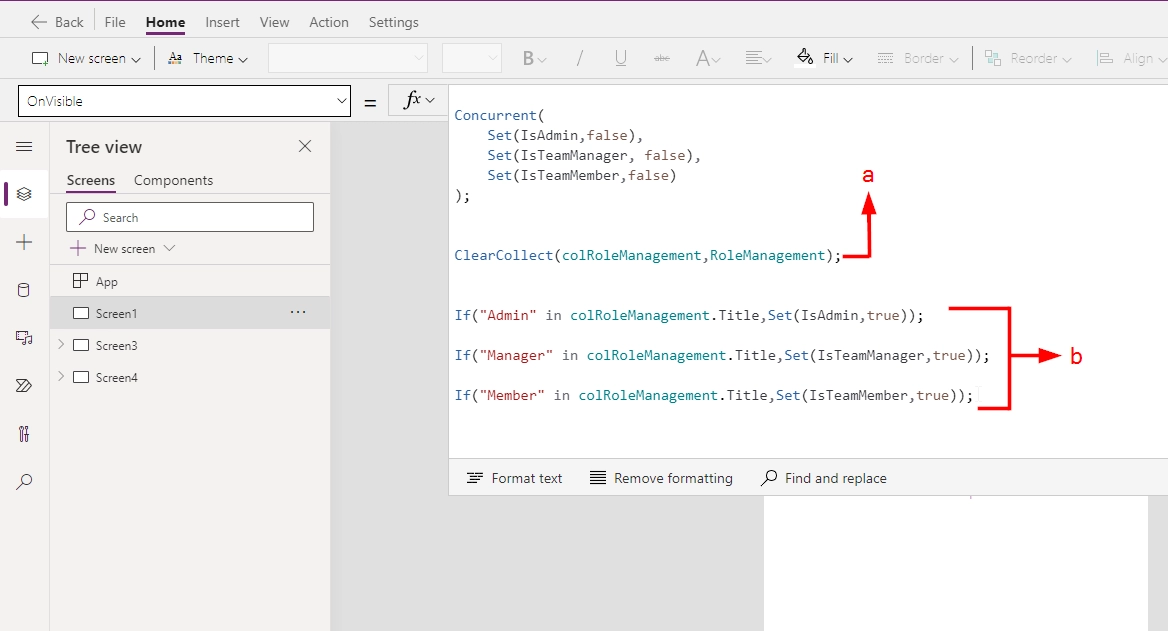
- Section (a) in the above image will help us collect the list of members from a SharePoint group into a collection. We must use the Group ID we collected earlier
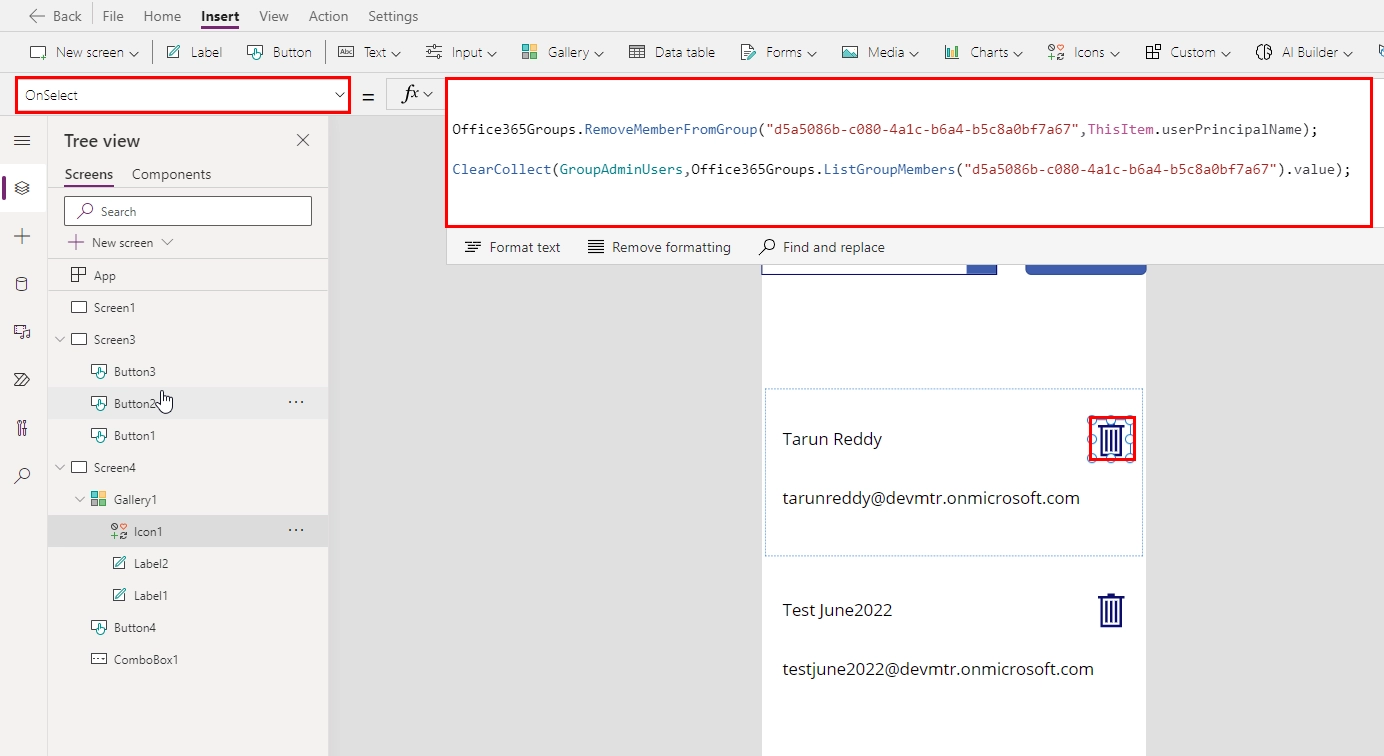
- ClearCollect(‘Collection Name’,Office365Groups.ListGroupMembers("Group ID").value)
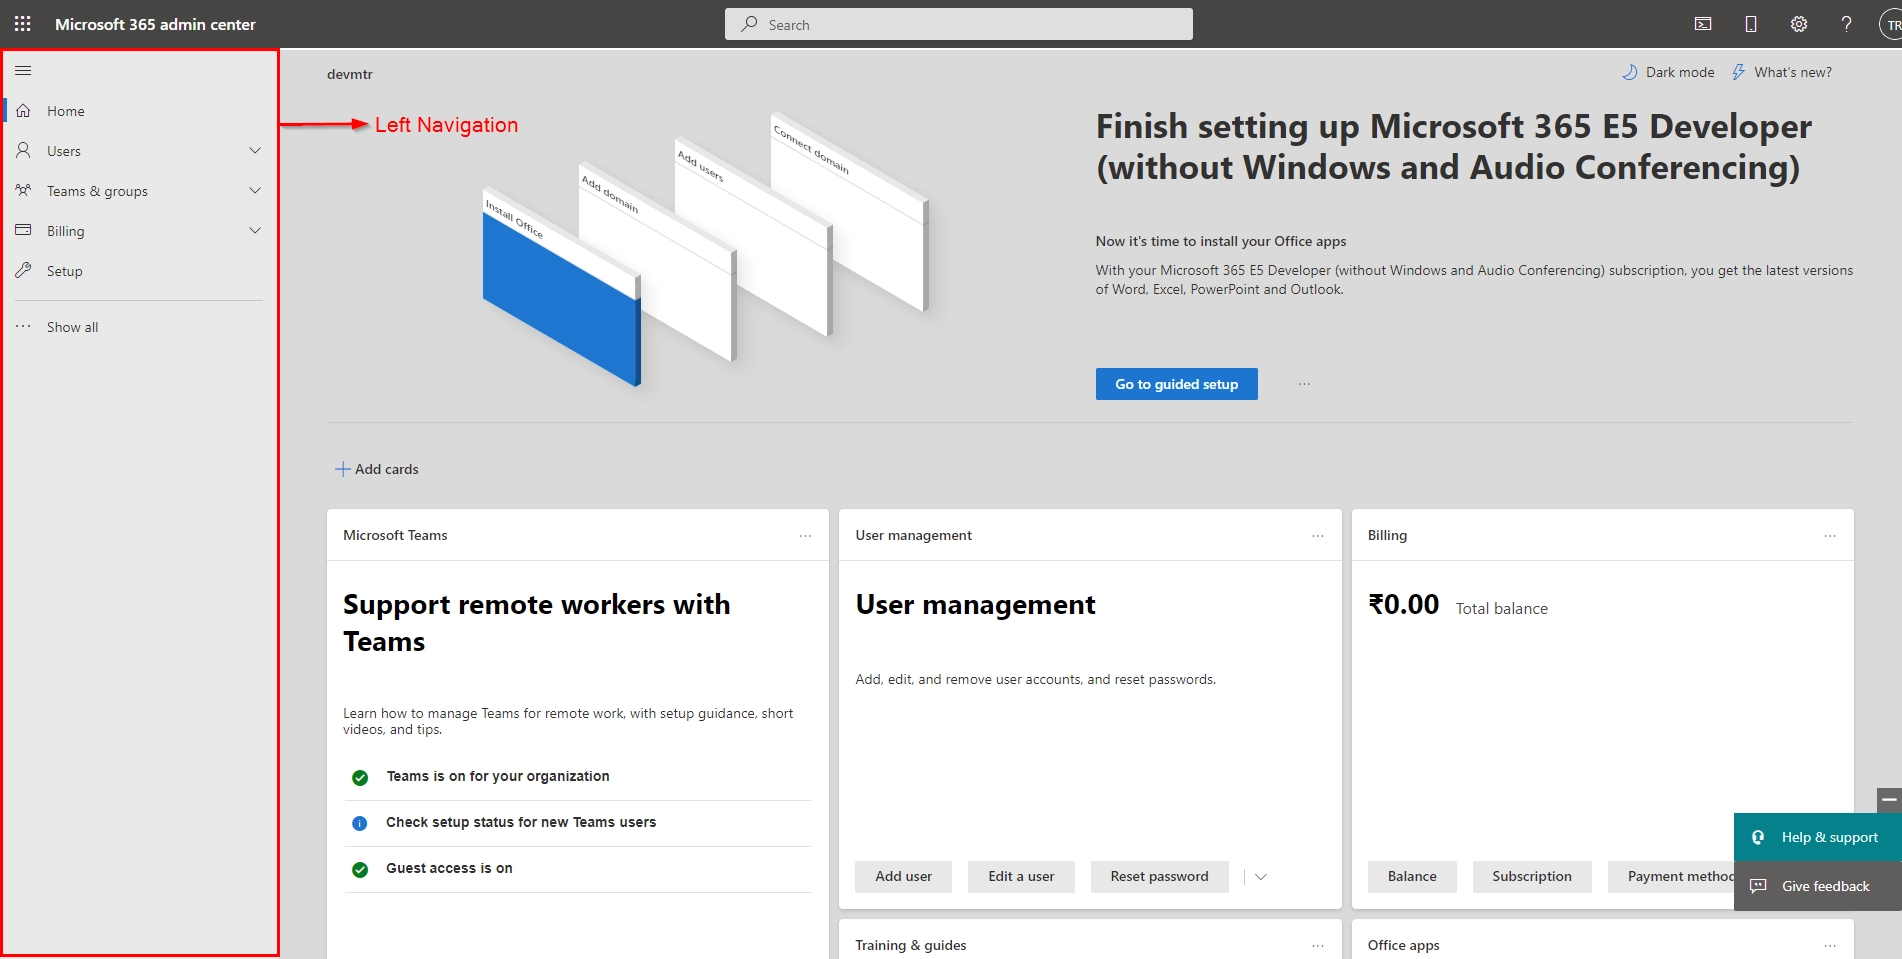
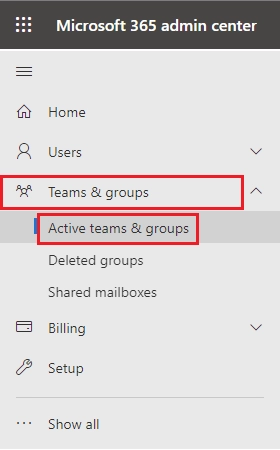
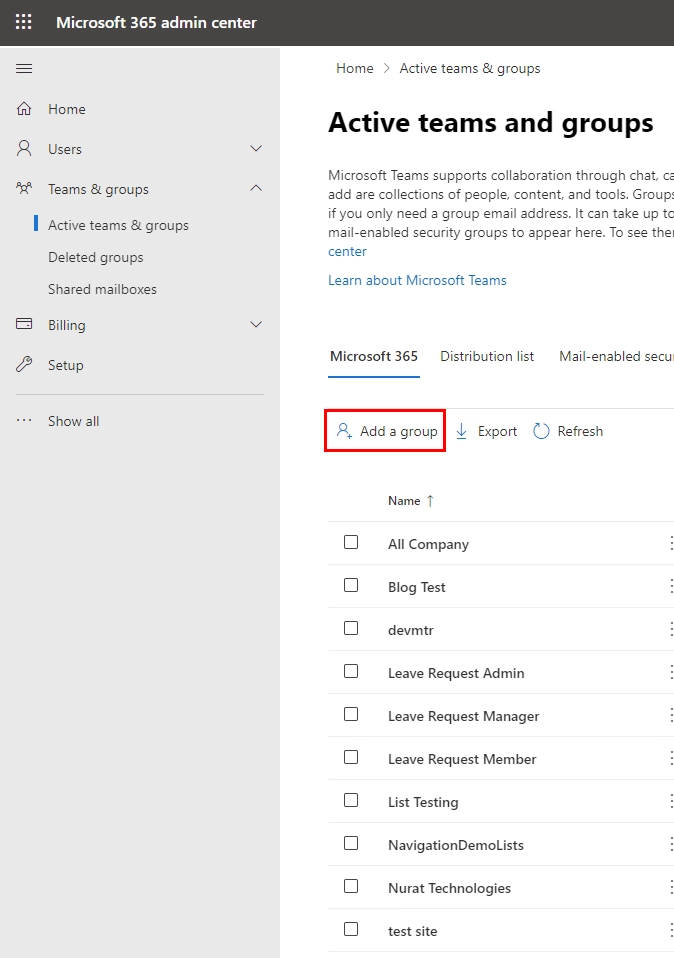
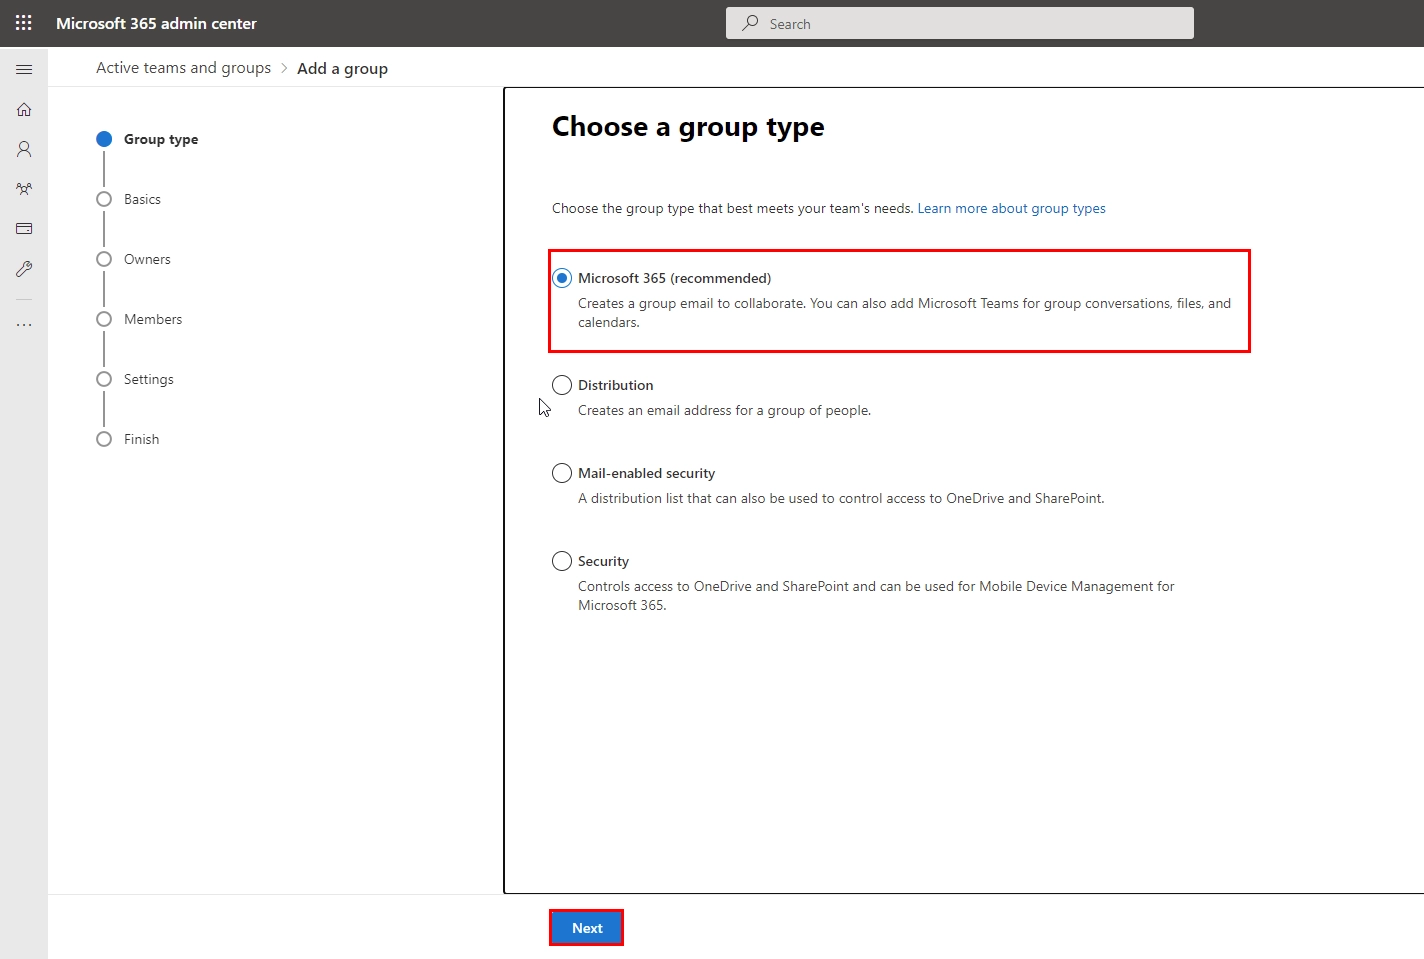
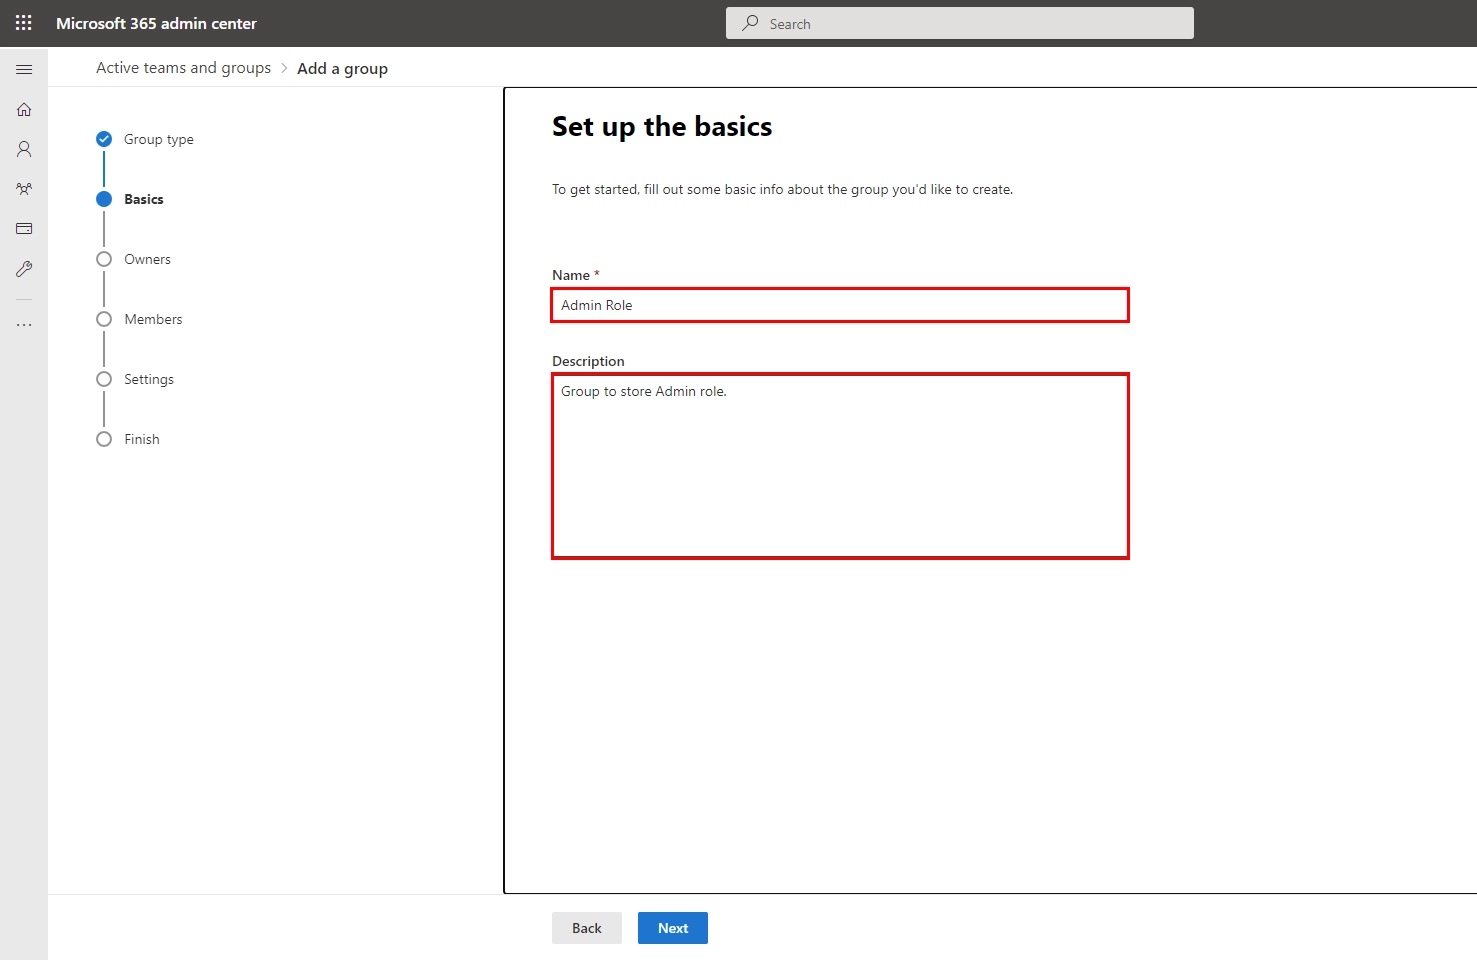
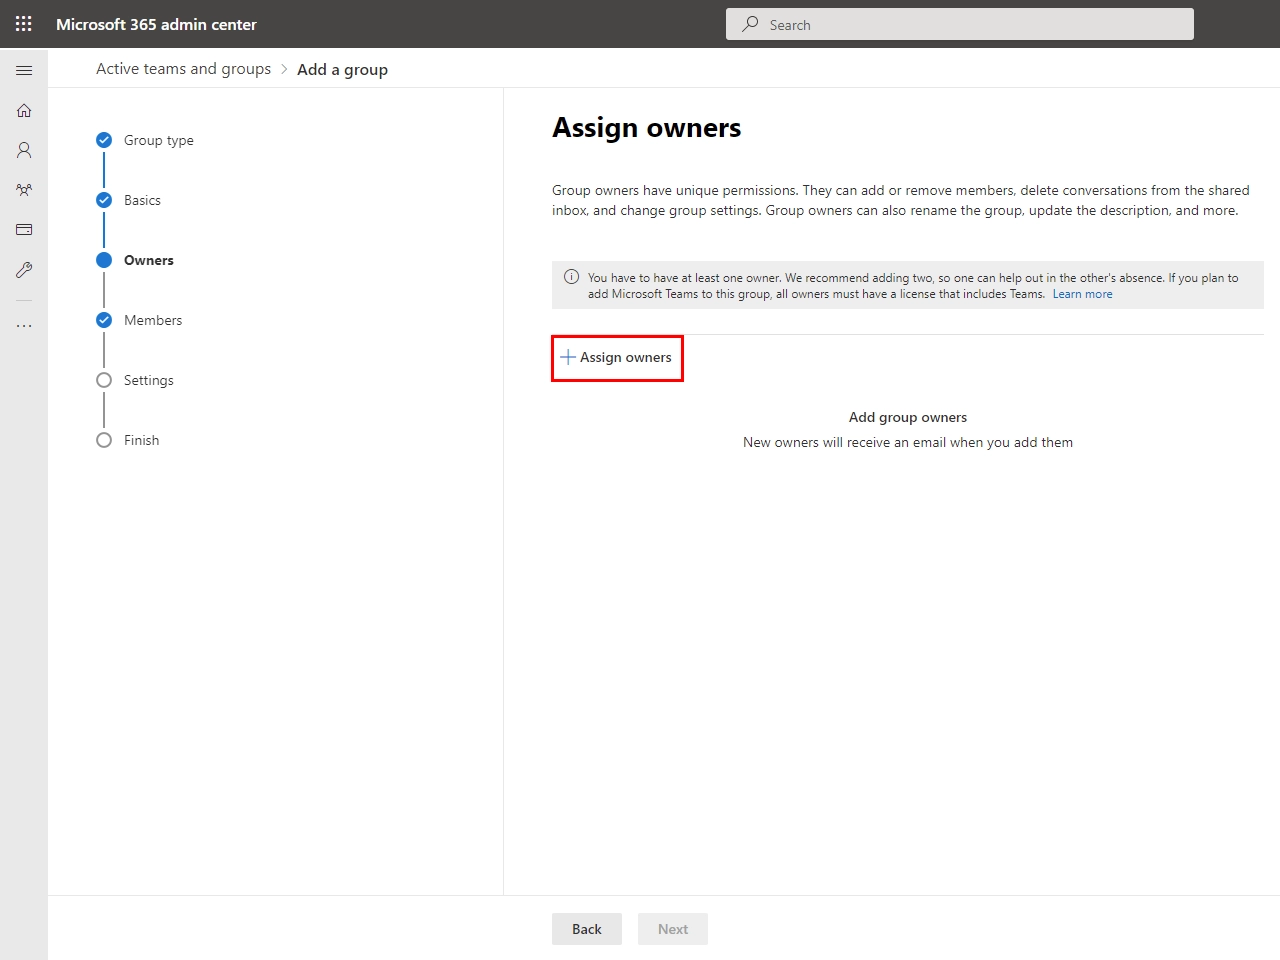
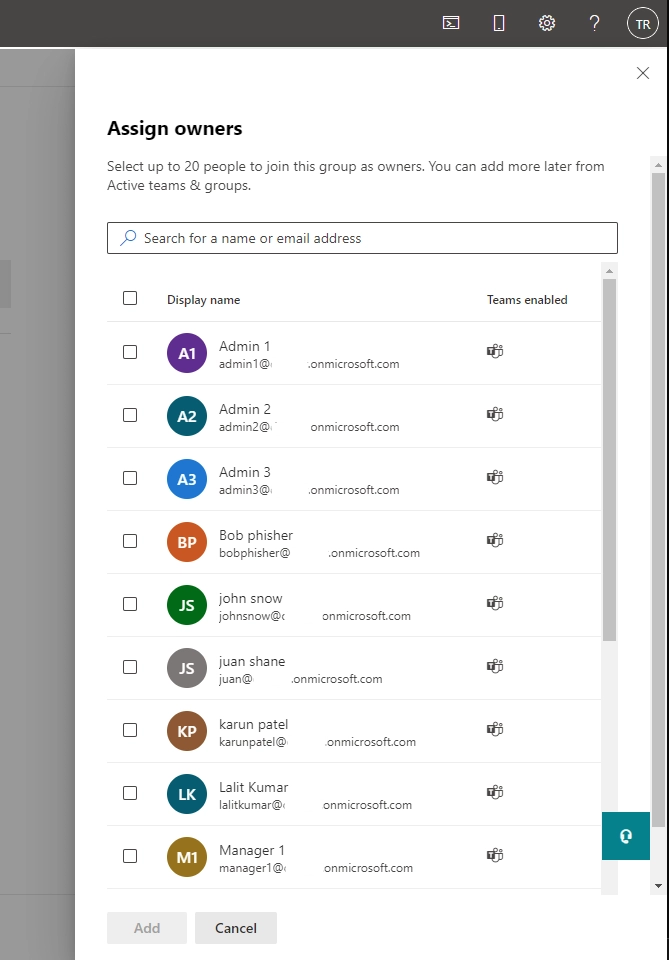
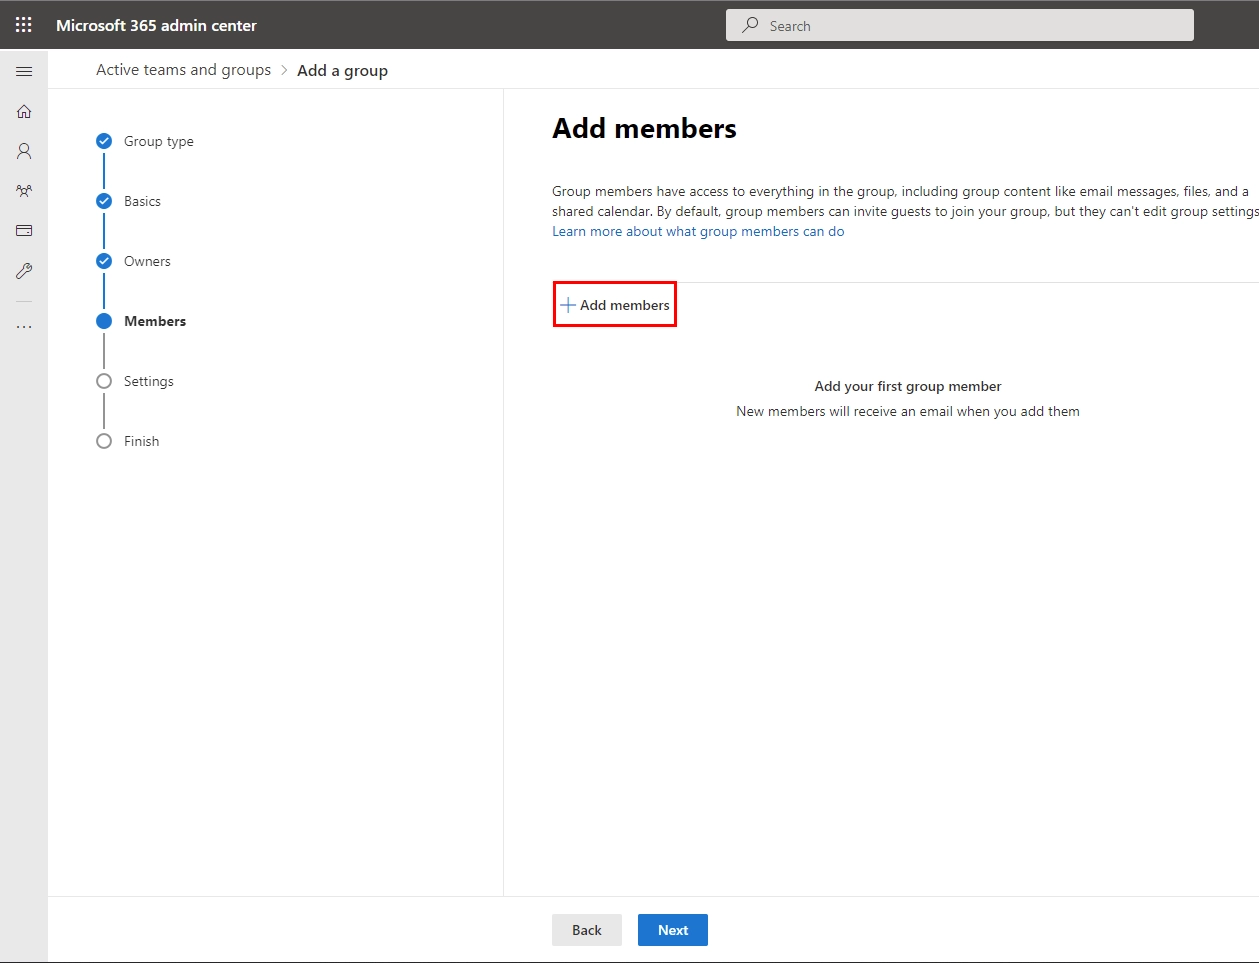
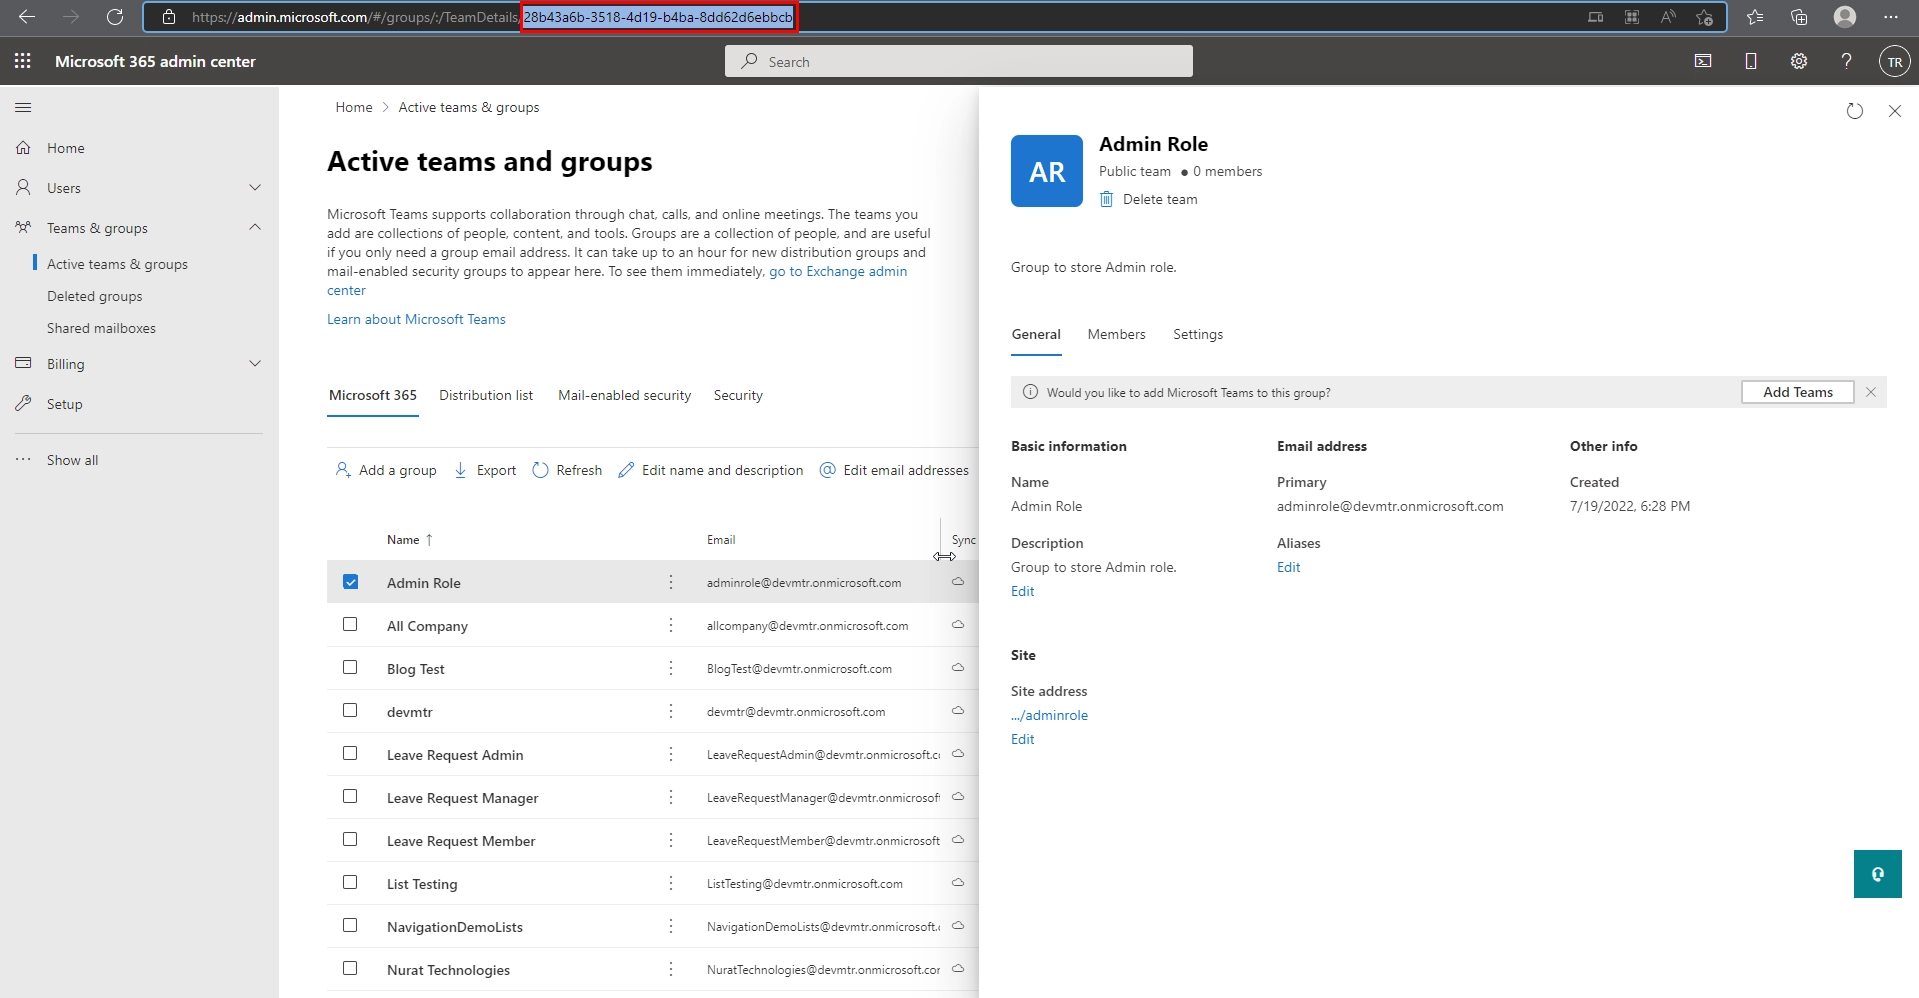
- Group ID comes from the slug when we view the details of the group (Refer to the steps from “How to create SharePoint Group”(Anchor link)).
- Section (b) with help us filter the Role List we collected in (a) step by comparing the User Principal Name column in the collection to the currently logged-in user’s Email.
- ClearCollect(‘New Collection Name’, Filter(‘Collection Name from above step’,userPrincipalName = User().Email))
- Section (c) will help Initializing Global variables to store the user’s current role and set them to false.
- Set(‘Variable Name’, ‘value’);
- Section (d) will help in Checking the entries inside the collection we filtered in the (b) step. If the filtered collection contains data, then it means the user belongs to that Security Role.
ClearCollect(GroupAdminUsers, Office365Groups. ListGroupMembers("Group ID").value); ClearCollect(GroupManagerUsers, Office365Groups. ListGroupMembers("Group ID ").value); ClearCollect(GroupMemberUsers, Office365Groups. ListGroupMembers("Group ID ").value); Concurrent( ClearCollect(colAdminUsers, Filter(GroupAdminUsers, userPrincipalName = User().Email)), ClearCollect(colTeamManagers, Filter(GroupManagerUsers, userPrincipalName = User().Email)), ClearCollect(colTeamMembers, Filter(GroupMemberUsers, userPrincipalName = User().Email)), Set(IsAdmin, false), Set(IsTeamManager, false), Set(IsTeamMember, false) ); If(CountRows(colAdminUsers)>0, Set(IsAdmin,true)); If(CountRows(colTeamManagers)>0, Set(IsTeamManager,true)); If(CountRows(colTeamMembers)>0, Set(IsTeamMember,true));
- Section (a) in the above image will help us collect the list of members from a SharePoint group into a collection. We must use the Group ID we collected earlier
- ClearCollect(‘Collection Name’,Office365Groups. ListGroupMembers("Group ID").value)
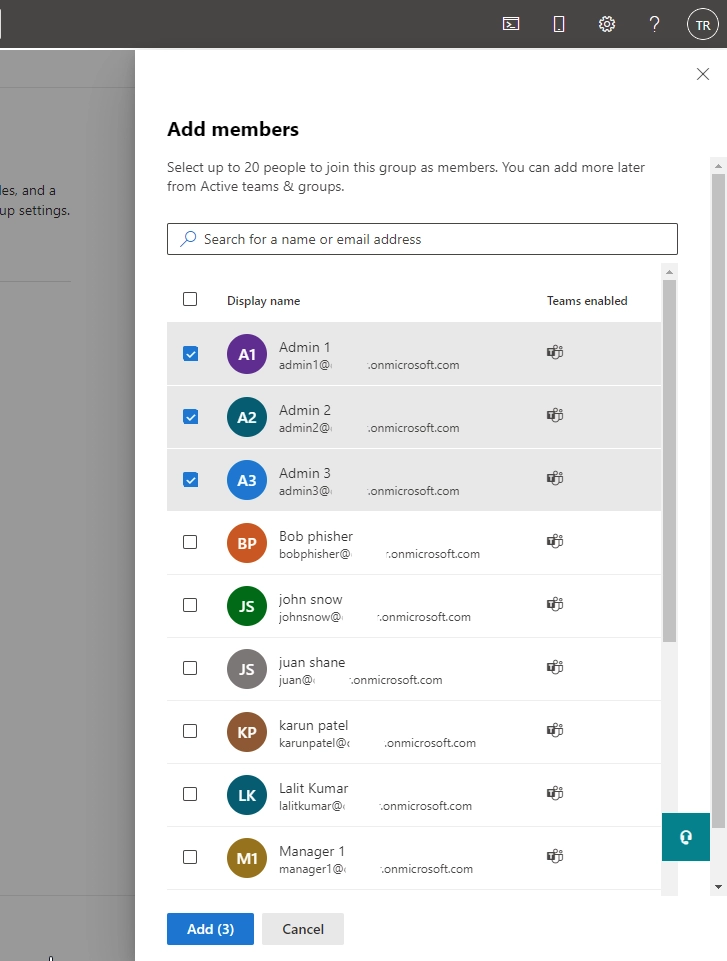
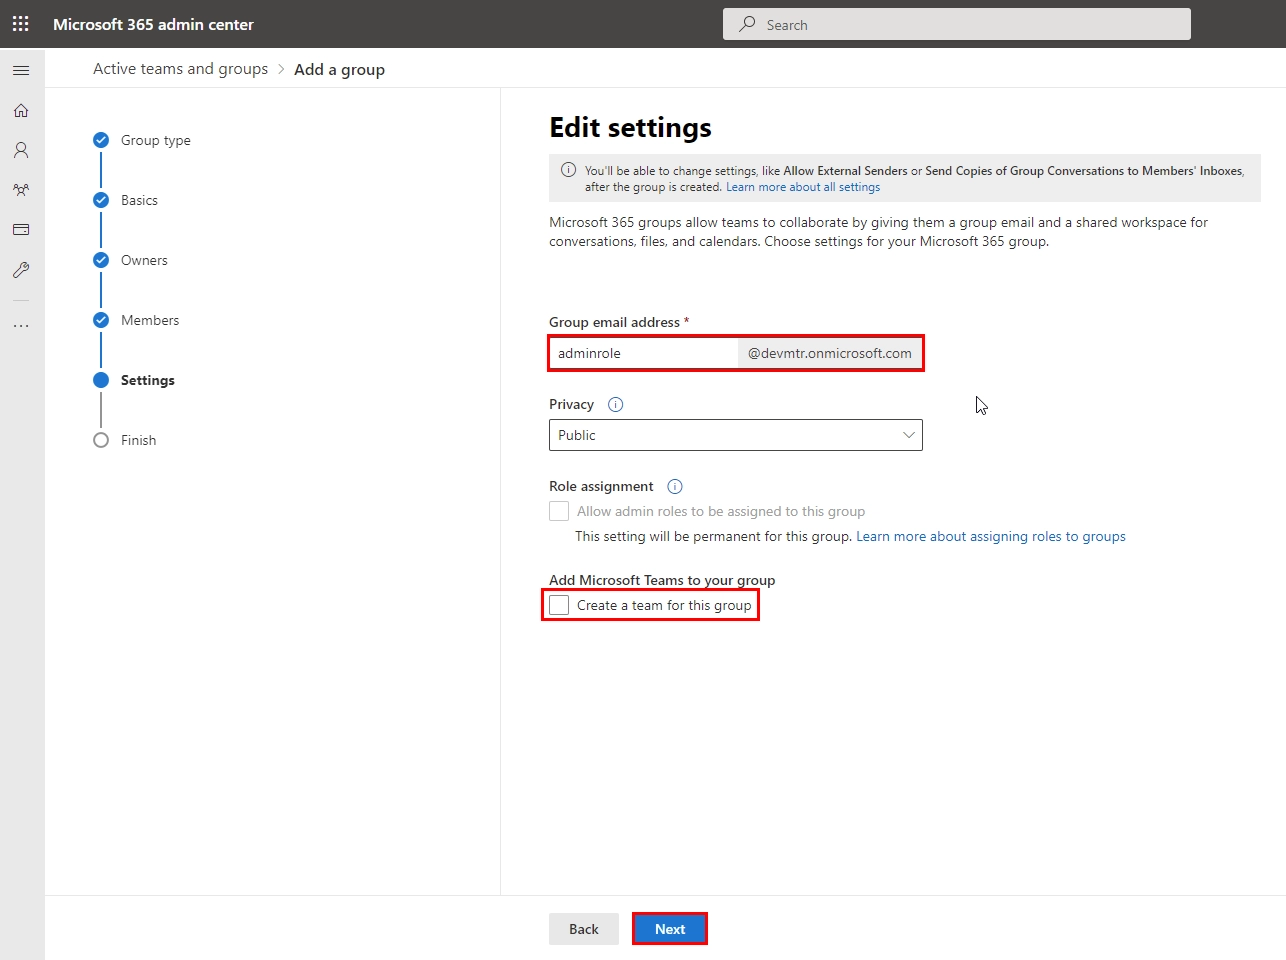
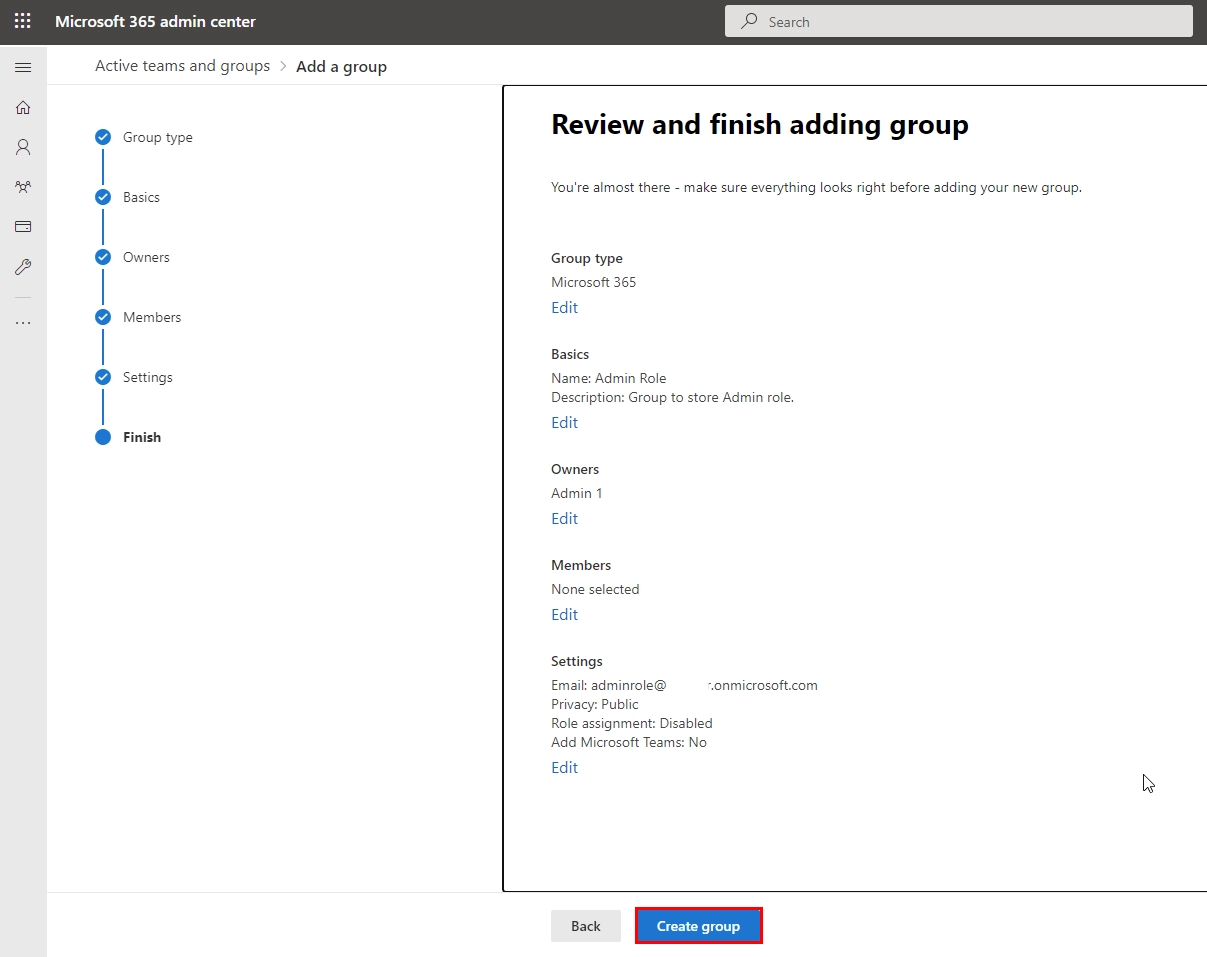
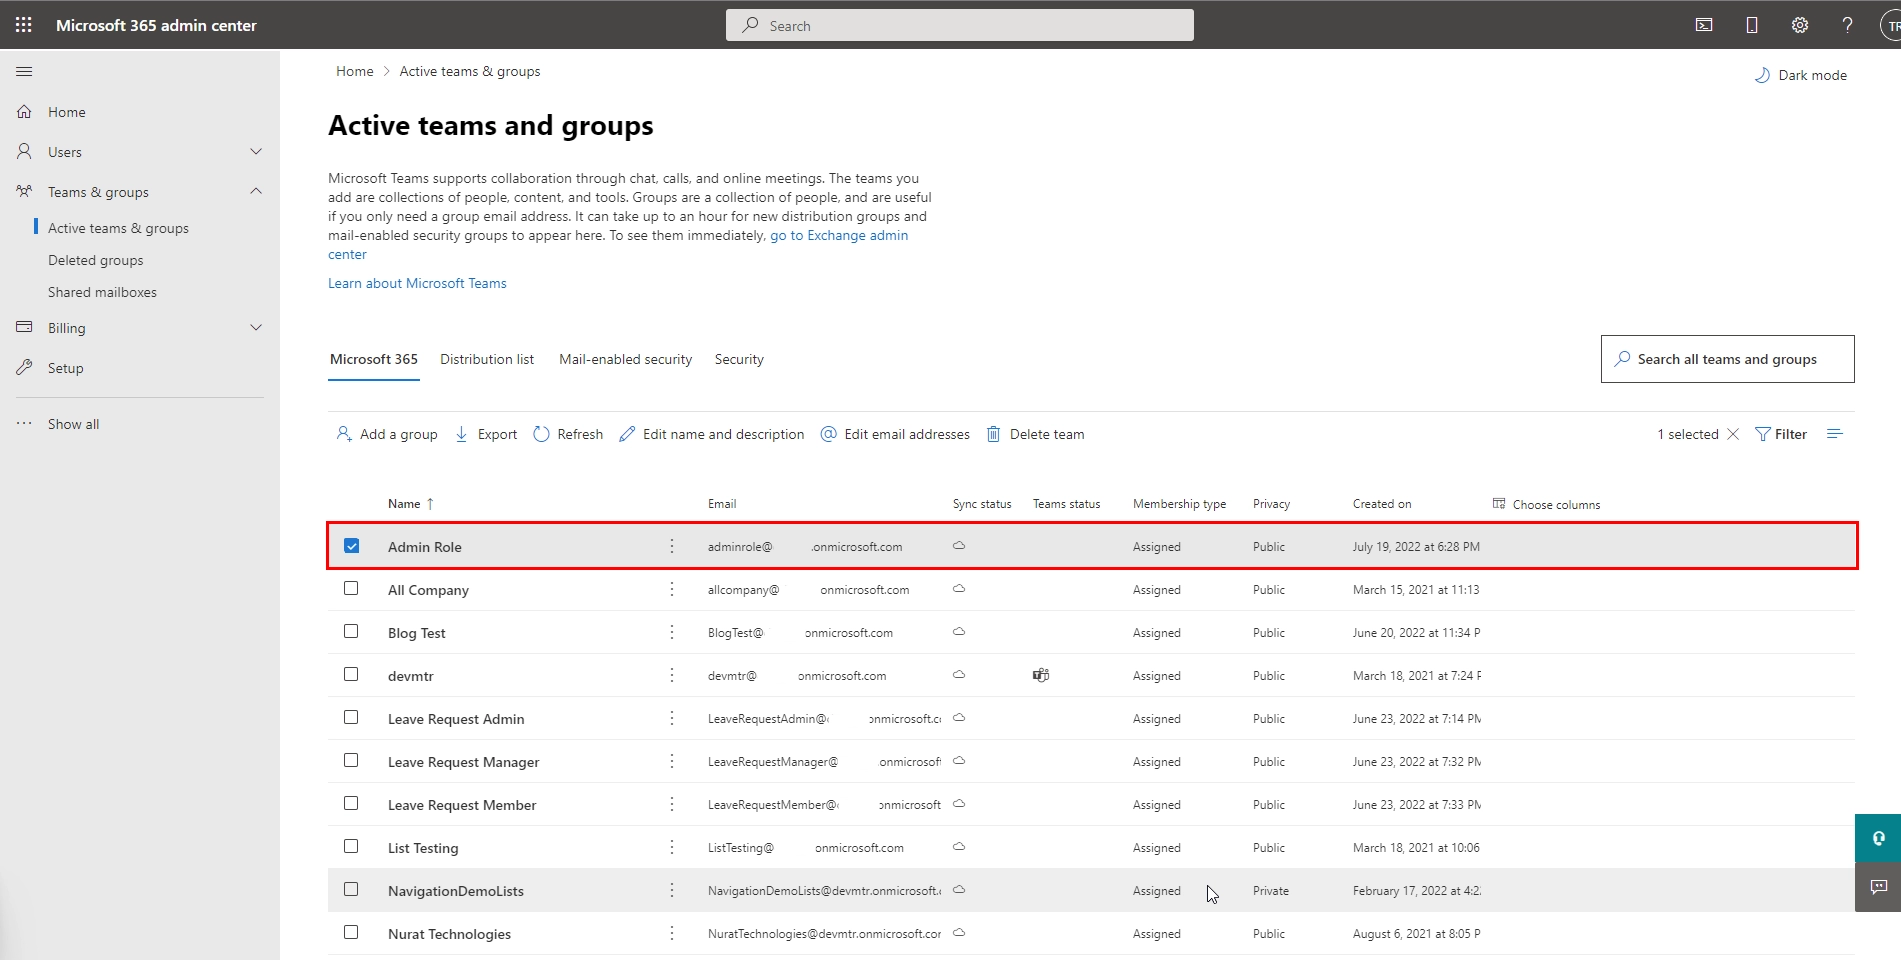
- Group ID comes from the slug when we view the details of the group (Refer to the steps from “How to create SharePoint Group”(Anchor link)).
- Section (b) with help us filter the Role List we collected in (a) step by comparing the User Principal Name column in the collection to the currently logged-in user’s Email.
- ClearCollect(‘New Collection Name’, Filter(‘Collection Name from above step’,userPrincipalName = User().Email))
- Section (c) will help Initializing Global variables to store the user’s current role and set them to false.
- Set(‘Variable Name’, ‘value’);
- Section (d) will help in Checking the entries inside the collection we filtered in the (b) step. If the filtered collection contains data, then it means the user belongs to that Security Role.
