


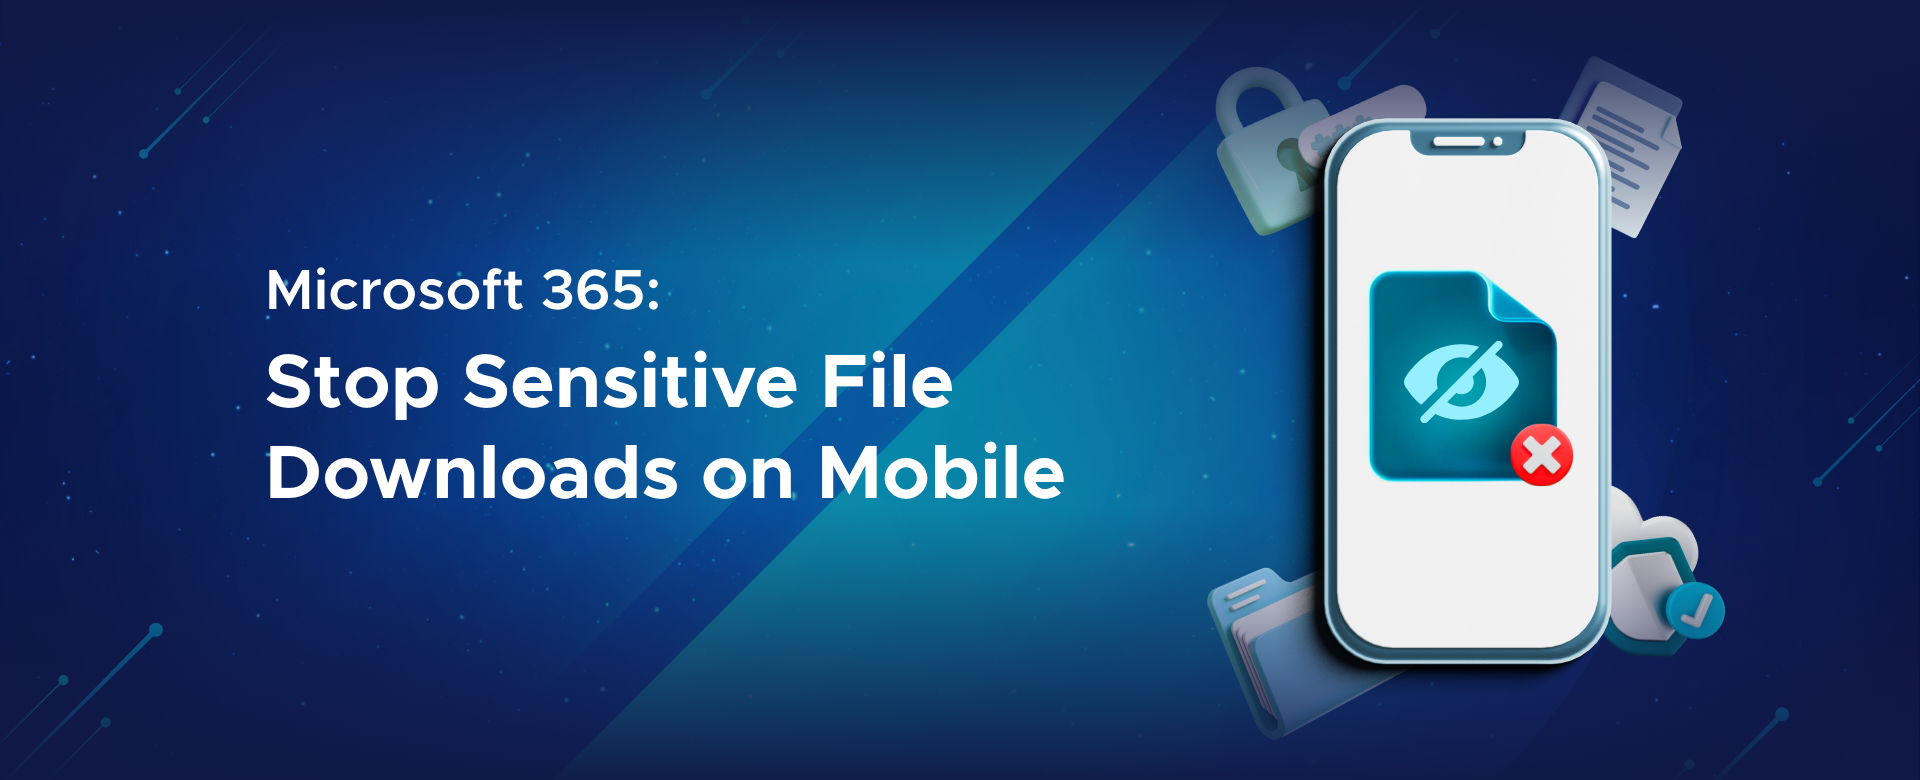
Learn how to stop sensitive files from being downloaded on mobile devices using Microsoft 365 tools like Conditional Access, Sensitivity Labels, and Defender for Cloud Apps. Step-by-step guide with real-world scenarios, compliance tips, and admin checklists.
Main Menu
Cloud Services
Collaboration and Communication
Security and Compliance
Automation and Development
Digital Workspace
Artificial Intelligence
Overall Microsoft 365 Services
Main Menu
Starfleet Stash App
Asset & Inventory Management App
Penthara Org Chart
- Cloud Services
- Collaboration and Communication
- Security and Compliance
- Automation and Development
- Digital Workspace
- Artificial Intelligence
- Overall Microsoft 365 Services
- Starfleet Stash App
- Asset & Inventory Management App
- Penthara Org Chart


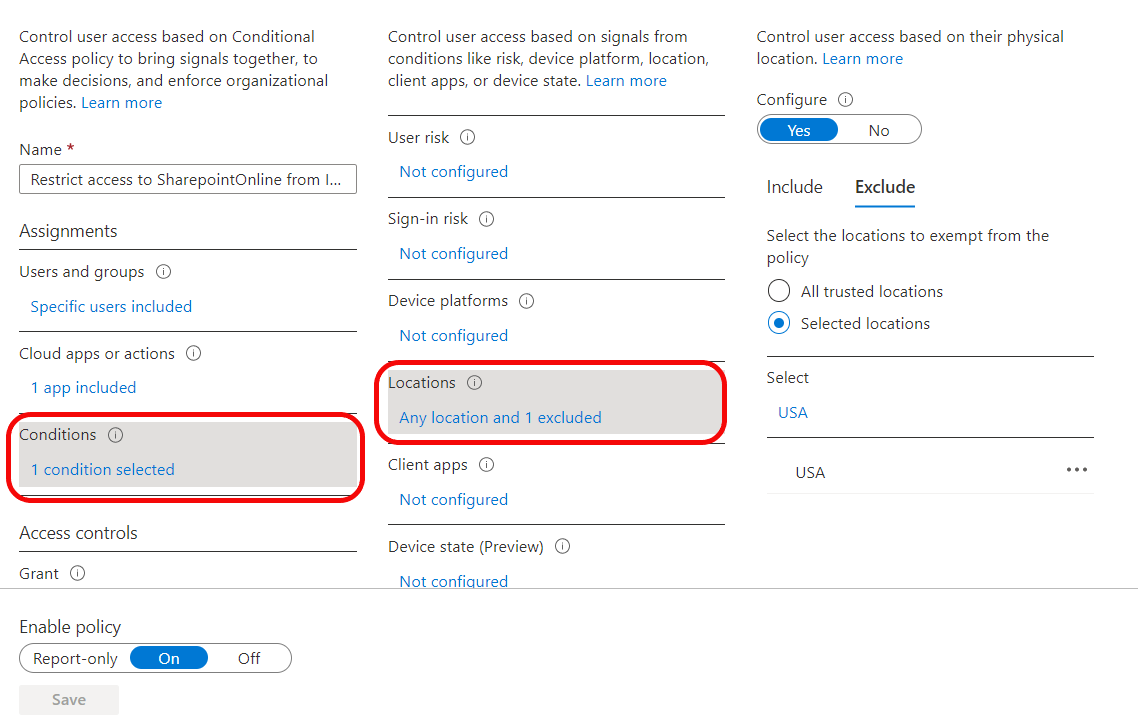
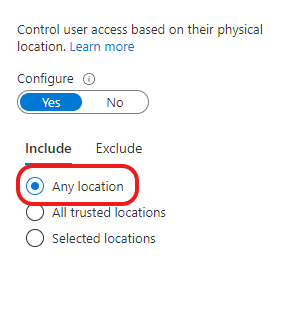
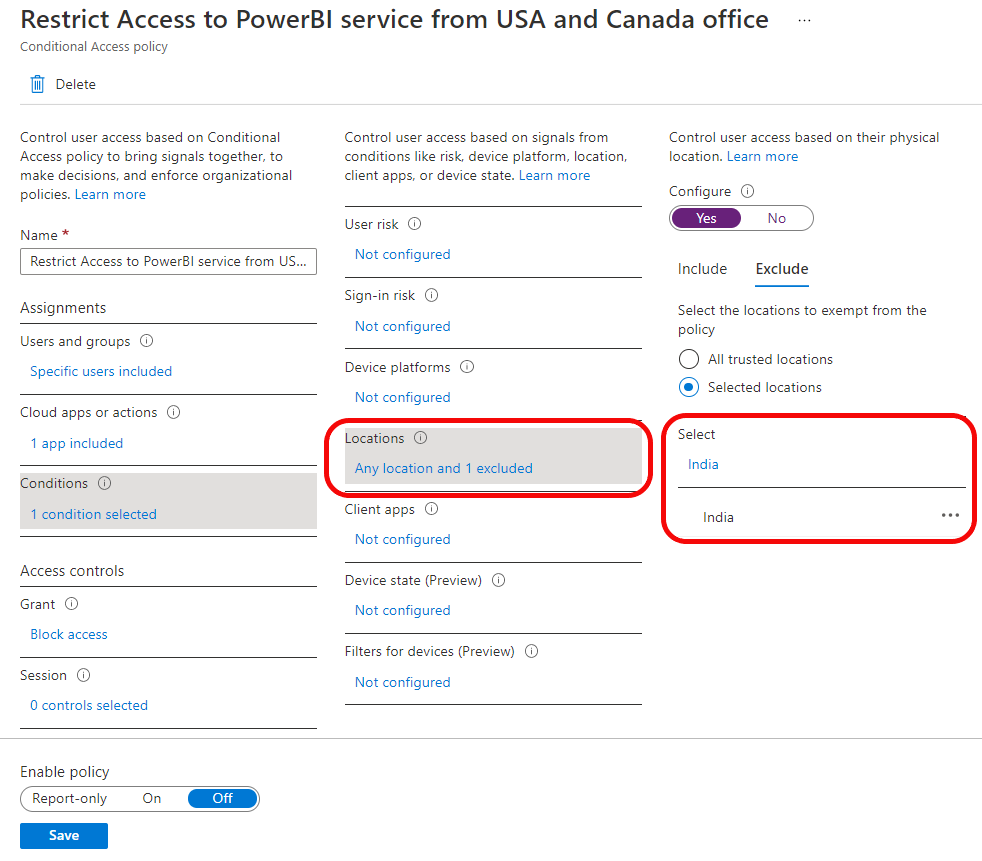
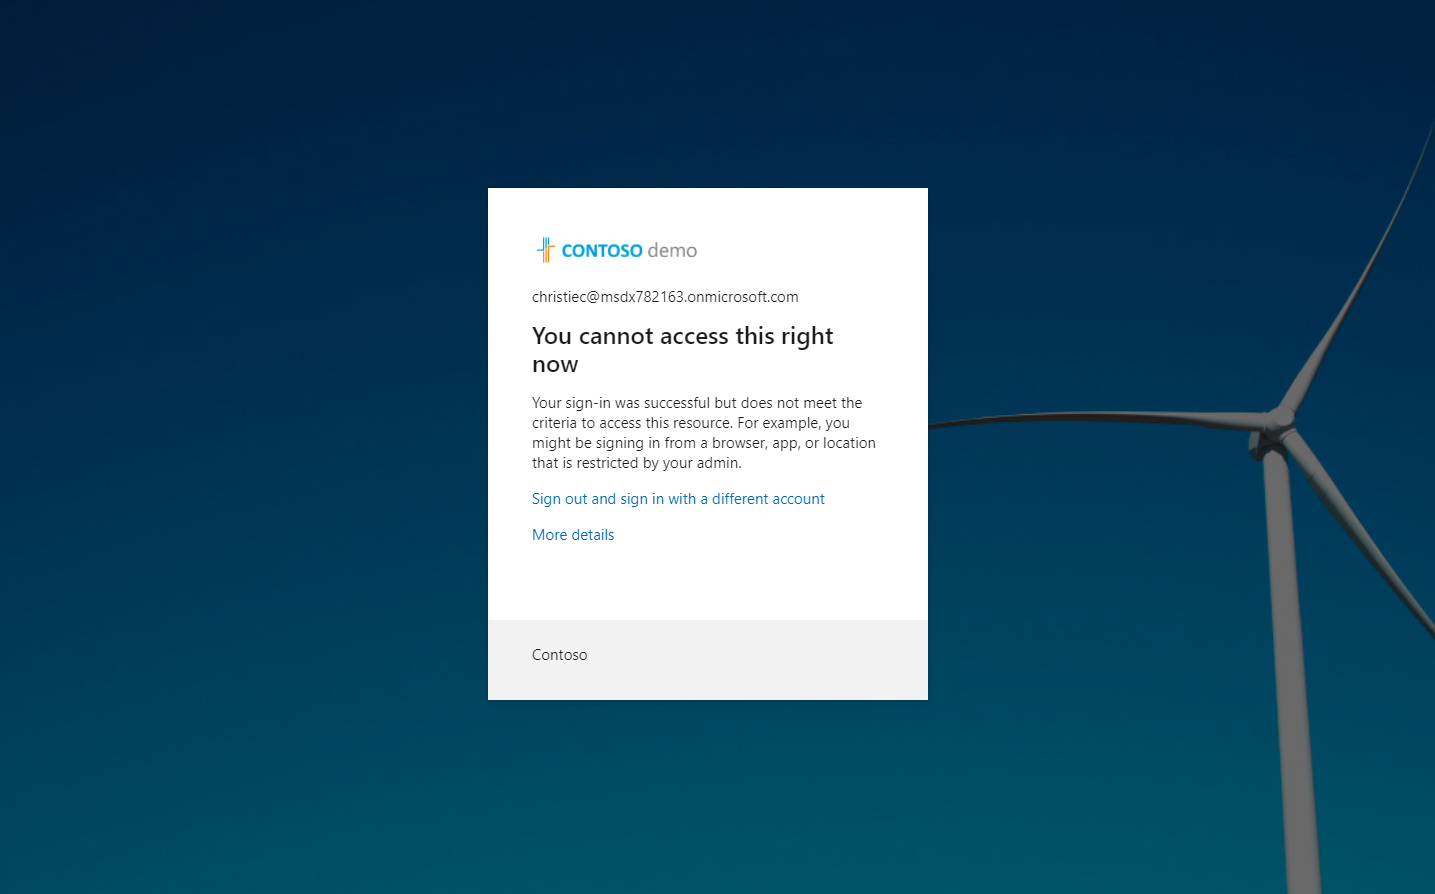
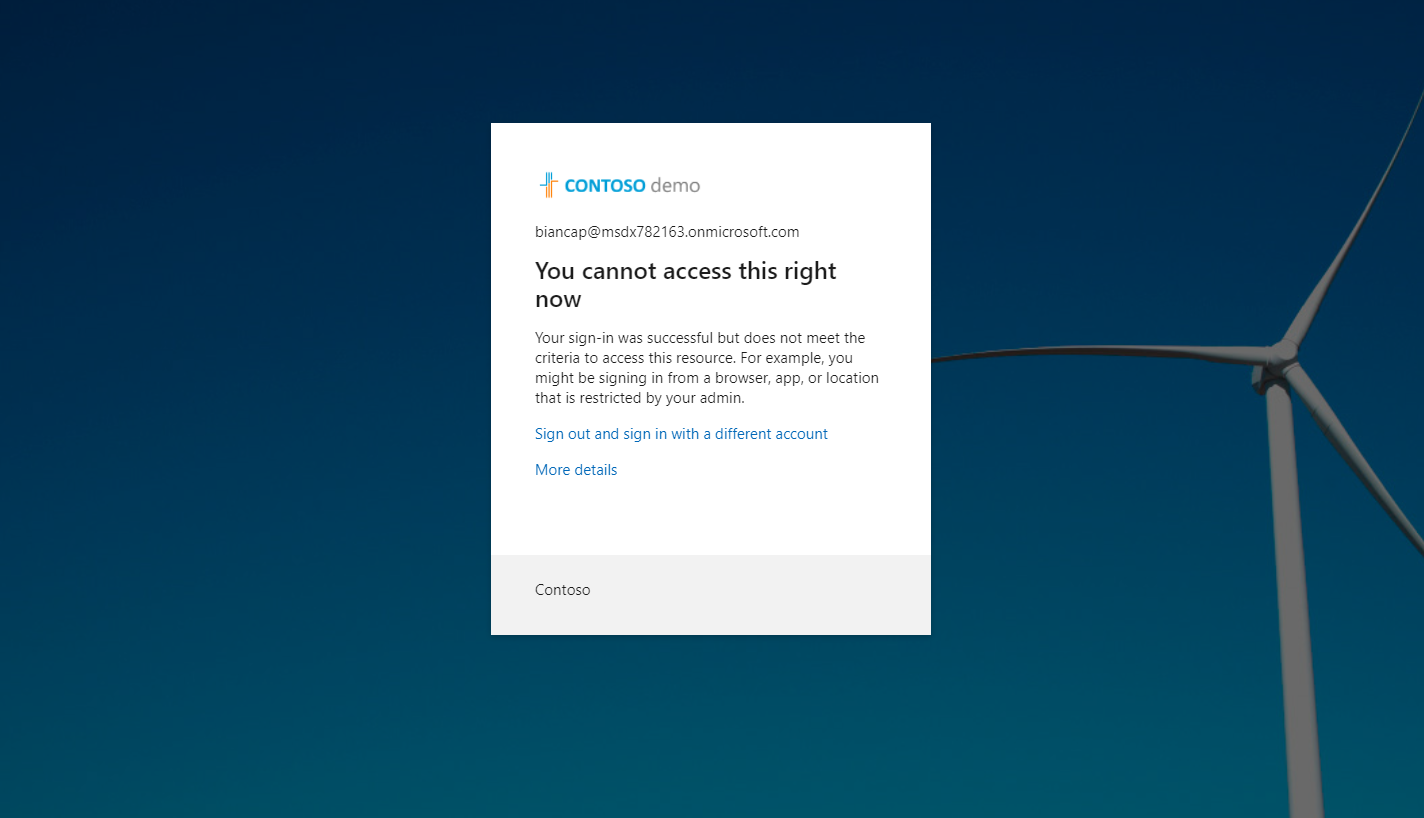
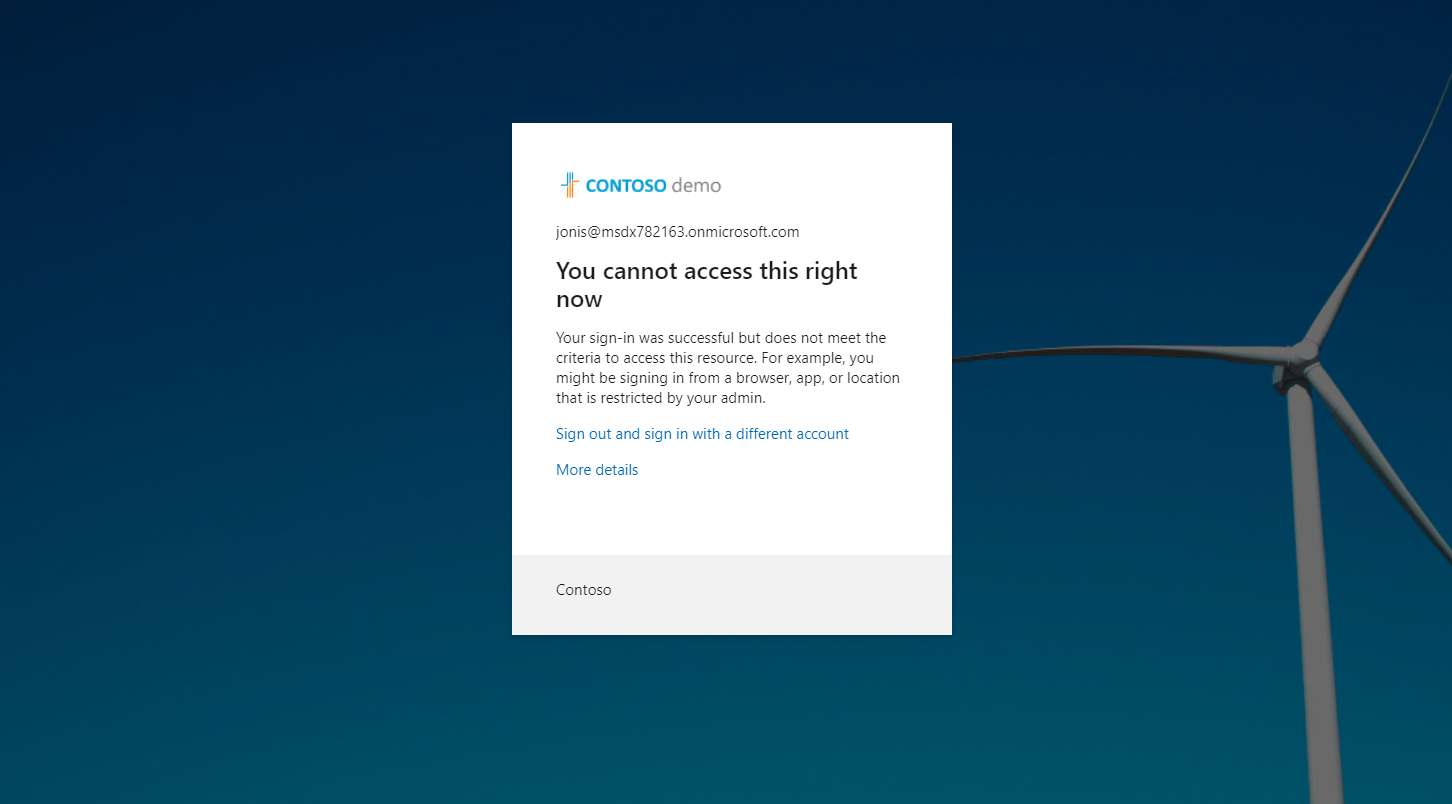
Country based policies are ok, but those can be easily defeated by using VPN service. Is there a way to block all connections coming via VPN like Nordvpn etc? I have not found any solution.
Unfortunately - unless you can find out which IP addresses a particular VPN service uses on the public side - one cannot put this kind of filter in place.
We have challenges setting up CA for Windows 365 desktops. Isn't it possible to specify a range of IPs for Win 365 instead of adding each IP manually? Please note we have 100s of users on Win365 desktops.
This old blog refers to Win365 Enterprise being a requirement.
https://techcommunity.microsoft.com/t5/windows-365/windows-365-ip-range-for-azure-conditional-access/m-p/2835799
Unfortunately this can only be achieved via Windows 365 for Enterprise edition where traffic can be run through your Azure Vnet in you rtenant