Explore the latest Microsoft 365 updates including Copilot enhancements, AI meeting recaps, Teams improvements, and new productivity features.
Ever found the out-of-the-box Microsoft Teams backgrounds to be too generic for your brand? Want a more custom-themed Teams background for your brand? Don’t fret. This blog will guide you exactly on how to do that. Our workflow combines Canva and Scene Studio editor to easily create custom-branded together mode Teams backgrounds in a matter of hours.
The design process comprises of 5 steps as listed below:
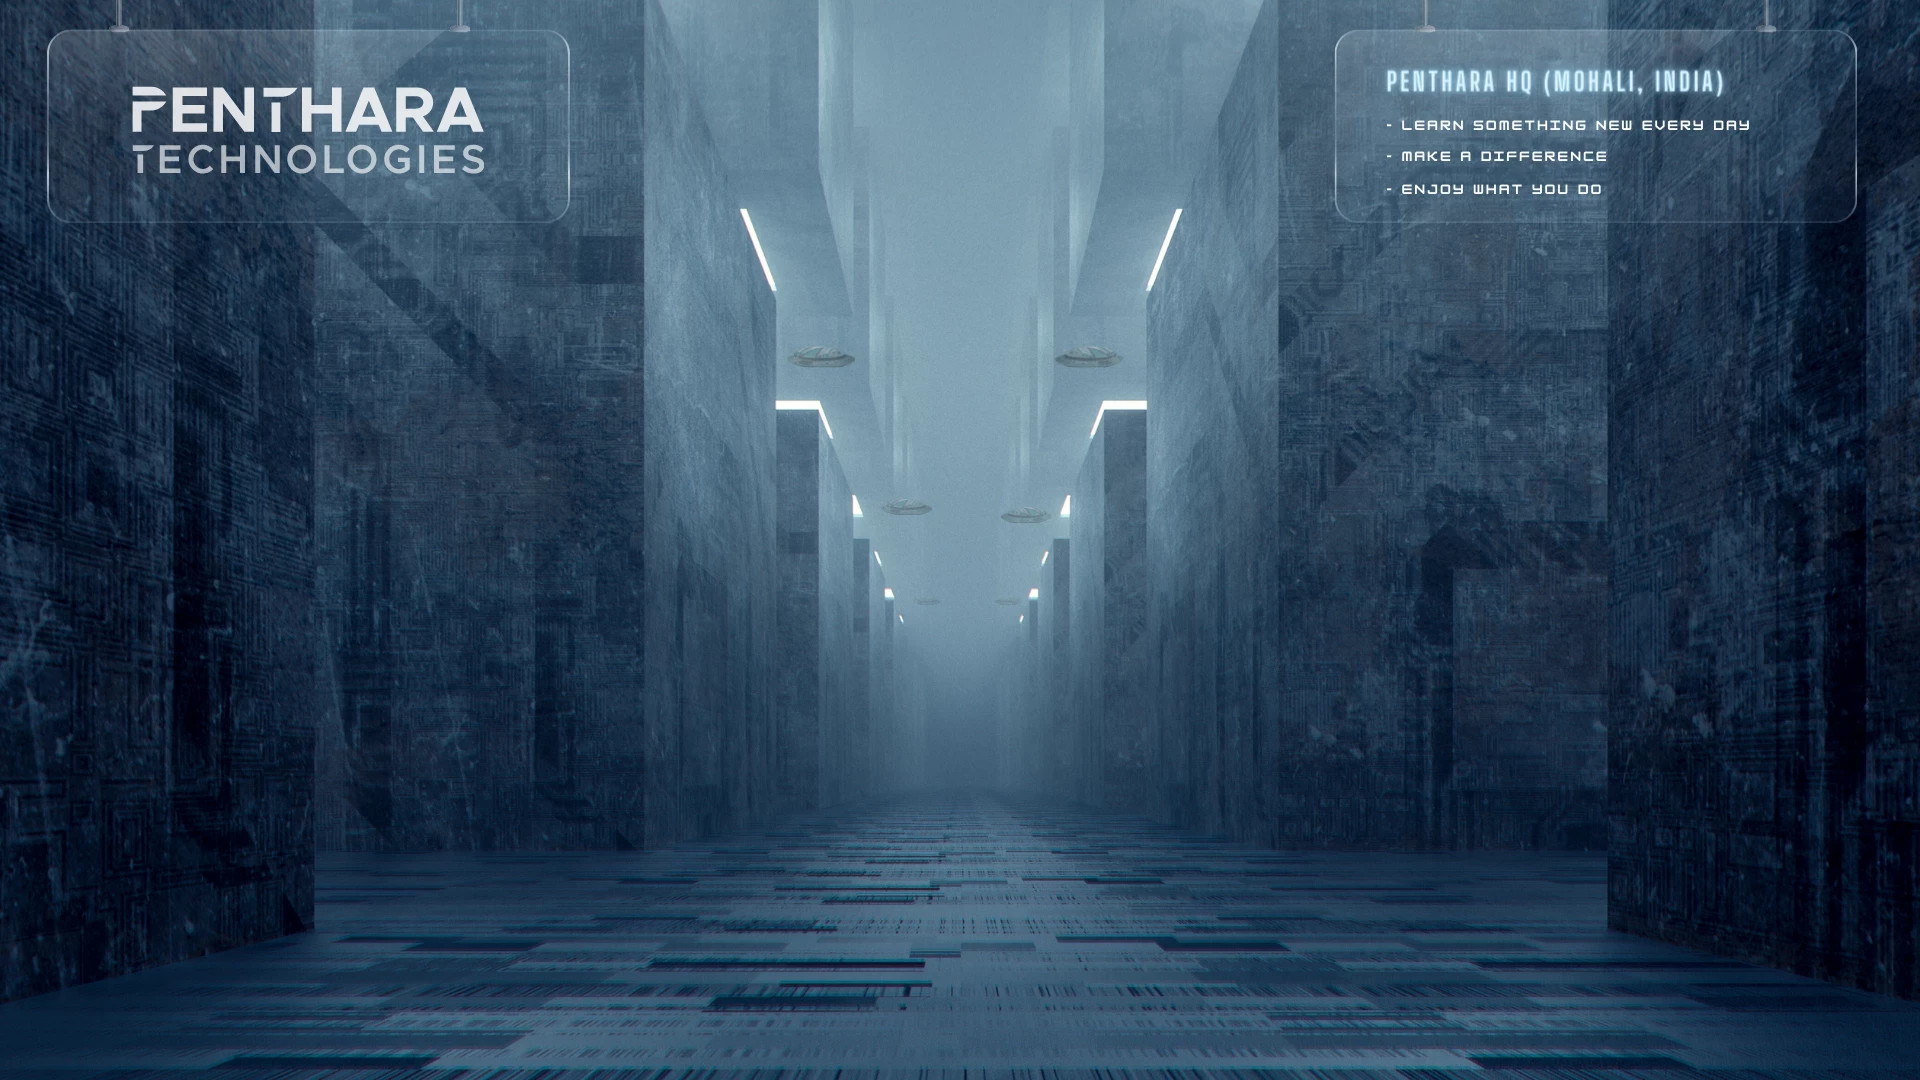
We start by first designing the background of the environment in Canva. Our designs are generally inspired by futuristic, space exploration, and modern technology themes. There are many free elements you can use, as well as the pro-ones in case you have a paid subscription to Canva. I love to play around with lighting to create different moods. Here’s an example of our latest “Penthara HQ” Microsoft Teams background. I’ve also mentioned the keywords I used for searching these elements on Canva.
In this scene -
Keywords for Background Image: Futuristic City, Sci-fi
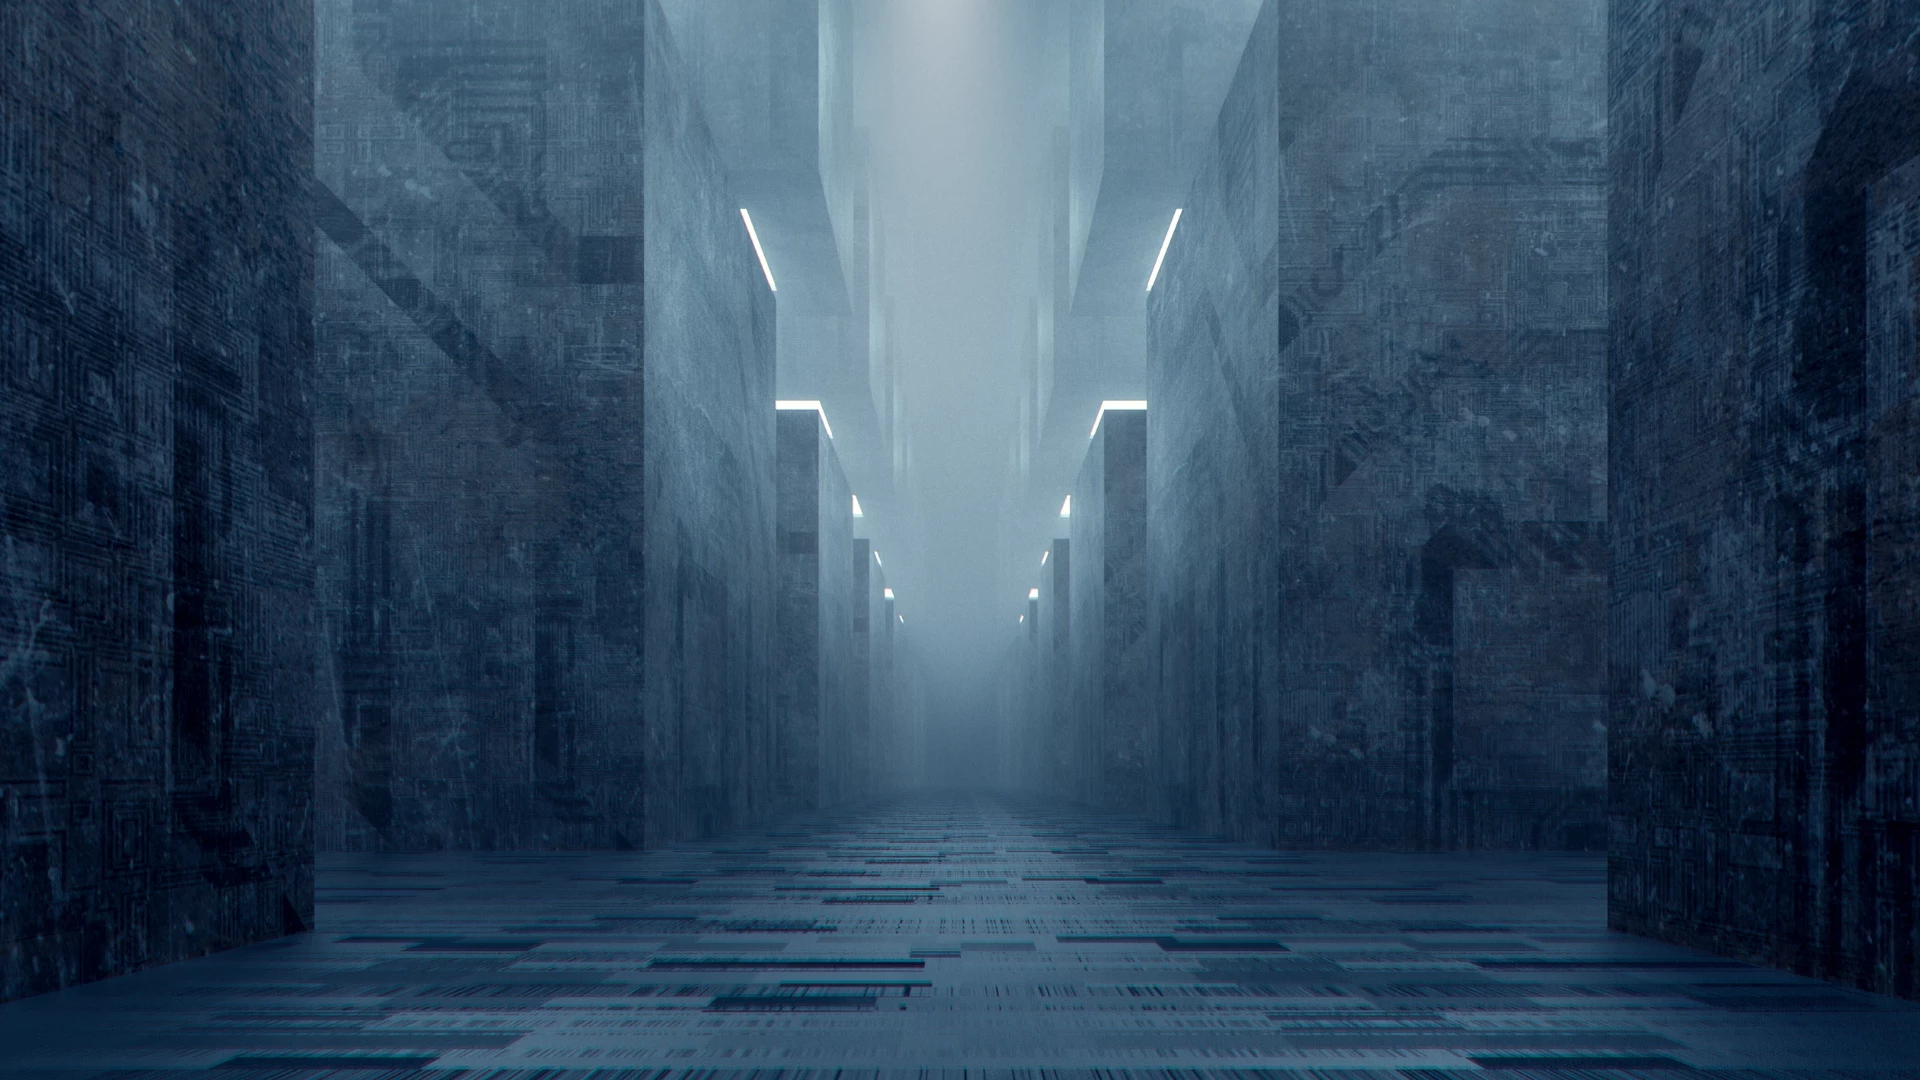
Keywords for Transparent Banner: Transparent Glass
Fonts Used:
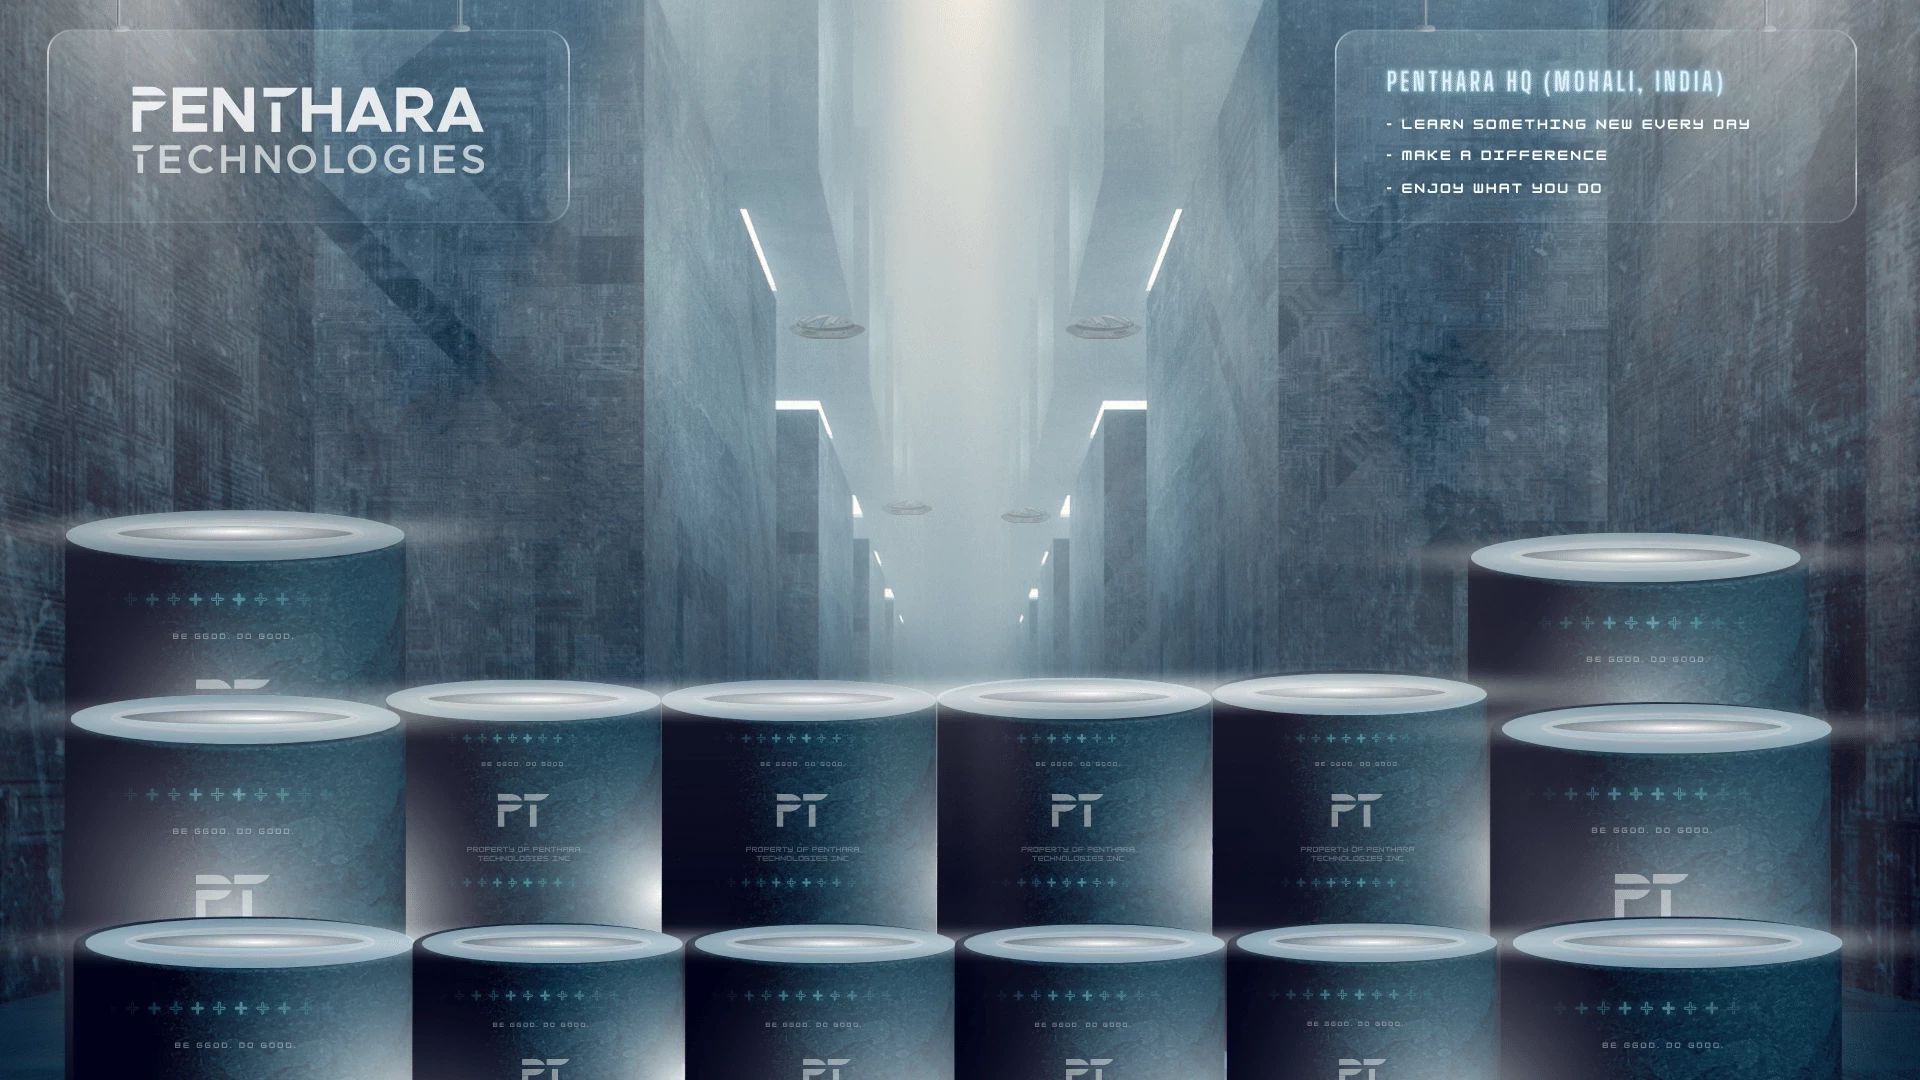
Keywords for Seat element: Podium, Blue, 3D shape
Keywords for lighting between seats: Light Glow
Keywords for light rays coming from the top: Light Ray, Spotlight
And we have now successfully completed the designing part of the background. Now we move on to the making and testing part of this task.
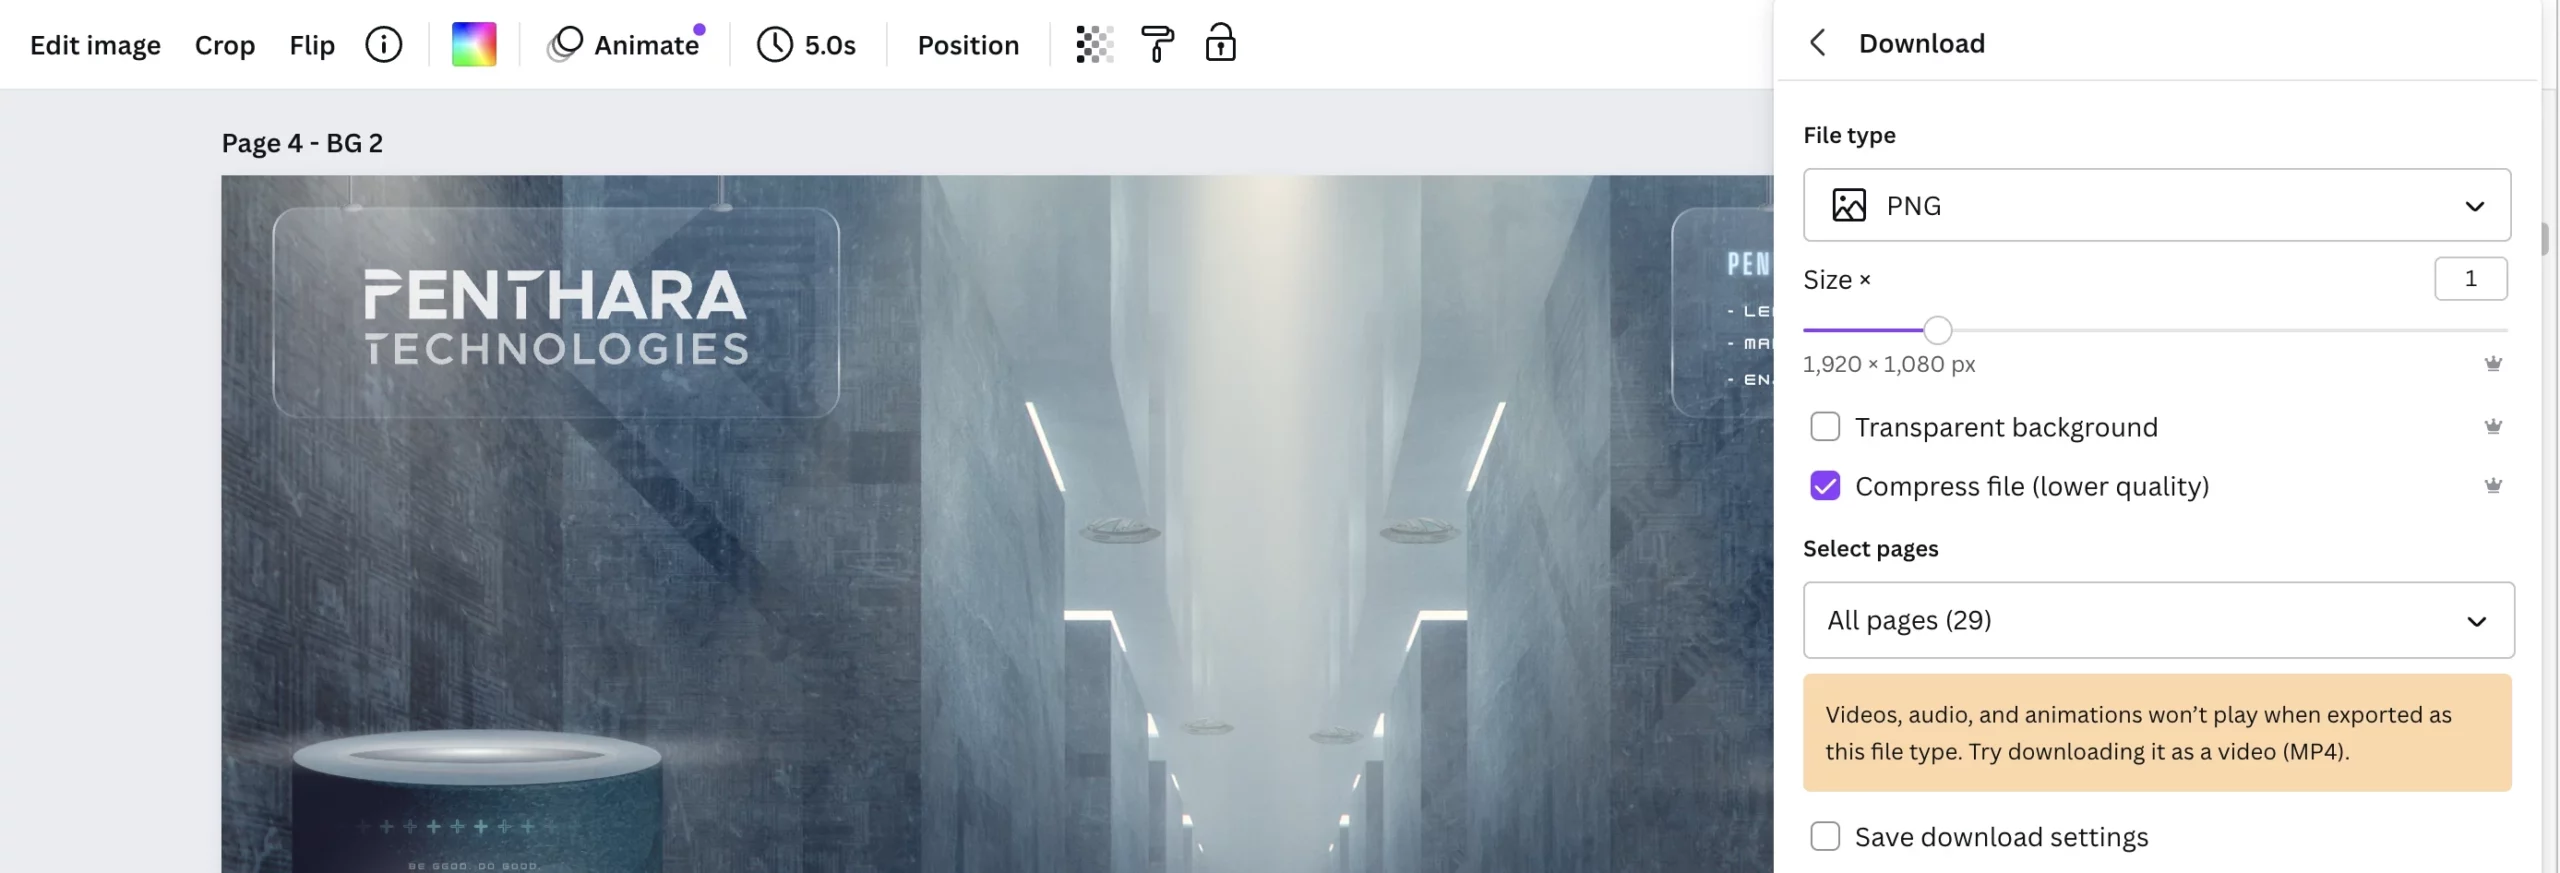
The scenes for the Teams Backgrounds are made in a platform provided by Microsoft called the scenes editor. Here’s a link to read more about it - Custom Together Mode Scenes - Teams | Microsoft Docs.
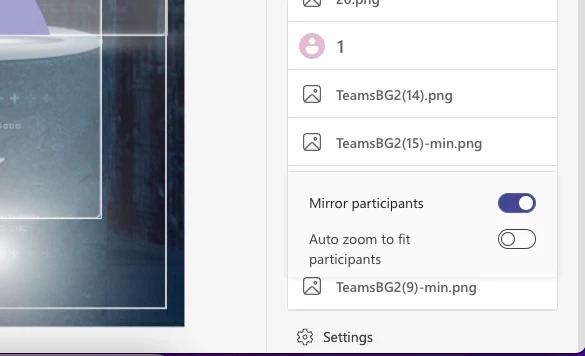
Now to begin, go to Scenes Editor - Teams Developer Portal. Then
Go ahead place them.
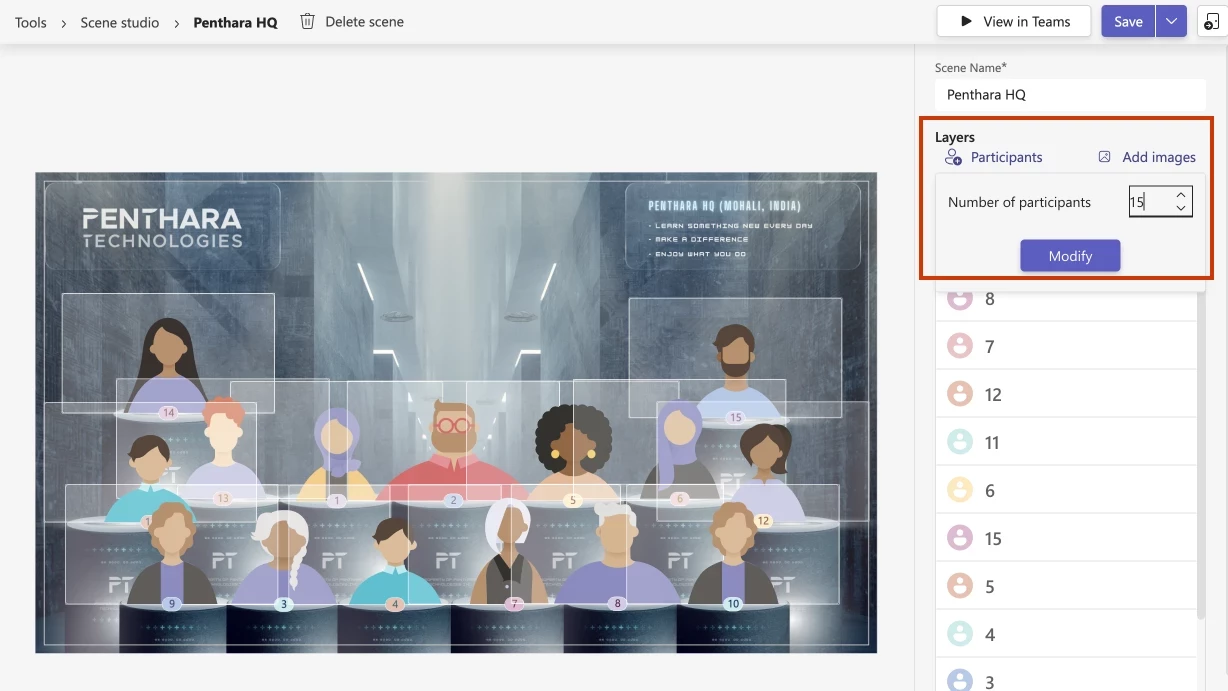
Note: Make sure that you scale the placeholders to above 150% otherwise, when in use, people will look really tiny in together mode.
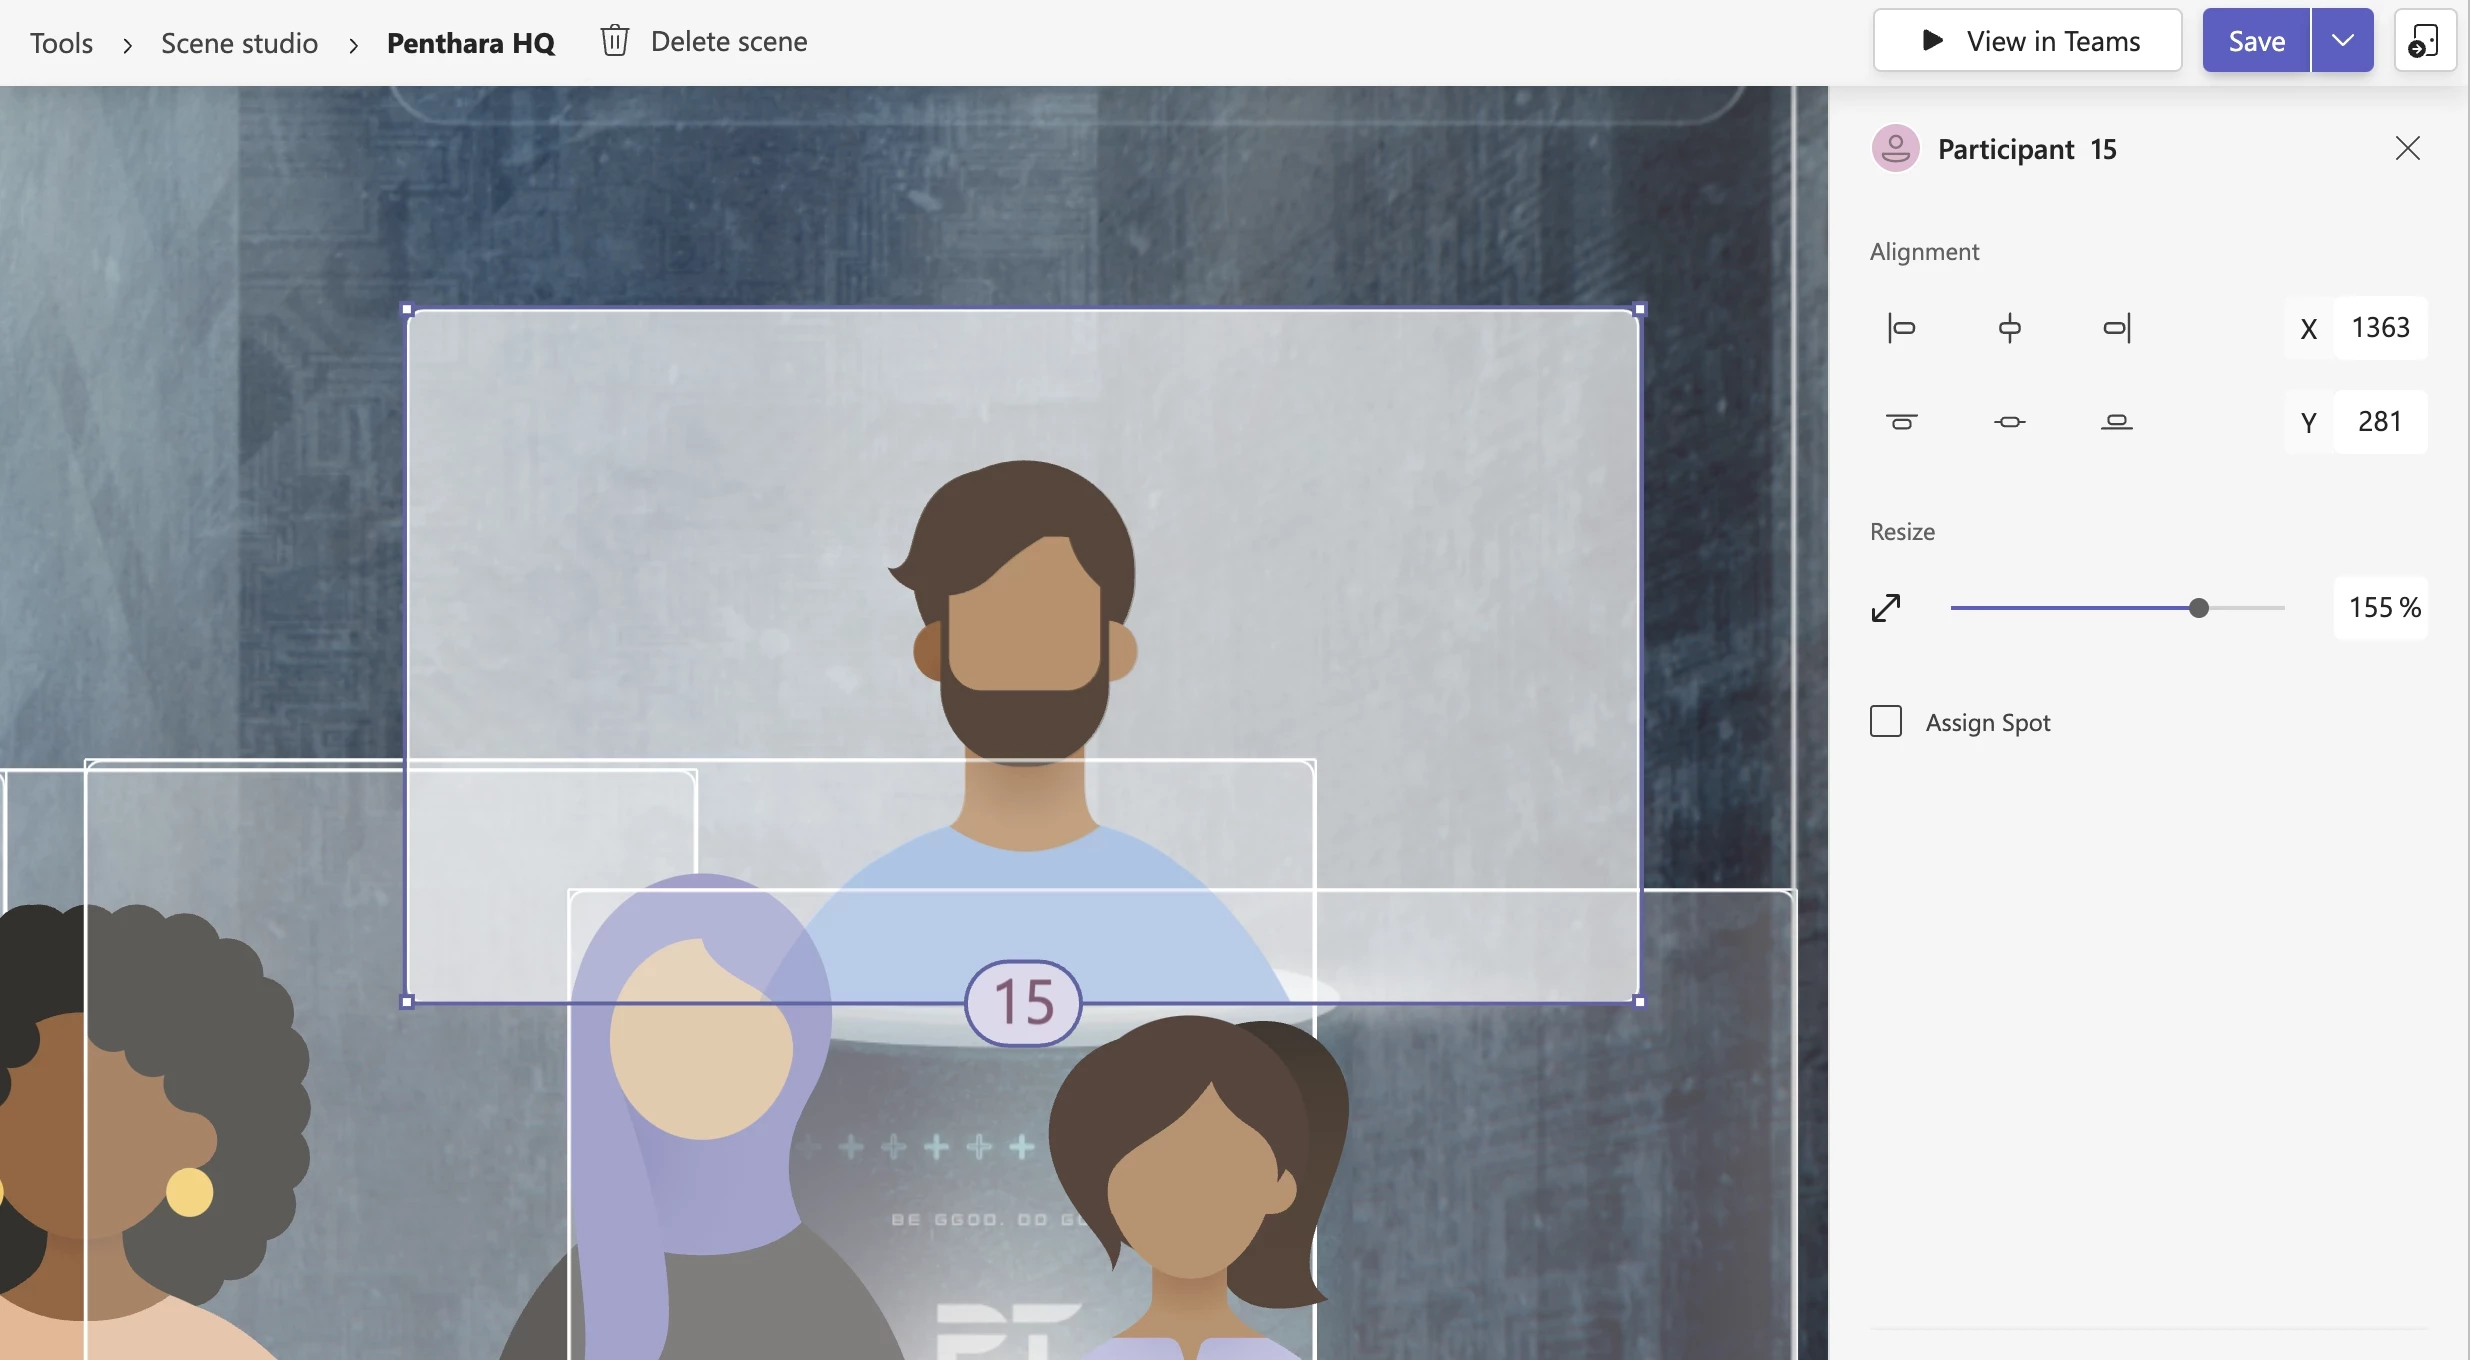
Note: It’s okay for the placeholders to overlap with each other. Microsoft Teams manages to automatically centre people on its own during calls. Change to just points. Remove storytelling.
Once that is done and dusted do the following steps –
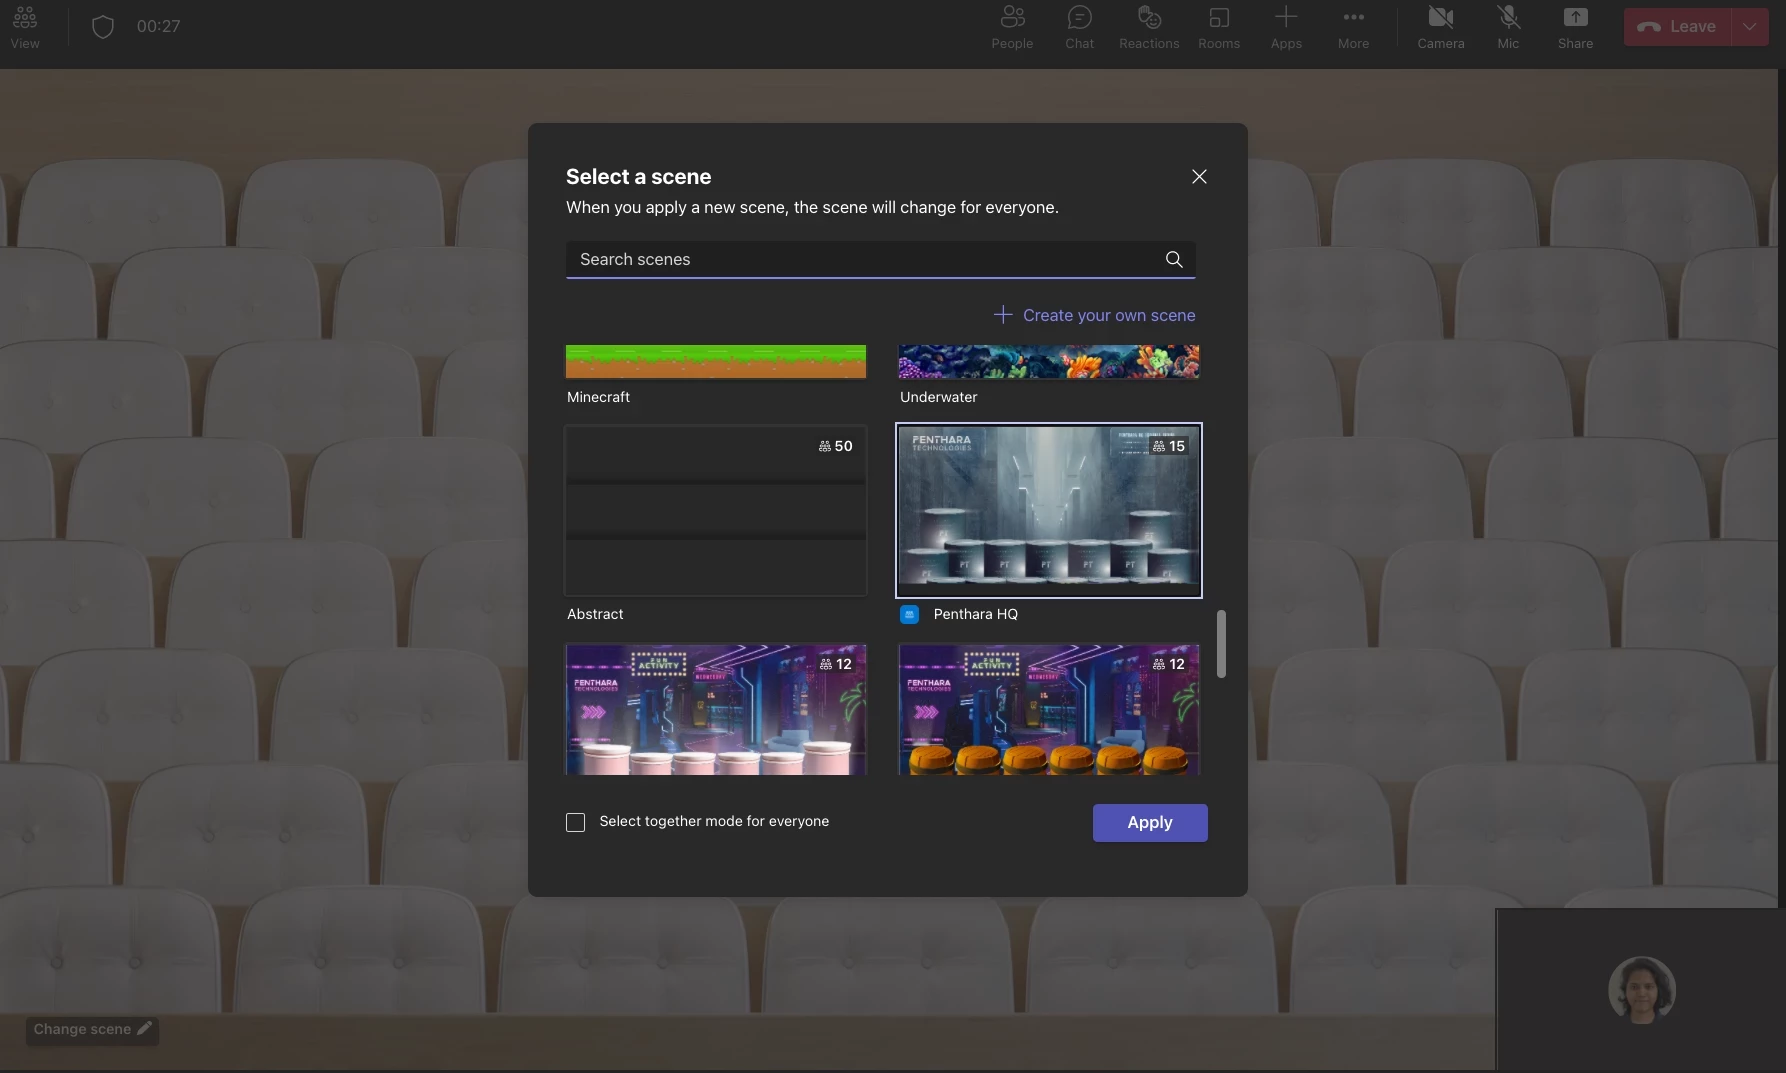
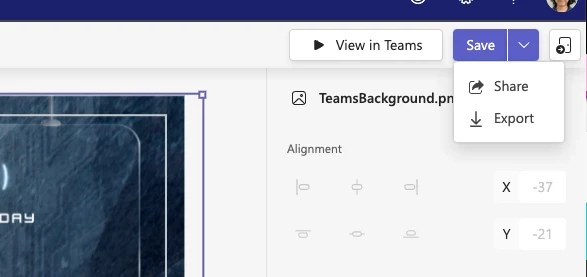
The scene gets published as an app to your organization’s teams application. For that, you will have to export all the data and code pertaining to this scene as a ZIP folder. To do that, follow these steps:
Other team members can upload this zip file to scene editor from their accounts and add this background to their teams by following the steps mentioned in “Publishing the Background to Microsoft Teams App”.
Note: In this mode of publishing teams background, the option to apply this background will only be visible to those who publish it to their teams individually. It won’t be commonly visible to your entire organization.
Additionally, you can also publish this background as an app in your organization’s teams so that it’s commonly available for everyone to apply. This will require technical assistance from your IT team.


Monthly updates, news & events from Microsoft to help your business grow.
 What's new in Microsoft | April 2026 Updates
Explore the latest Microsoft 365 updates including Copilot enhancements, AI meeting recaps, Teams improvements, and new productivity features.
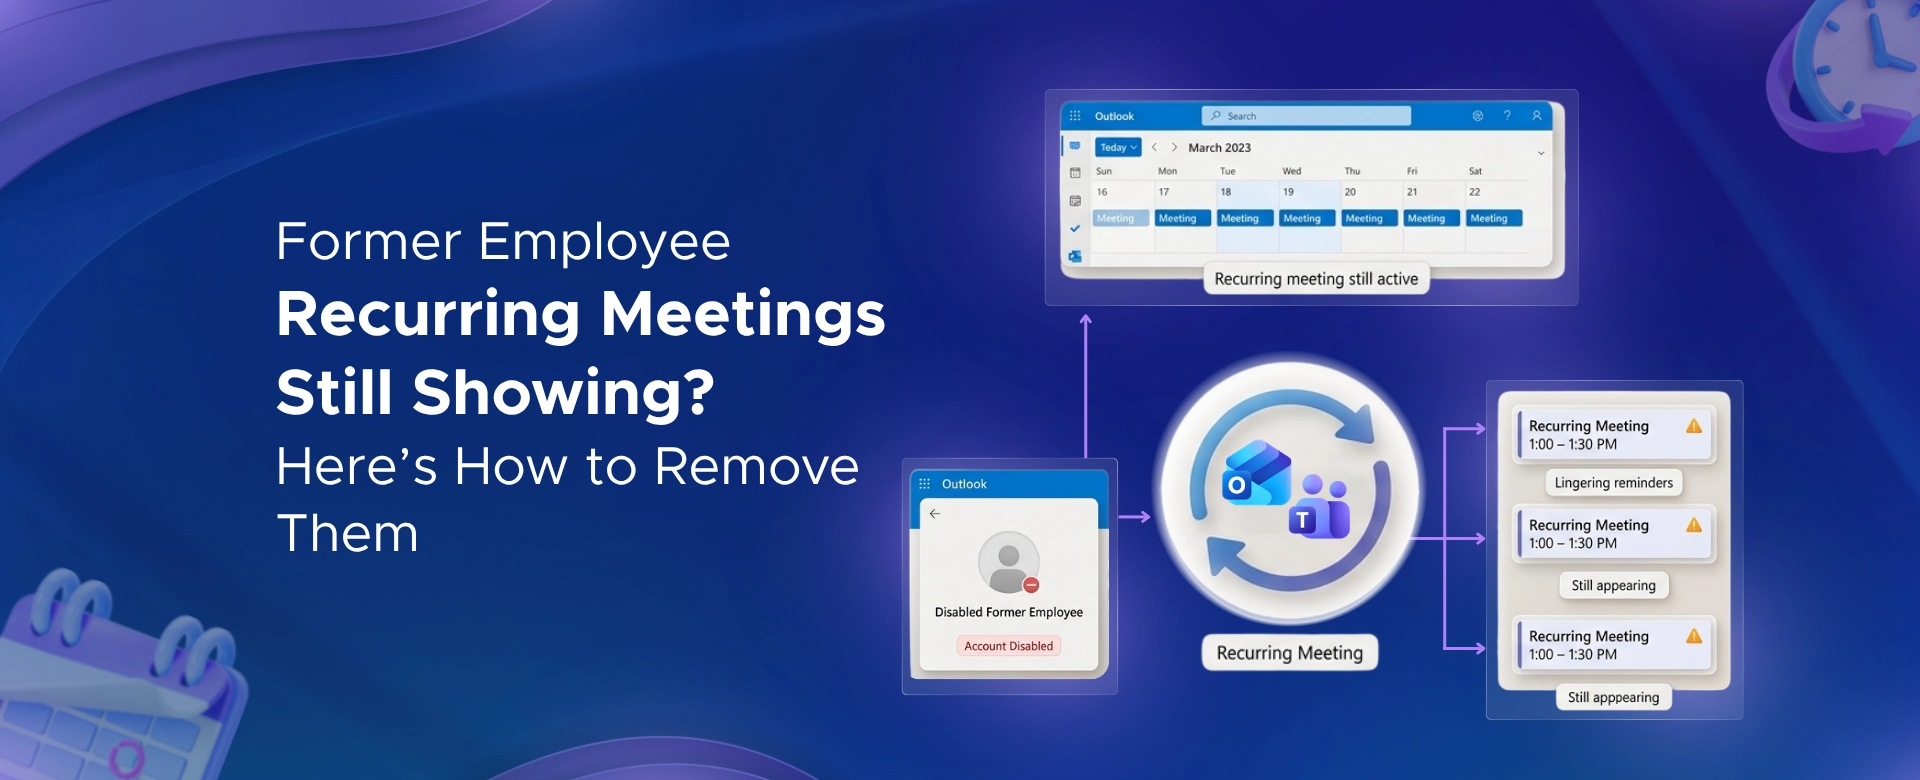 Former Employee Recurring Meetings Still Showing? Here’s How to Remove Them
Learn how to remove recurring meetings from former employees in Microsoft 365 using Outlook, PowerShell, or eDiscovery - based on account status.
 What's new in Microsoft | February 2026 Updates
Explore the latest Microsoft 365 updates including Copilot enhancements, AI meeting recaps, Teams improvements, and new productivity features.