


This blog explores three methods to manage security roles in PowerApps: using multiple SharePoint lists, SharePoint Groups, and item-level permissions. Each method offers unique advantages for role-based access control, ensuring sensitive data is accessible only to authorized users. Step-by-step guidance is provided for setting up these methods and integrating them within PowerApps to enhance data security and streamline app development.
Main Menu
Cloud Services
Collaboration and Communication
Security and Compliance
Automation and Development
Digital Workspace
Artificial Intelligence
Overall Microsoft 365 Services
Main Menu
Starfleet Stash App
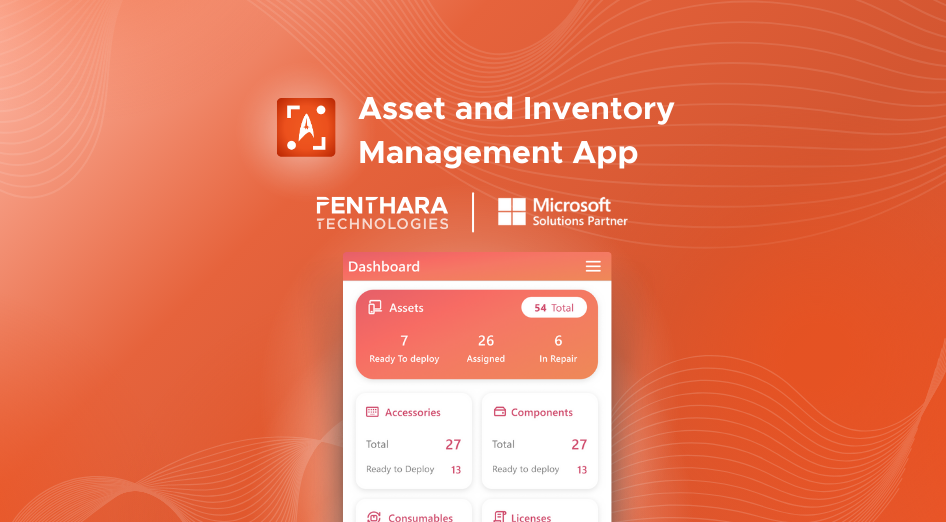
Asset & Inventory Management App
Penthara Org Chart
- Cloud Services
- Collaboration and Communication
- Security and Compliance
- Automation and Development
- Digital Workspace
- Artificial Intelligence
- Overall Microsoft 365 Services
- Starfleet Stash App
- Asset & Inventory Management App
- Penthara Org Chart