

A hidden SharePoint permission - “Everyone Except External Users” - quietly breaks Zero Trust, exposing internal data and amplifying risk in the age of Copilot.

While working with Power Apps, you must take care of some nuisances with people picker columns. In this post, we will be showing you how to add, update and clear those columns using patch commands from PowerApps.
While researching this topic myself, I found so many contradictory answers and still did not solve my problem. The approach I have taken below requires us to turn on one experimental feature, and I have repeatedly applied this solution to multiple apps in different tenants.
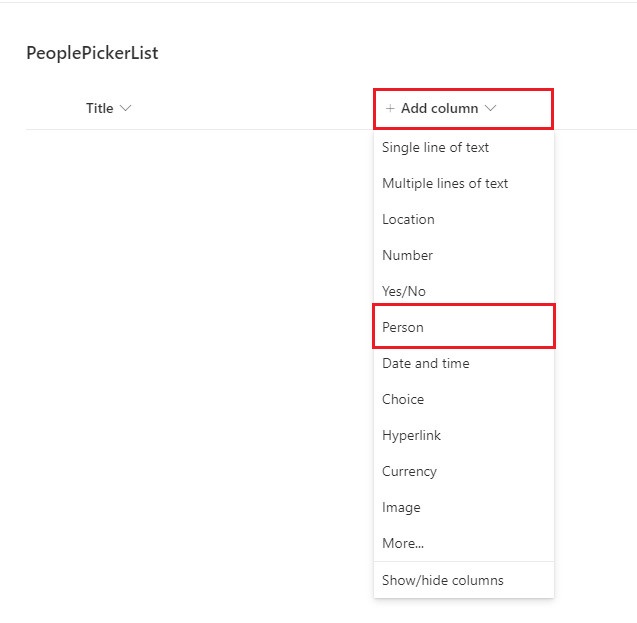
2. Click on "+ Add column" then select "Person."
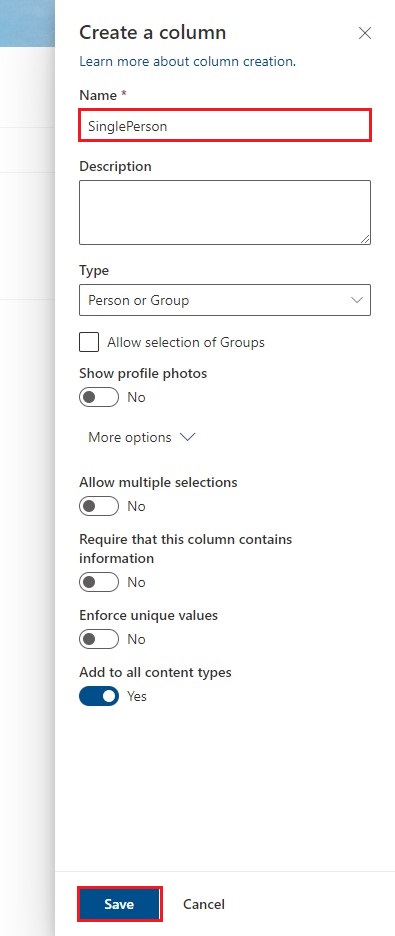
3. A window will slide from the left side of the screen, asking for information about the "Person" column. We will give the name "SinglePerson" and then click on the "Save" button at the bottom.
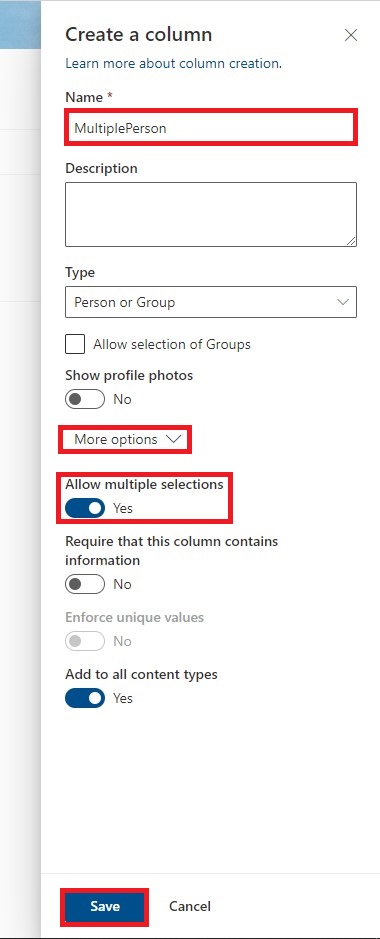
4. We will create another column. So click on the "+ Add column" button the same way as in step 2 and then select "Person" from the dropdown. This time we will give the name of the column as "MultiplePerson." We need to change some settings as well, so click on "More option" and then toggle the "Allow multiple selections" to "Yes." Click on the "Save" button to add the column to the list.
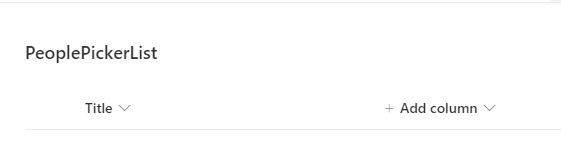
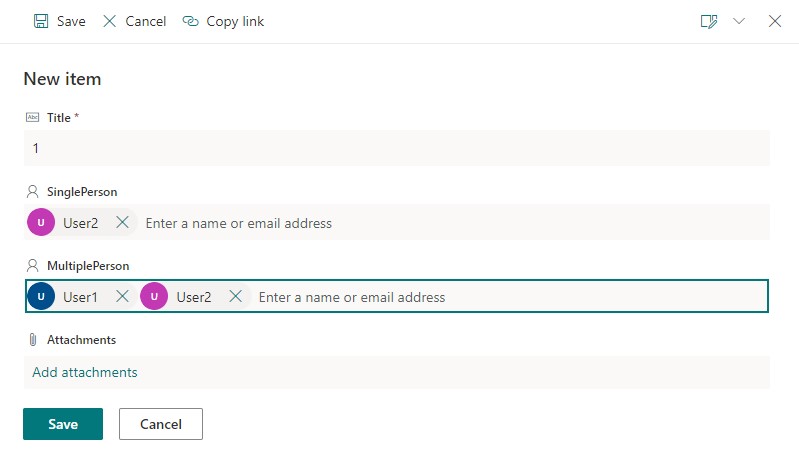
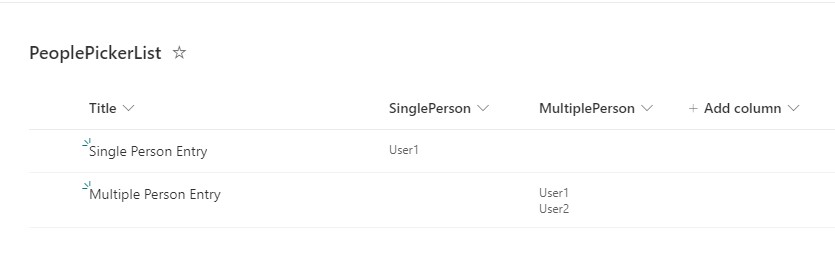
5. Our list looks like this after performing the above steps.

6. We can enter only one user in the "SinglePerson" column and more than one user in "MultiplePerson" as shown below:
We will create an application in PowerApps platform. You can read more about PowerApps here.
Follow the following steps to create the Power App:
1. We will navigate to https://make.powerapps.com. We will then click on "+ Create" option from left hamburger menu.
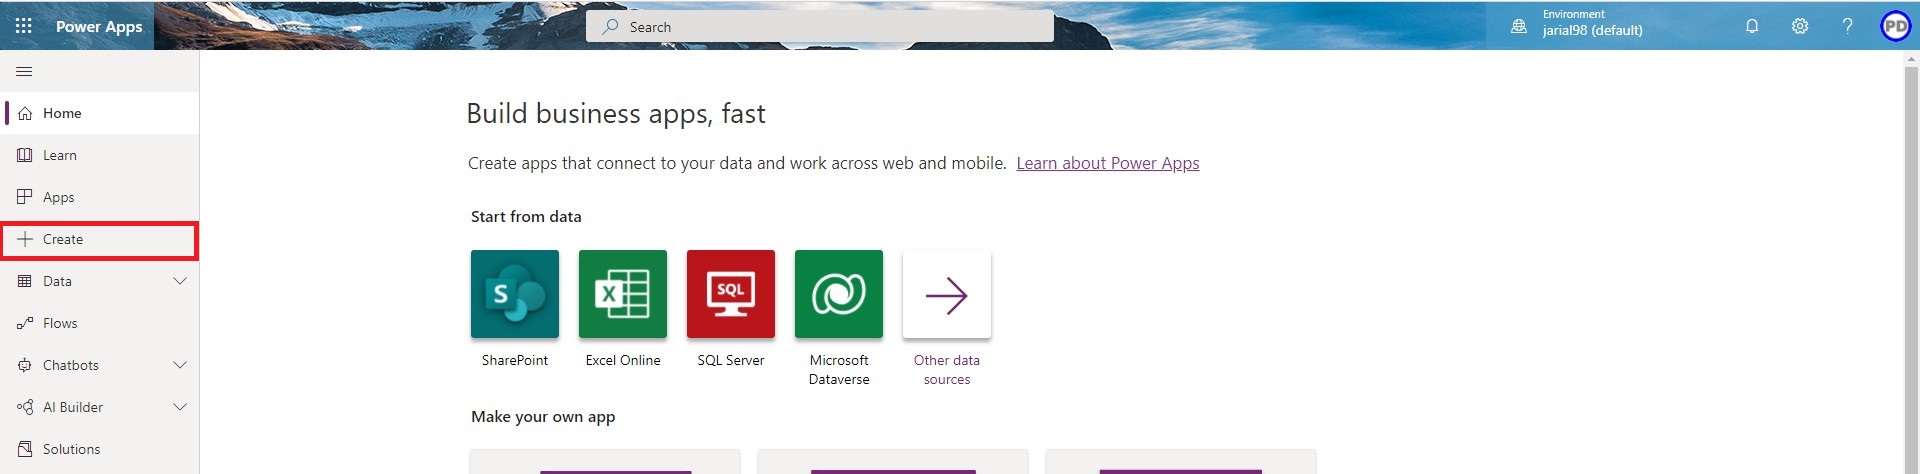
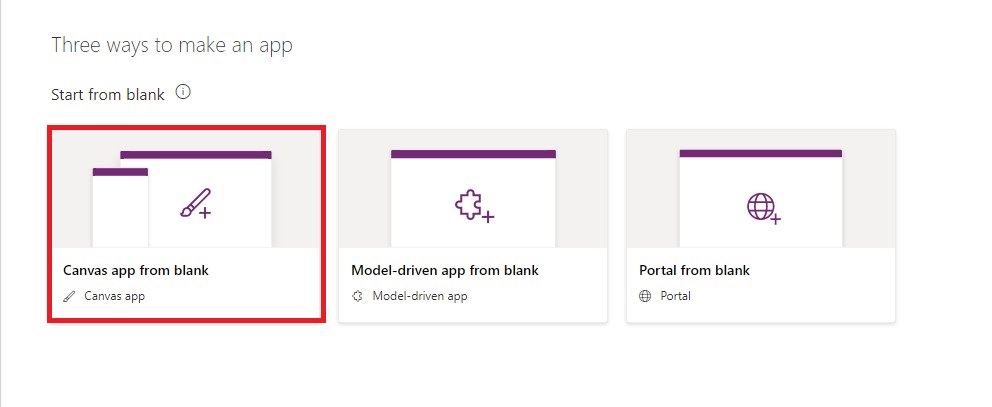
2. Click on the "Canvas app from blank" option.
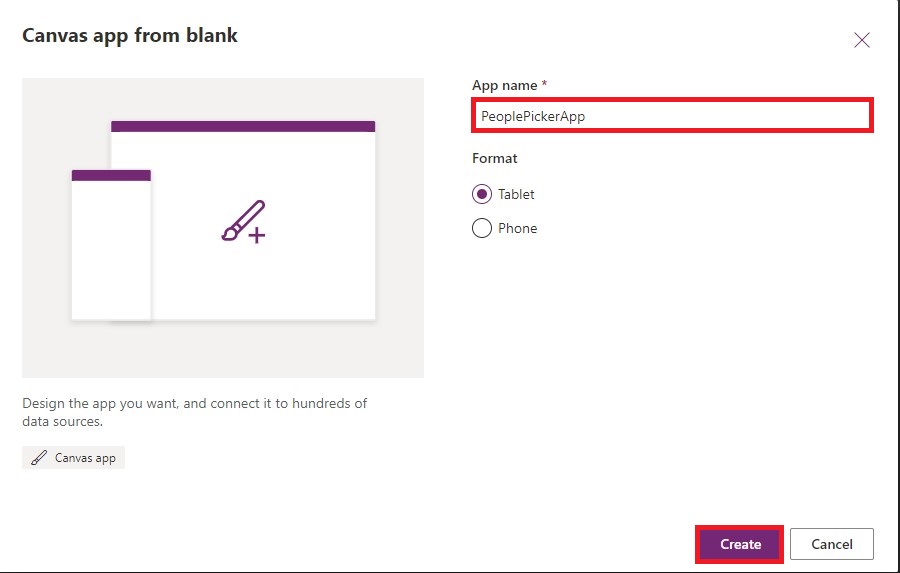
3. A dialogue box will appear asking for the name of App and the Format of the app. We have given the title "PeoplePickerApp" and Format as "Tablet." Click on "Create" to create the app.
4. We will come to the homepage of PowerApps Designer
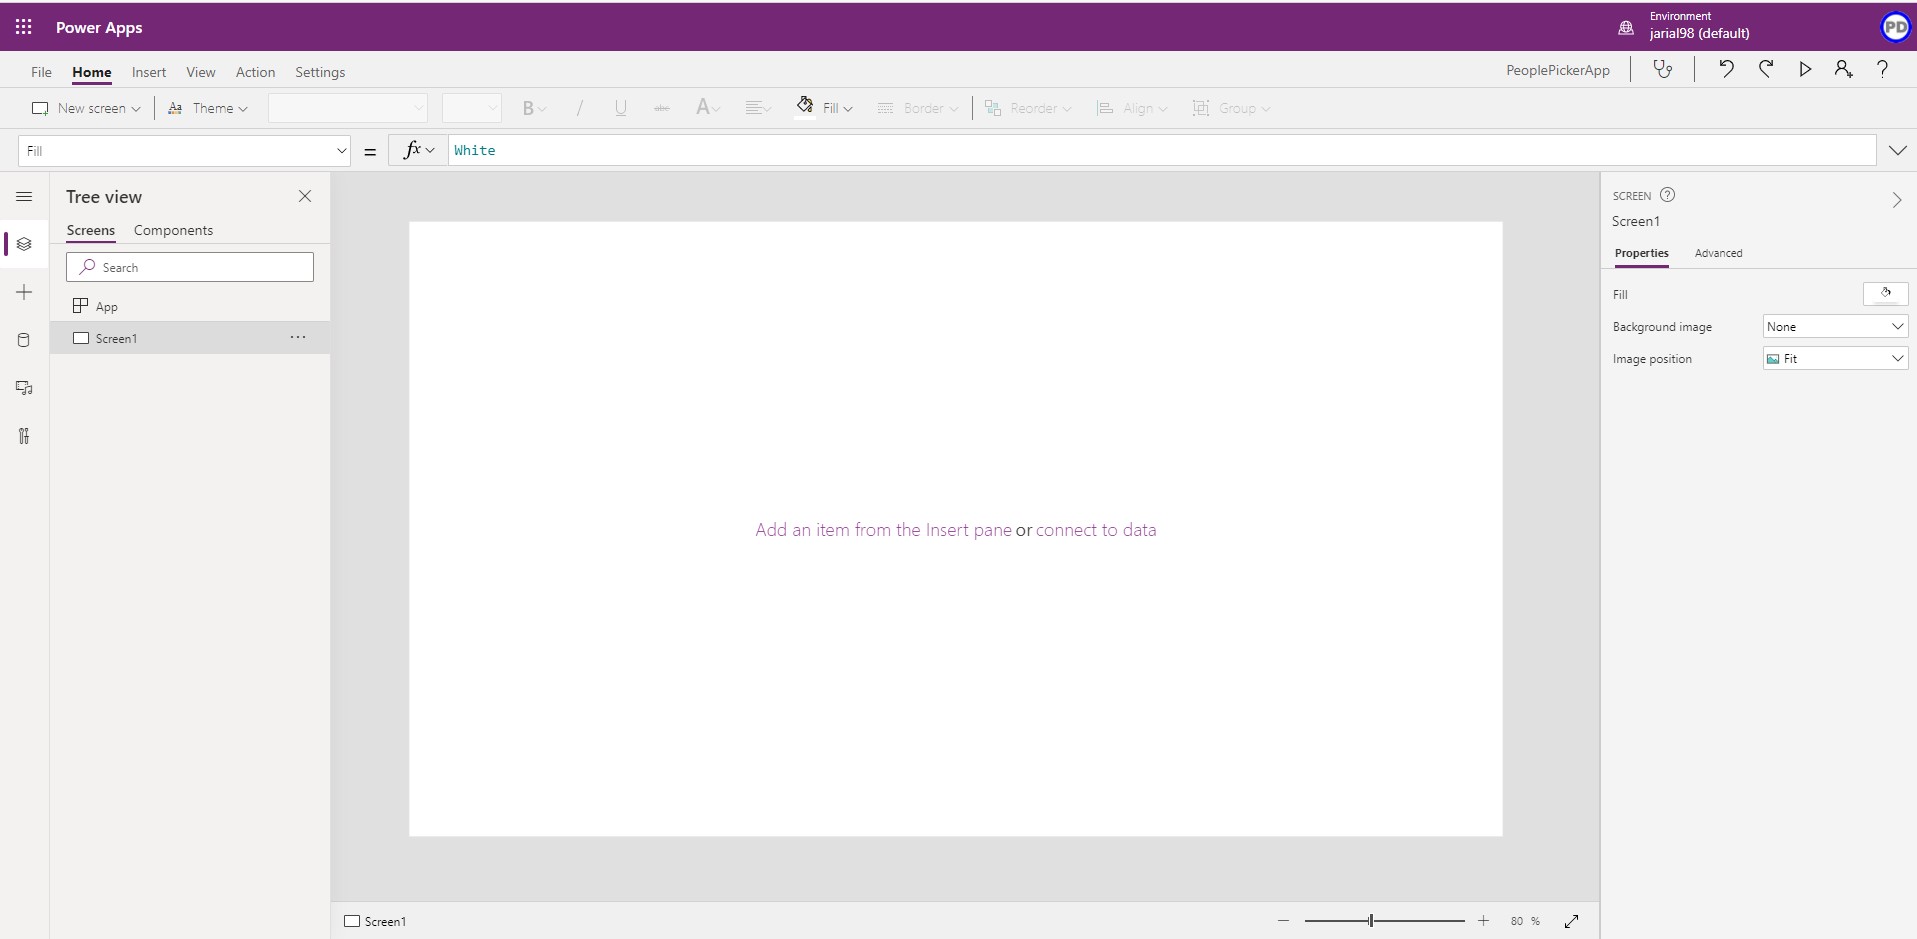
5. Before proceeding further, we need to switch on one Experimental feature, i.e., "Formula-level error management."
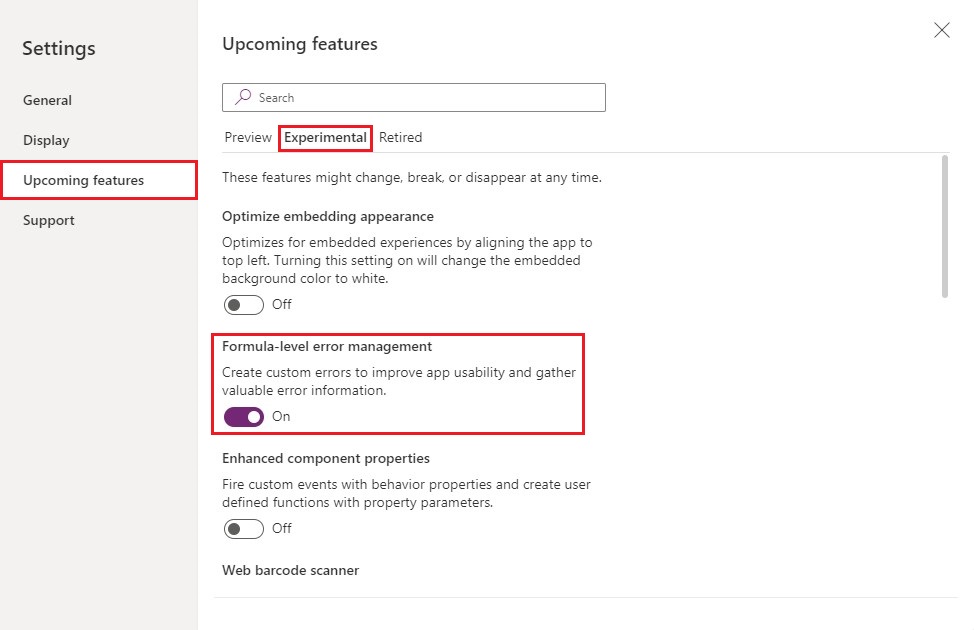
6. Click on "Settings" in the ribbon menu.

7. Now, a popup window will open. In this, click on "Upcoming Features" then on "Experimental Features." Now we will turn on the "Formula-level error management" feature. Close the popup window by clicking on "x" on the top right corner of the popup window.
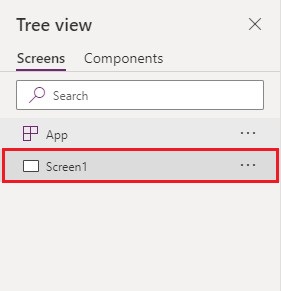
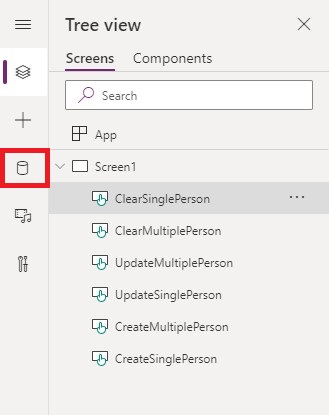
8. Click on the "Screen1" in the "Tree view" pane.
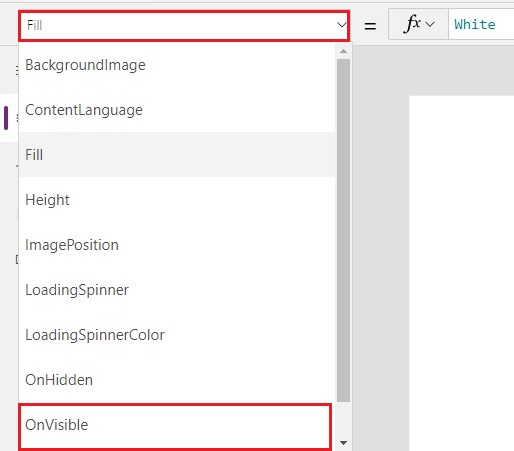
9. Click on the dropdown menu left side of "fx," i.e., formula bar. Select the "OnVisible" property.
10. In the formula bar, we will define two variables. These will be used to empty the people picker column. Two variables are required as the two columns with Single, and Multiple entries are different and require a different kinds of variables to work with.
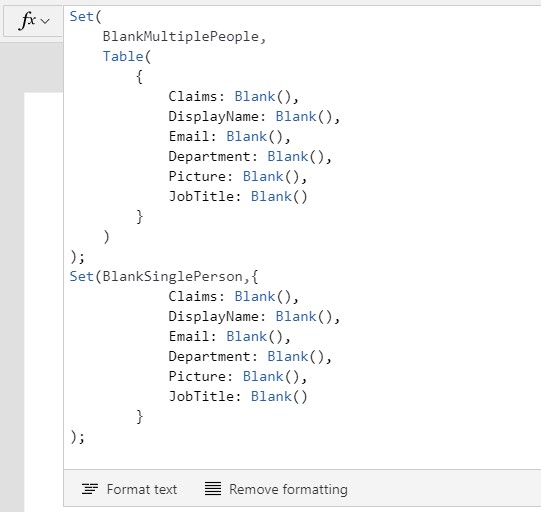
Below is the formula written in the formula bar:
Note: Remember when you are writing in the formula bar, your selected property should be "OnVisible"

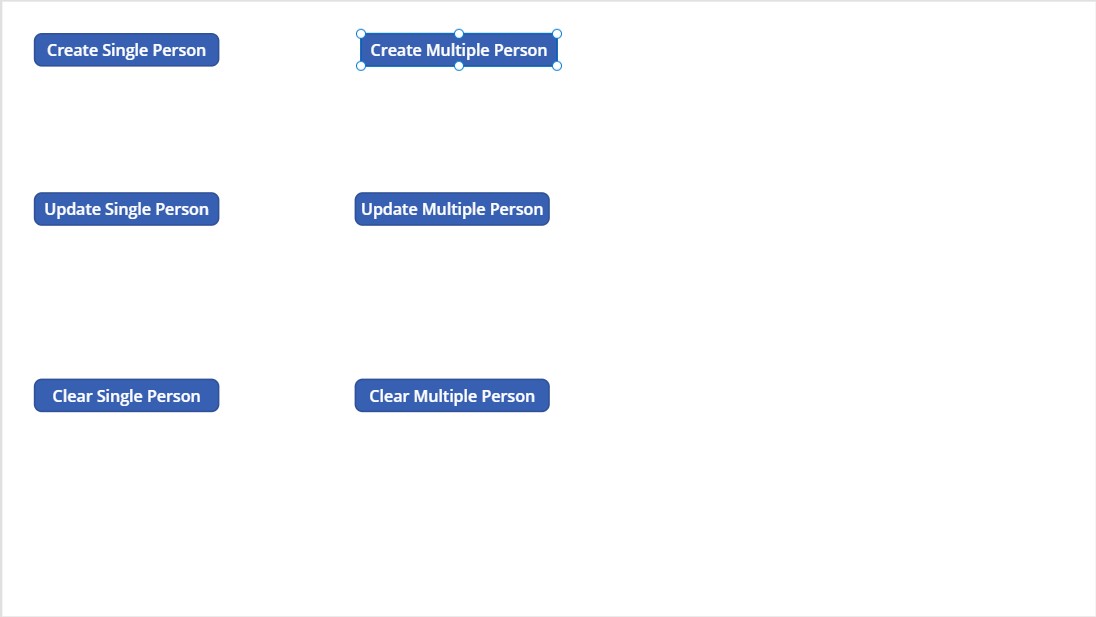
11. We will add six buttons with different functionality for each of them. Click on "Insert" in the menu bar. Then click on "Button" to add it to the app. We will be adding six buttons.
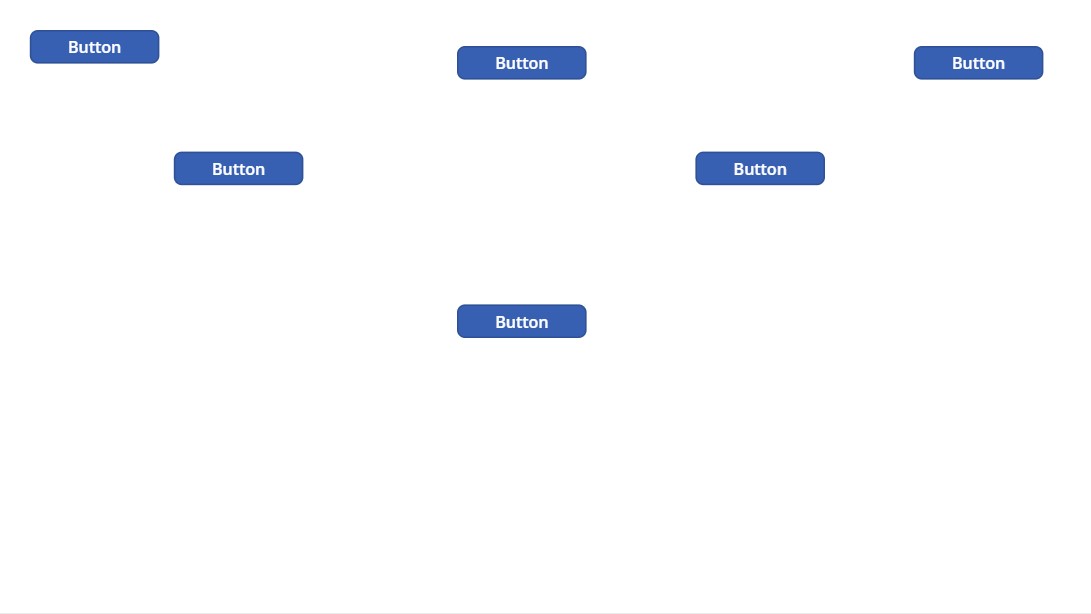
We will change the display name of these buttons according to their functionality.
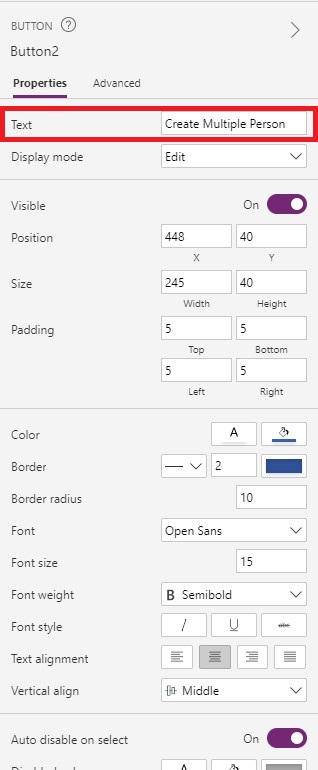
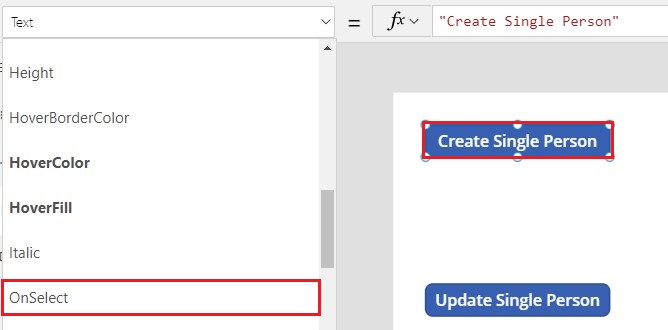
12. Select any of the buttons, click on the Property dropdown, which is on the left side of the formula bar, and select "Text" property.
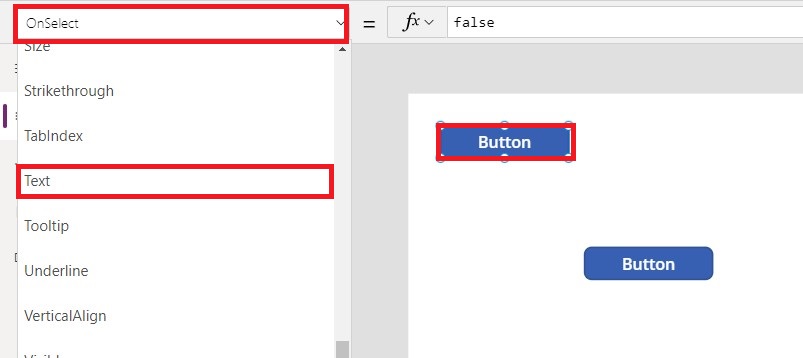
13. Change the text from "Button" to "Create Single Person."
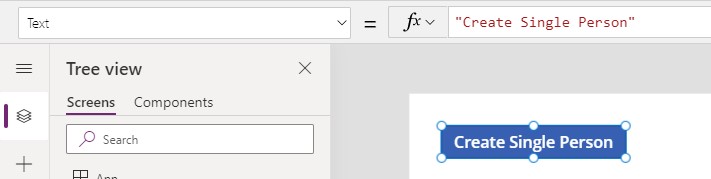
14. Alternatively, we can also change the button's display text from the property pane of the button that is visible when we click any of the buttons.
15. In the same way, change the text of the rest of the buttons as follows:
16. In the same way, we will change the name of buttons in the Tree View , for our best understandings.
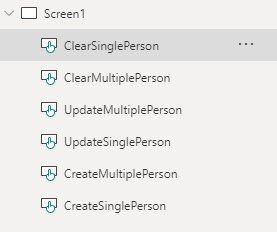
17. In the same way, we will change the name of buttons in the Tree View, for our best understanding.
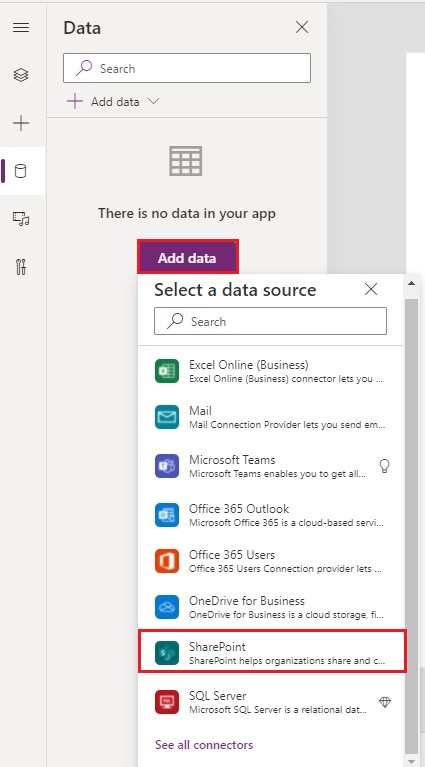
1. Click on the "Data" icon in the left navigation pane.
2. Click on "Add data" and select "SharePoint" in the list.
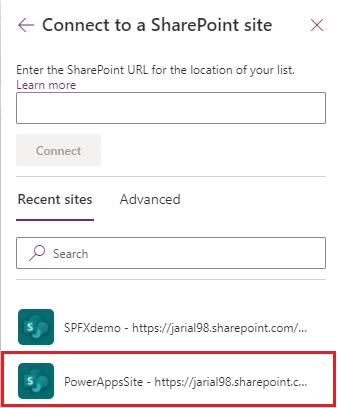
3. We will select our connection, and a new menu will slide in from the right side of the screen, asking us for the SharePoint site that we want to connect to.
We will select our SharePoint site.
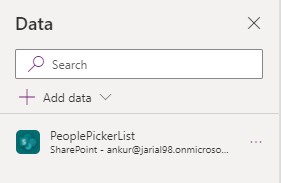
4. We will select our list from the options given and click on "Connect."

5. We can see our List got connected as it is listed under the data section in the tree view on the left side.
Need help setting this up? Contact us to get expert assistance with Power Apps and SharePoint services!
1. Click on "Create Single Person" and select the "OnSelect" property from the property dropdown on the left side of the formula bar.
2. We will use the "Patch" function in the formula bar to create an item in SharePoint List.
We have made error handling here, which checks for any errors that might occur while creating, updating, or deleting an item from the list. We have used Notify function here, which will run after the "Patch" function ran successfully and display a green ribbon, and if there are any errors, it will show a red ribbon with the error text displayed on it.
To study more about the Power Apps function, click here.
The formula is as below:
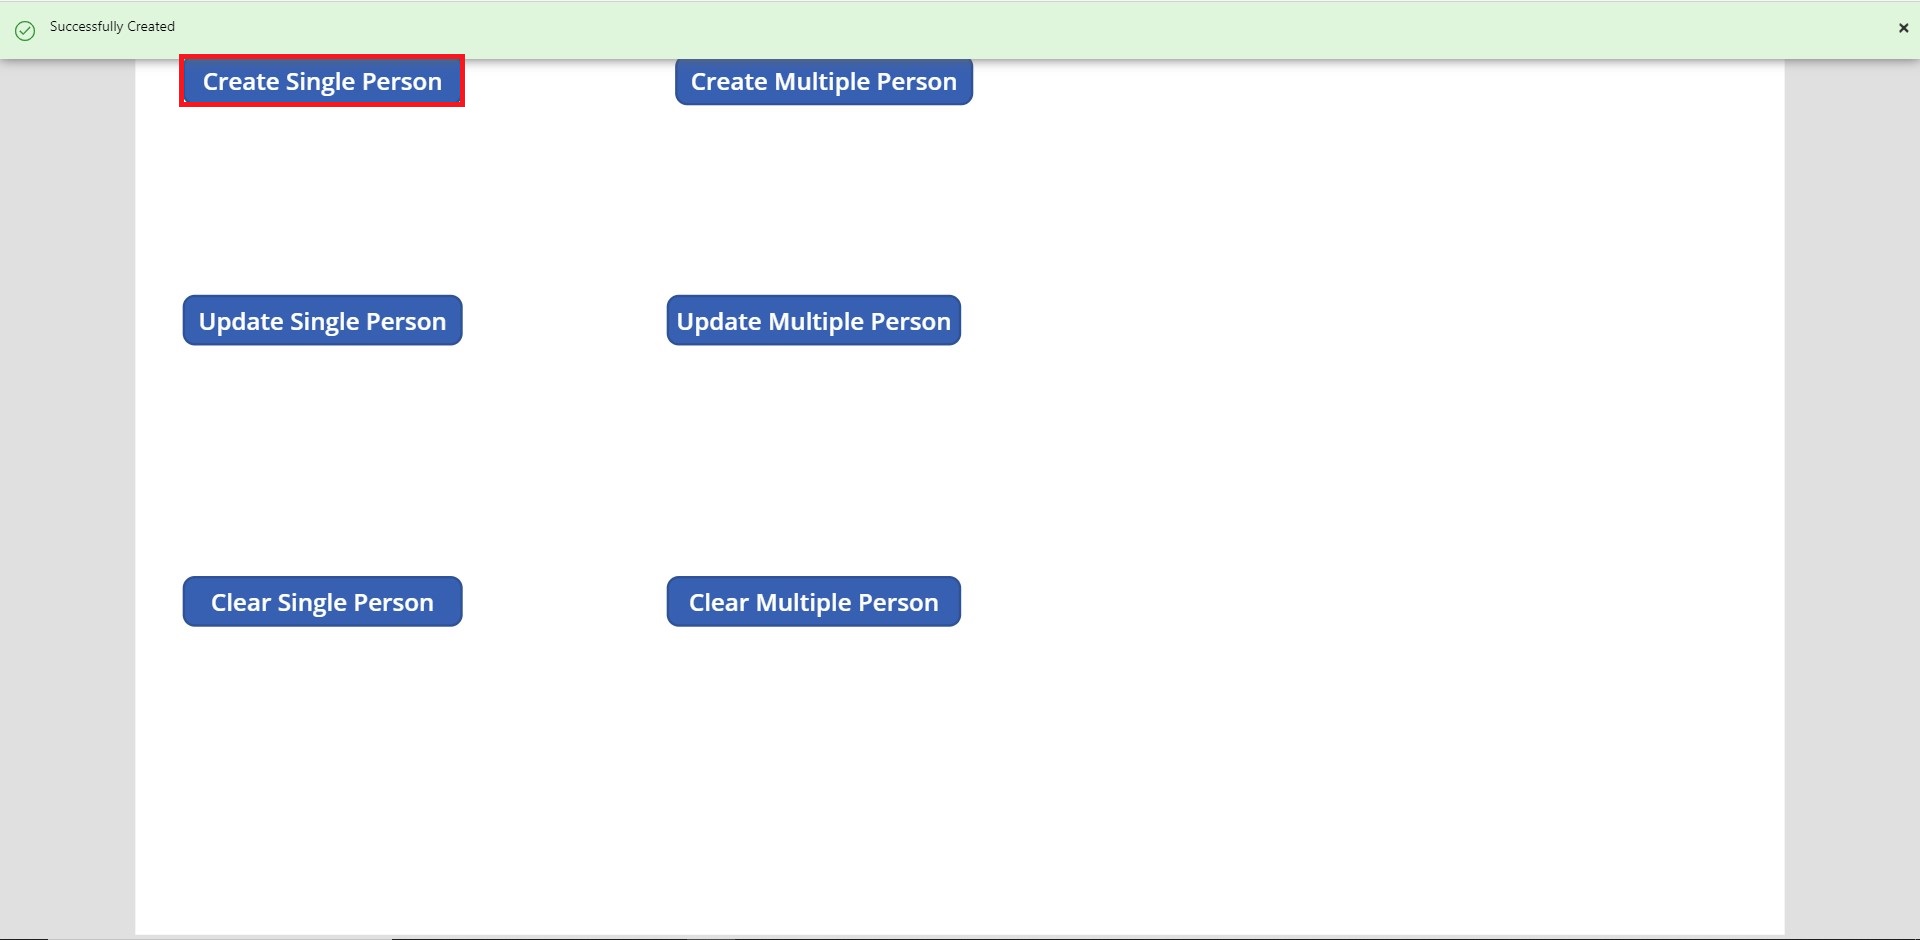
3. Now, to test this function, we will run this app and click on "Create Single Person."
On the top right corner, we have the button to run the app.

Click on the play button. And click on the "Create Single Person" button.
4. After clicking, we get a "Successfully Created" notification.
5. We will navigate to our SharePoint list, and we can see the entry created there.

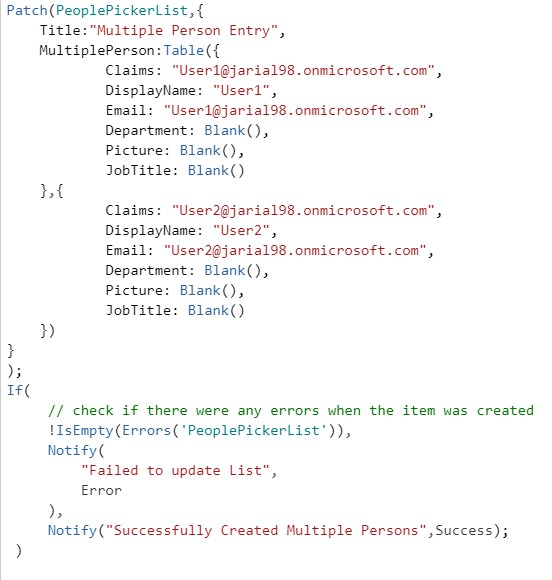
The functions in formula bar is as follows:
4. We will click on play and then click on the "Create Multiple Person" button
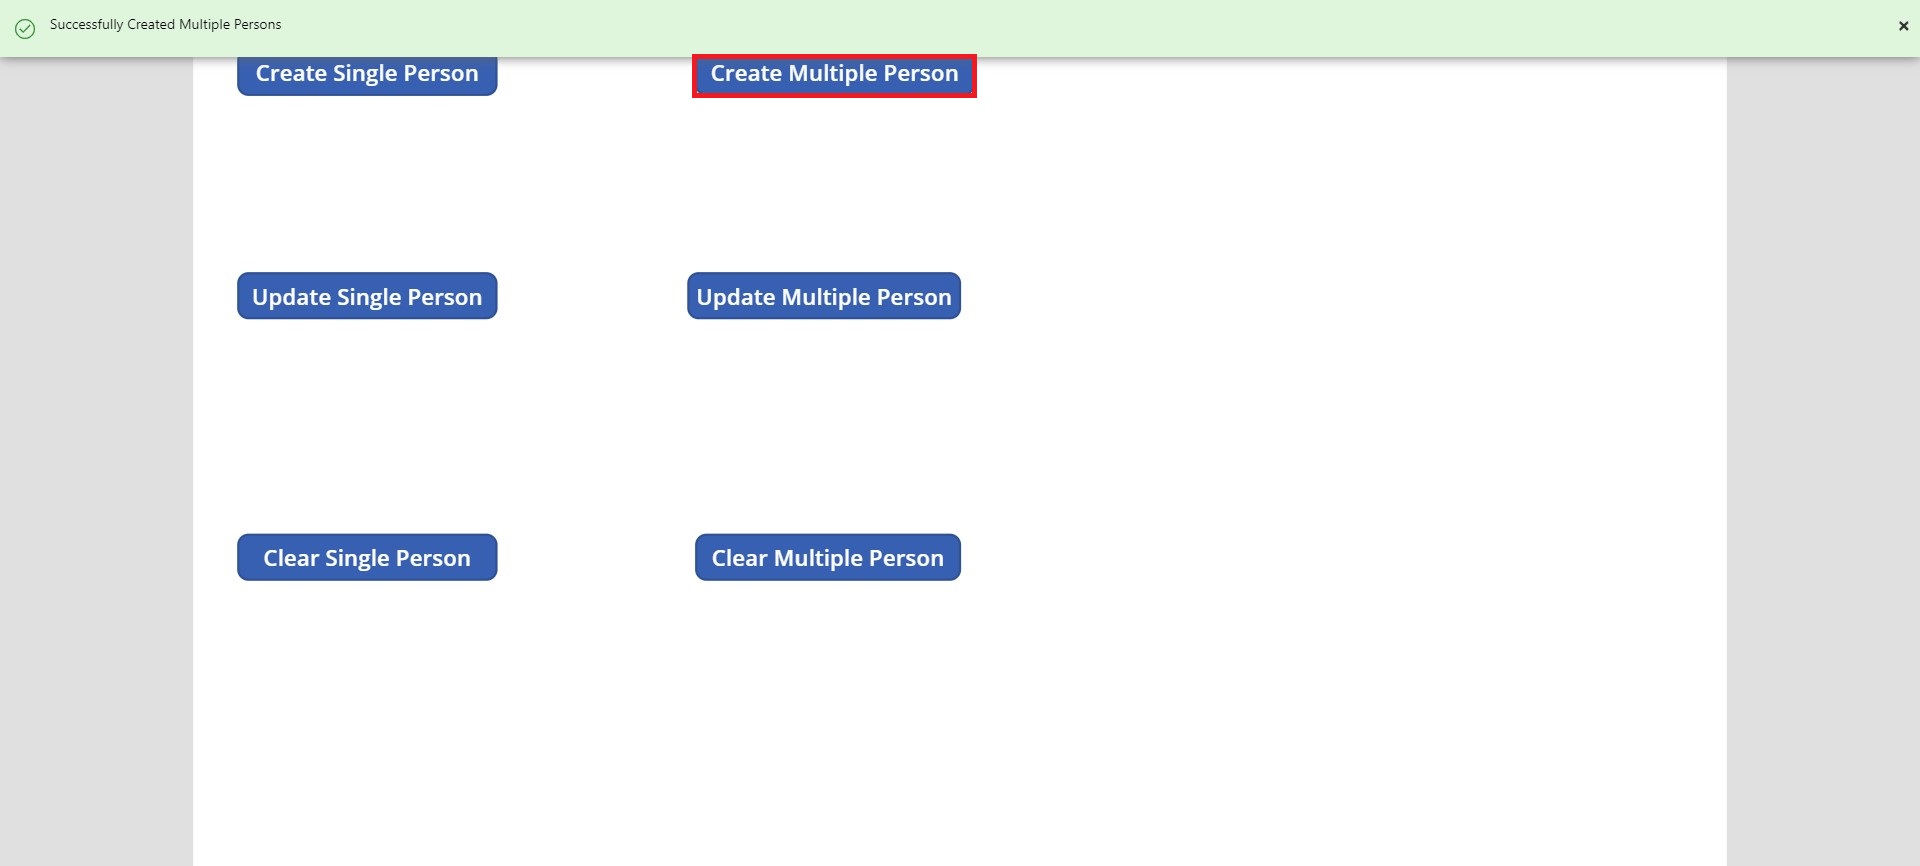
5. We will navigate to our SharePoint List, and we can see the new item created here.
5. In the PowerApps in the formula bar for the "OnSelect" property of the "Update Single Person" button, write the following functions:
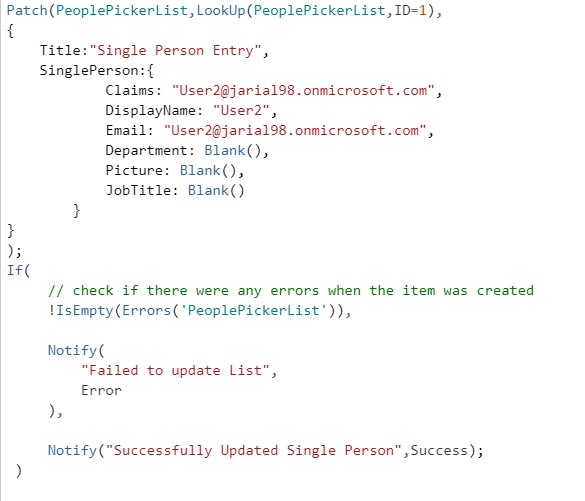
Here we are using the LookUp function to filter from the SharePoint List. We will change the previous value of "User1" to "User2".
6. Click on the Play button and then click on "Update Single Person."
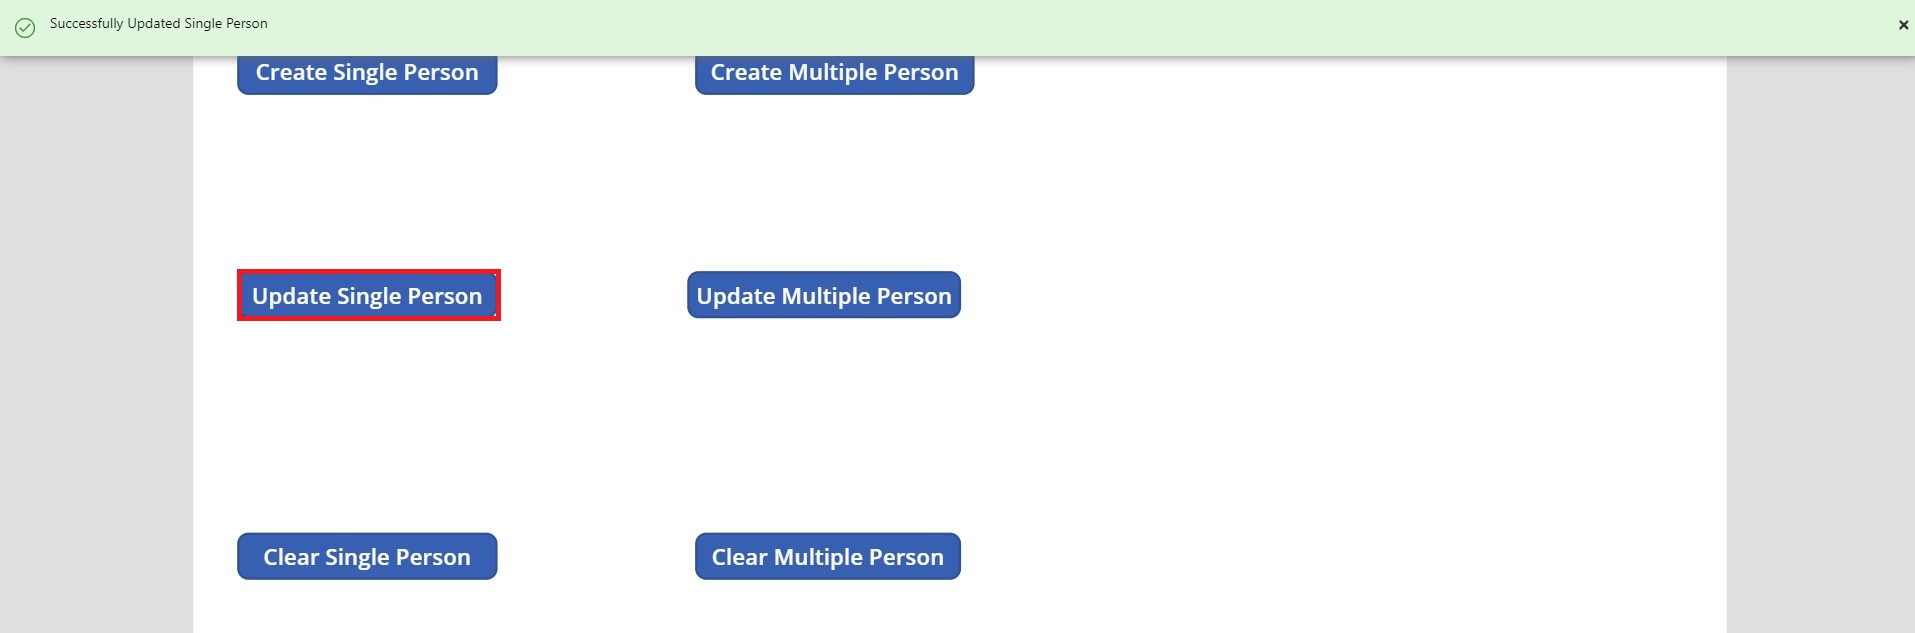
We get a successful notification.
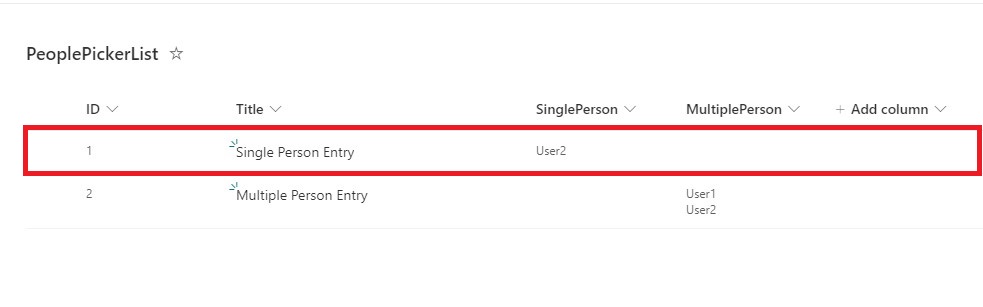
7. We will navigate to our SharePoint List, and we can see that the Item with ID "1" changed to user2.
Functions are written in the formula bar as follows:
4. Click on the Play button and then click on "Update Multiple Person."

5. We will navigate to our SharePoint List, and we can see that the "MultiplePerson" column of the item with ID "2" has been updated.
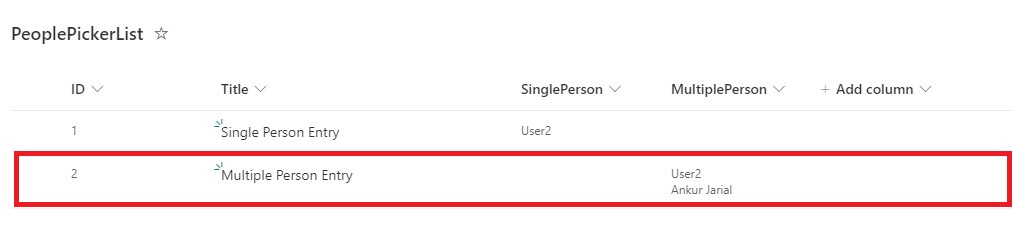

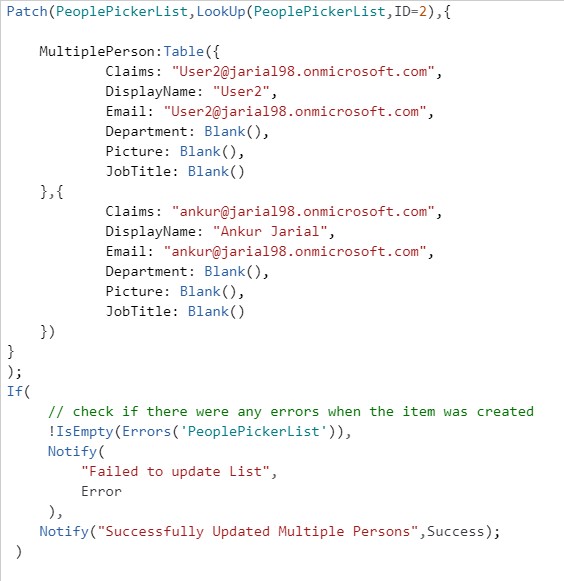
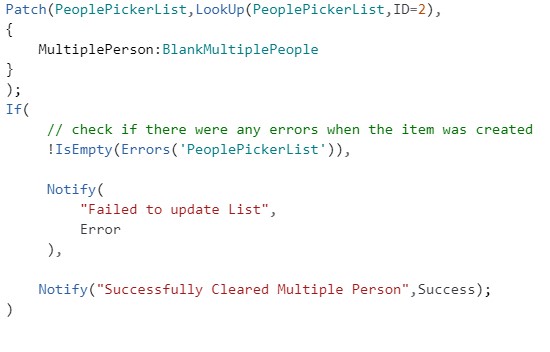
The functions in the formula bar are as follows:
5. Click on the Play button and then click on "Clear Single Person."
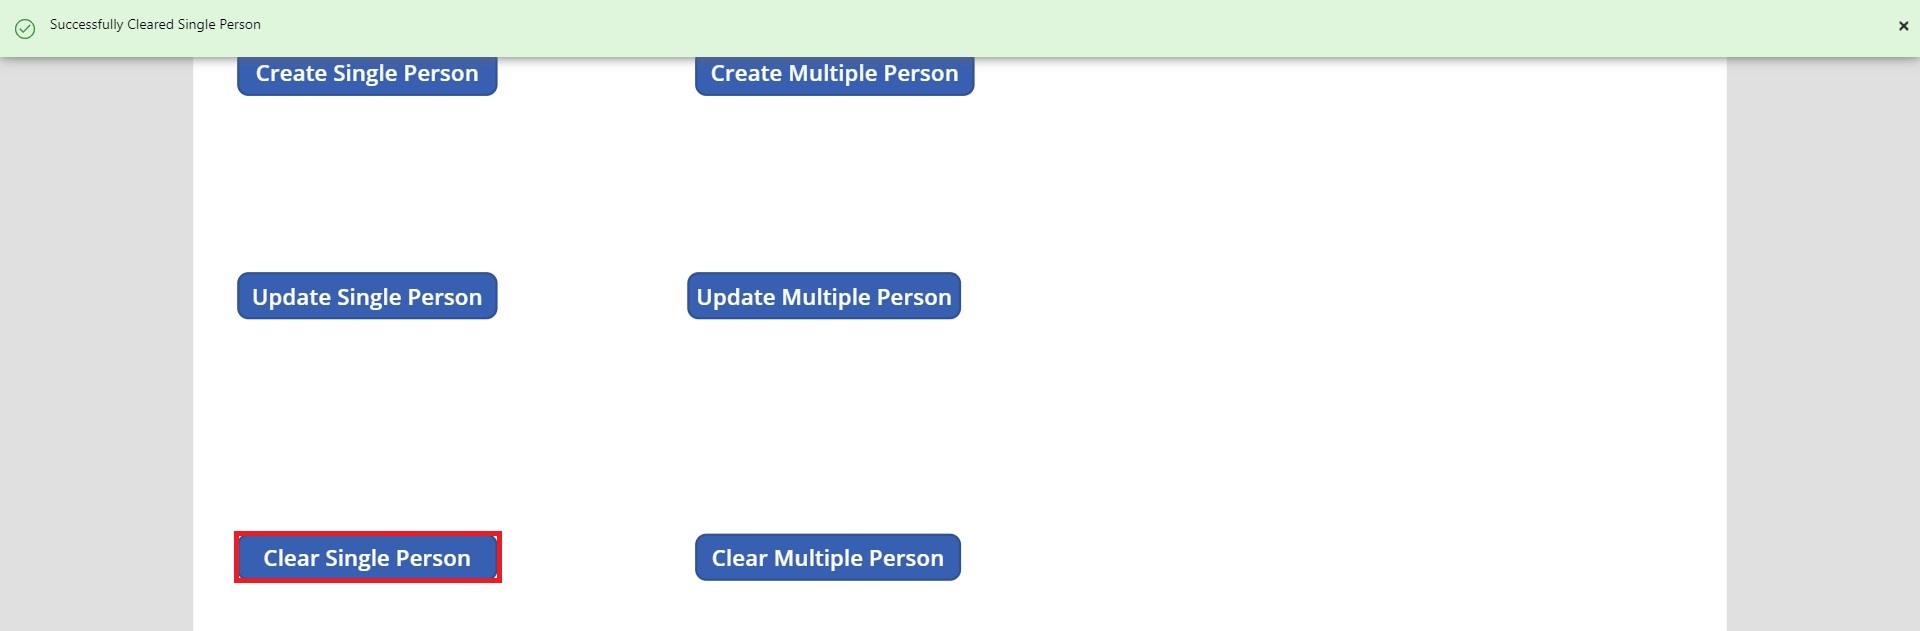
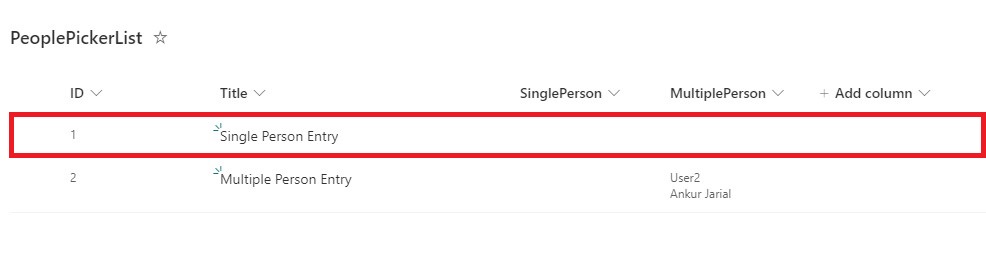
6. We will navigate to our SharePoint list, and we can see the "SinglePerson" column of the item with ID "1" is blank.
The functions in the formula bar are as follows:
5. Click on the Play button and then click on the "Clear Multiple Person" button.
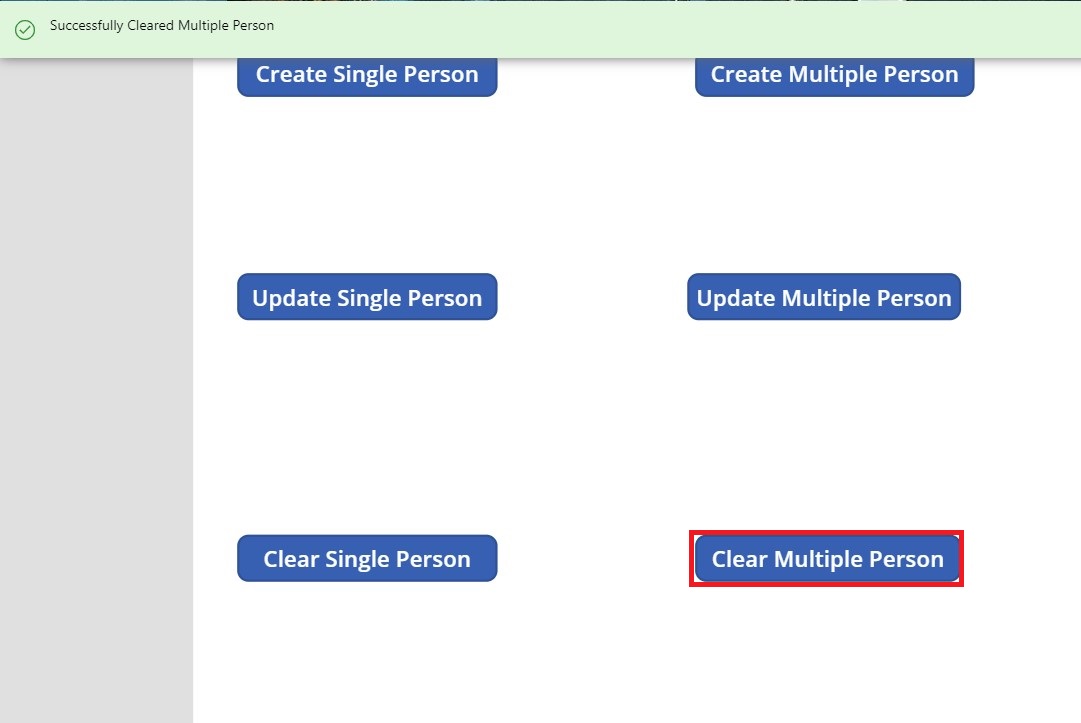
6. We will navigate to our SharePoint List, and we can see that the "MultiplePerson" column of the item with ID "2" is empty.
In this blog, we saw how we could Create, Update and Clear an entry in People Picker Columns in SharePoint List from a Power App canvas application. Need professional help with Power Apps and SharePoint? Contact us to get started!

CEO at Penthara Technologies


Monthly updates, news & events from Microsoft to help your business grow.
 The Most Dangerous Permission in SharePoint Is Hiding in Plain Sight
A hidden SharePoint permission - “Everyone Except External Users” - quietly breaks Zero Trust, exposing internal data and amplifying risk in the age of Copilot.
 What's new in Microsoft | May 2025 Updates
An overview of the latest Microsoft updates for May 2025 covering Microsoft Copilot, Microsoft Teams, SharePoint Online and Microsoft 365 Apps.
 What's new in Microsoft | April 2025 Updates
Monthly updates, news & events from Microsoft to help you & your business grow & get best out the Microsoft services.
how to submit mutiple people name from powerapp to sharepoint getting an error in powerapp that expected an object but getting an array in powerapp also modified the mutiple selector as true in powerapp
Without code we won't be able to help much. Are you using forms and within that are you using combobox to work with people picker? This article is for manual patch operations. Please let us know.